


24
10601034 Rev. B
LENS Integrated System
Operations/Service Manual
Operation
Procedures
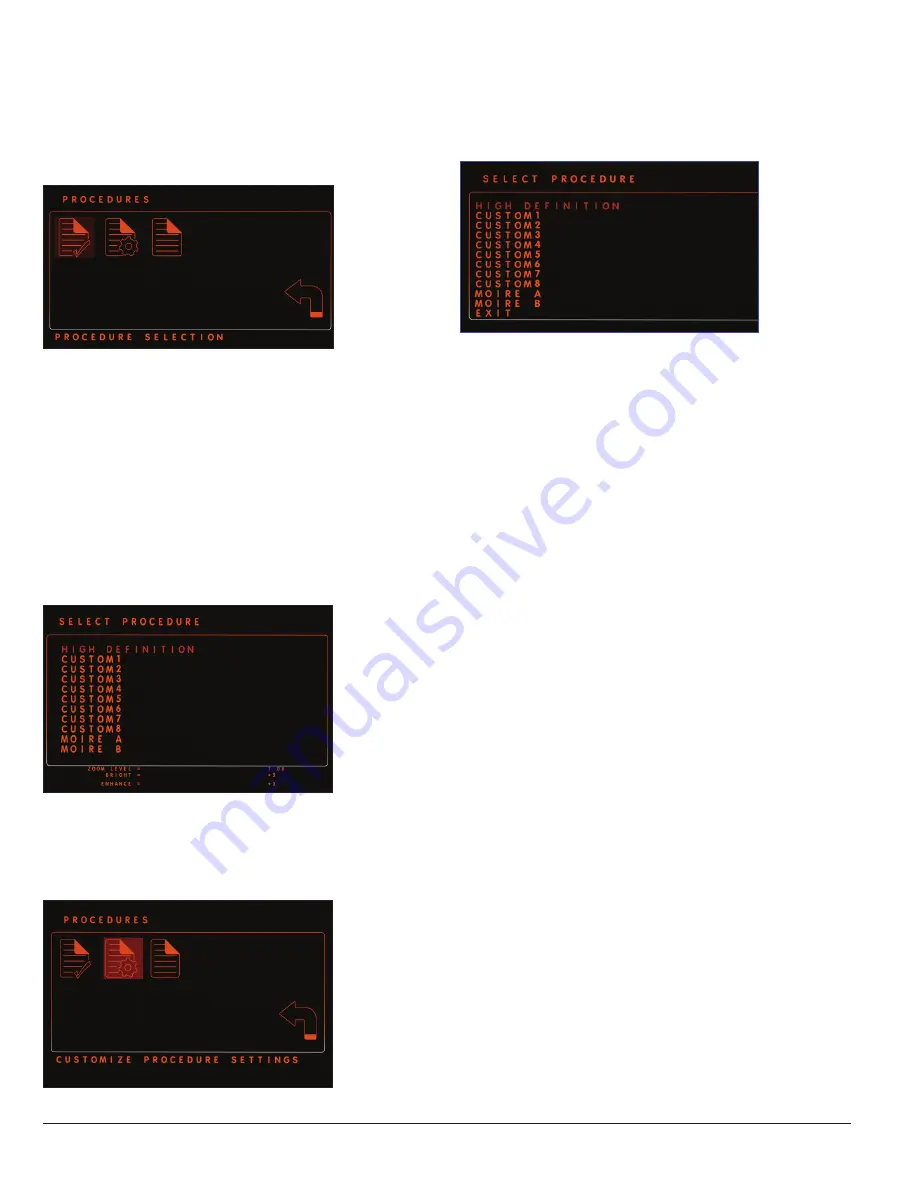
To select or customize a procedure, or to set the default procedure,
navigate to the
PROCEDURES icon on the MAIN MENU and press
Select. The PROCEDURES menu opens (Figure 15).
Figure 15 .
Procedure Selection
To select a procedure from the PROCEDURES menu, navigate to
the
PROCEDURE SELECTION icon and press Select. The SELECT
PROCEDURE menu (Figure 16) opens. Because
High Definition is set
as the default procedure, it will blink. Including the HIGH DEFINITION
procedure, the System contains 11 customizable procedures: CUSTOM
1–8, as well as Moire A and Moire B. The Moire A and Moire B
procedures default to the optimal settings for fibroscopes. For more
information about procedures, refer to the “Customize Procedure”
section of this manual.
Use the
Up and Down arrows on the control unit or the left and right
camera head buttons to navigate to the desired procedure and press
Select to select that procedure.
Figure 16 .
Customize a Procedure
To customize a procedure, highlight the
CUSTOMIZE PROCEDURE
SETTINGS icon on the CUSTOMIZE PROCEDURES menu (Figure 17) and
press
Select.
Figure 17 .
Press
Select to open the SELECT PROCEDURE screen (Figure 18). Refer
to the “Customize a Procedure” section of this manual for information
about how to customize or create a procedure.
Figure 18 .
To exit the SELECT PROCEDURE menu, highlight the
Menu Access icon
and press the
Select button.
Set the Default Startup Procedure
Set Default Startup Procedure allows the user to set the procedure
that is highlighted on the STARTUP screen and so can be selected
immediately. For information about how to customize a default
procedure, refer to the “Customize the System” section of this manual.
Color Bar
To calibrate the monitor, navigate to the
Color Bar icon and press
Select. The monitor screen shows the color bars. Adjust the color bars
on the monitor according to that monitor’s instructions for use. To exit,
press any button.
System Configuration
The System is shipped with a default configuration. For information
about how to change the configuration, refer to the “Customize the
System” section of this manual.
Buttons
To view the current button configuration, navigate to the
Buttons icon
and press
Select. The button map in the lower right corner of the
monitor will indicate the current short (top setting) and long (bottom
setting) press button configurations for the camera head. To change
the button configurations, refer to the “Button Settings” section of this
manual.
Exit
To exit the SYSTEM CONFIGFURATION MENU screen, navigate to the
Exit icon and press Select.
Summary of Contents for LENS Integrated System
Page 1: ...LENS Integrated System Operations Service Manual...
Page 2: ......
Page 45: ......
Page 46: ......
Page 47: ......


