Connecting to the gas supply
The gas supply system must conform to binding regulations in the place of installation.
The type of gas for which the oven has been set is shown on the rating plate on one of the
sides of the cavity (visible with door open) and on the packing.
Before making the connection, set the oven to the type of gas in the home.
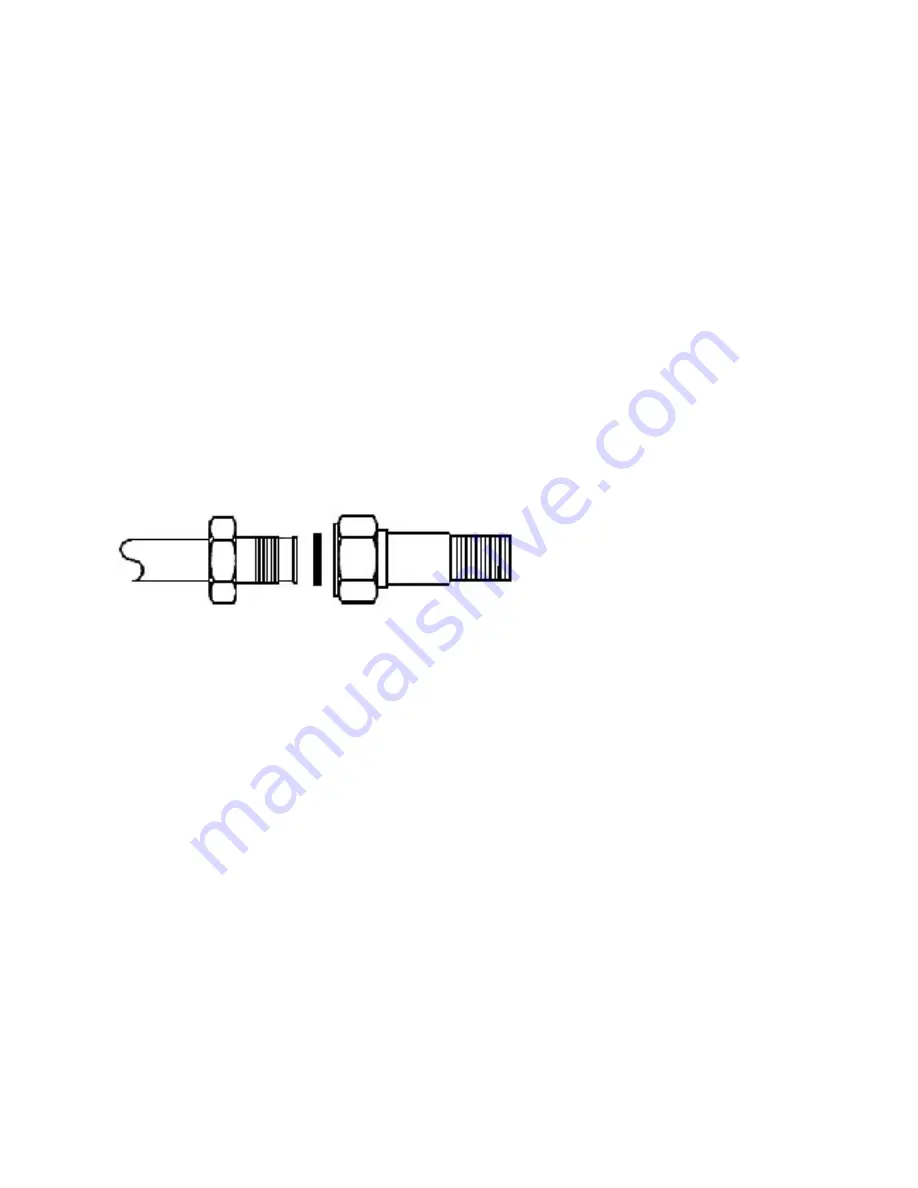
The connection between the gas connection and the pipe must be
made in one of the following ways:
1) using a connector without a sealing ring (the oven’s connector is conical: ISO R 7).
2) using the sealing ring provided (see pic. 1).
Attention: When finished check that there are no gas leaks. Use soap and water, or other
liquids suitable for the purpose, to check for gas leaks.
Do not use a flame to search for gas leaks.
Warning: The use of flexible rubber tubing attached to the outlet connector is prohibited
because it cannot be inspected.
Pic. 1
gas connection ring flexible tube
Adapting to the gas in use
It is possible to use other types of gas by changing the burner setting as follows:
1. Make sure that the oven is not connected to the electric power supply.
2. Open the oven door fully.
3. Completely remove the oven bottom as shown, after removing the holding screws.
4. Remove the burner by unscrewing the screw (see pic. 2, on the following page).
5. Unscrew the injector “B” and replace it, making reference to the injector table in the
"Product Description Sheet", supplied separately.
6. Refit the burner and the oven bottom, going through the above steps in reverse order.
28
Summary of Contents for S340GXBR1
Page 3: ...A A A A...


