background image


8

SETTINGS (only models CW400RSD - CW400R – CWC500R) 


MACHINE CONFIGURATION PARAMETERS ( Intended for technical personnel, not for the user ) 

P0 

RINSE CYCLE TIME, from 1 to 5 minutes, preset to 2 

P1 BOILER 

TEMPERATURE, from 60 to 95 °C, preset to 86 °C 

P2 

TANK TEMPERATURE, from 40 to 65 °C, preset to 55 °C 

P3 

RINSE DURATION from 10 to 40 sec., preset to 13 sec 


During the rinse phase the drain pump is also activated (if installed), and is kept active for 4 seconds after 
the end of the rinse phase 


P4 

BOILER STOP FUNCTION: 0 = not installed, 1 = installed

preset to 0 

P5 MACHINE 

TYPE: 


5 = with three wash cycles without Break Tank/Air Trap for Hood 
6 = with three wash cycles with Break Tank /Air Trap for Hood 

P6        DRAIN OPTION 

WITH OVERFLOW

: 0 = not installed. 1 = installed

preset to 1 


The drain is activated 

each time the load electrovalve is activated

 .


Once the rinse phase has finished, the drain pump continues to function for 4 seconds 


The drain cycle can be activated manually by the operator by keeping the drain button  
pressed for 3 seconds. The drain cycle has a duration of 120 seconds, at the end of 
which the machine automatically shuts off. 

 P9 

WATER LOADING DURATION, from 1 to 10 minutes, preset to 10 minutes. 


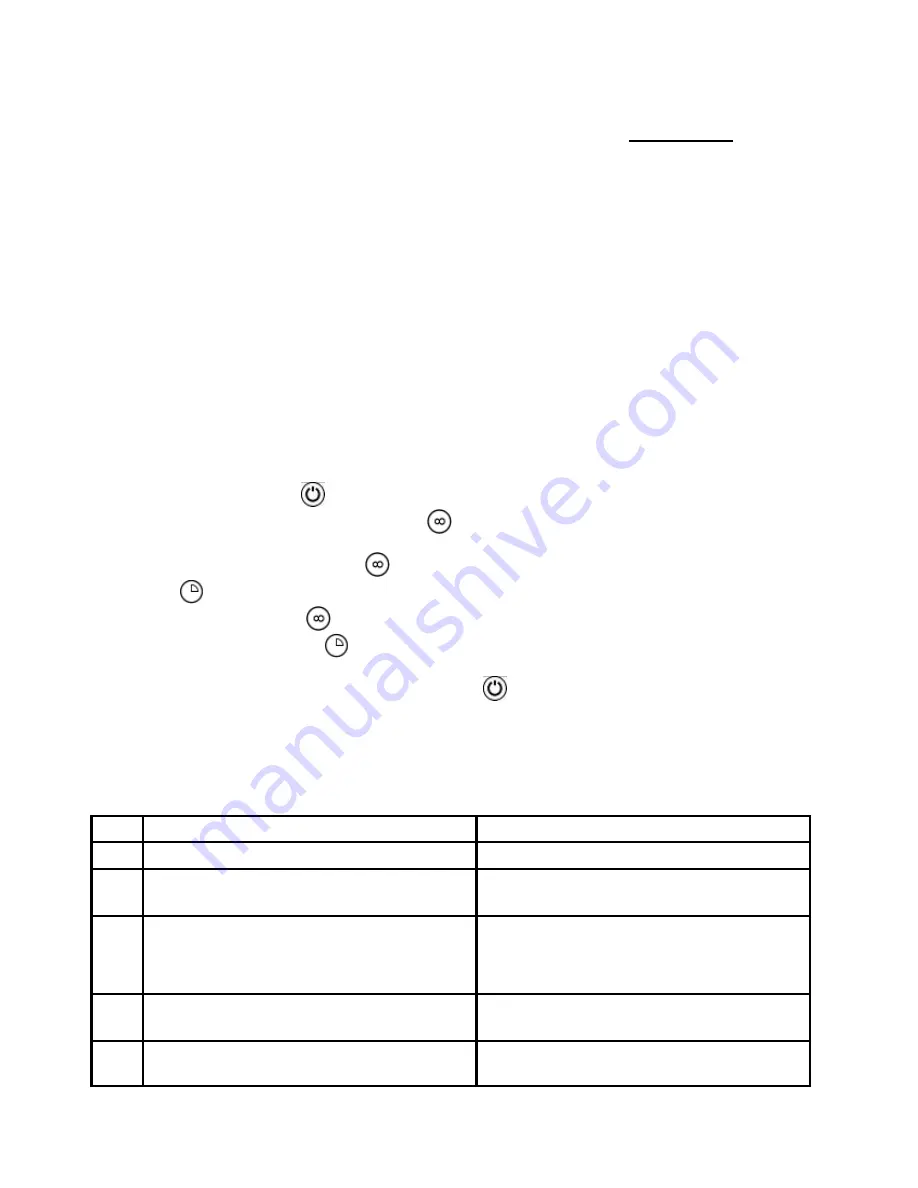
To access the factory menu the following procedure must be followed: 


1) Shut the machine off with the 

 button 

2) Within 6 seconds of machine shutdown press the 

 button 7 times  

    At the end of the 6 seconds, the message “ P0” will appear on the screen. 

3) Select the parameter to modify with the 

 button 

4) Press the 

 button to view the selected parameter on the display 

5) Modify the parameter with the 

 button 

6) Confirm the modification with the 

 button 

7) Select, in the same way, other parameters to be modified and modify them as described above 

8) After having set all of the machine’s parameters, press the 

 button to exit. 


SCREEN DISPLAYED ANOMALIES 

The machine is capable of signaling a series of malfunctions on the display. 
If the problem persists after having turned the machine off and then on again, act as indicated below: 
 

E1 

Boiler sensor malfunction  

Substitute 

E2 

Tank sensor malfunction  

Substitute 

E3 

Water loading timeout ( the water loading duration 
has exceeded the time set in P9 ) 

Electrovalve inspection – Verify that the water 
faucet is open 

E6 

Draining anomaly. At the end of the draining phase 
the CPU still detects water in the Tank. This may 
be due to: 

Drain pump malfunction 
Drain tube blockage 
Tank Pressostat malfunction 
Drain cycle time ( P0 ) set too low 

E7 

30 minute Tank timeout 

Inspect the Tank and boiler thermostats 
Check for inverted sensors 

E8 

15 minute boiler timeout   

Inspect the Tank and boiler thermostats 
Check for inverted sensors 

Summary of Contents for CWC500R

Page 1: ...GLIE PROFESSIONALE CWC500R PROFESSIONAL DISHWASHER CWC500R LAVE VAISSELLE PROFESSIONNEL CWC500R PROFESSIONELLER GESCHIRRSPÜLER CWC500R LAVAVAJILLAS PROFESIONAL CWC500R MÁQUINA DE LAVAR LOUÇA PROFISSIONAL CWC500R ...

Page 2: ...es user Thank you for having chosen this product We recommend that you read all of the instructions contained in the manual attentively in order to become familiar with the most suitable conditions for the correct use of the dishwasher TECHNICAL INSTRUCTIONS Are intended for qualified personnel who will perform the installation the setup the testing and eventual assistance operations USER INSTRUCT...

Page 3: ...PARATUS ACCORDING TO THE LOCAL WASTE DISPOSAL NORMS FOR MORE INFORMATION ON THE TREATMENT RECOVERY AND RECYCLING OF THIS PRODUCT CONTACT YOUR COMPETENT LOCAL AUTHORITY YOUR DOMESTIC WASTE DISPOSAL SERVICE OR THE STORE IN WHICH THE PRODUCT WAS PURCHASED THIS MANUAL CONSTITUTES AN INTEGRAL PART OF THE DISHWASHER IT MUST NECESSARILY BE STORED INTEGRAL AND TOGETHER WITH THE APPARATUS THE POSITIONING C...

Page 4: ...50 C s 90 120 180 c Noise level dB A 67 Protection rating IPX 4 Net weight kg 127 Power cable type HAR H07RN F Electrical scheme legend PV Tank Pressostat ISP Door Safety Switch STV Tank Temperature Sensor STB Boiler Temperature Sensor TRB Boiler Resistance Remote Control Switch Coil TRV Tank Resistance Remote Control Switch Coil E Rinse Electrovalve DB Rinse aid Metering Unit P Wash Pump DD Deter...

Page 5: ...4 ...

Page 6: ...ar kpa Ø 3 4 l h 135 Rubinetto di intercettazione Isolator valve Robinet de barrage Abssperrhahn Hz A 3 300 Morsettiera Terminal board Plaques a bornes Klemmenbrett V Ingresso acqua fredda cold water inlet Entrèe eau froide kaltwassereiintritt bar kpa Ø l h Interruttore magnetotermico differenziale Differential magnetothermic switch Interrupteur magnètothermique diffèrentiel Magnetothermischer dif...

Page 7: ...t Use only new tubes for the connection to the water supply old or used tubes must not be utilized The dynamic supply pressure must be between 2 and 4 bar if the pressure is higher a pressure reducer must be installed It is indispensable to install a general faucet on the supply water input tubing the faucet must be accessible after installation has been completed Do not install the faucet behind ...

Page 8: ...ition the external detergent and rinse aid containers and insert their respective suction tubes located at the back of the machine Red tube detergent Transparent tube rinse aid Before inserting the tubes in the containers apply the weight necessary to keep the tube at the bottom of the container and the filter as indicated in the diagram For adjustments use the adjustment screws indicated in the d...

Page 9: ...he following procedure must be followed 1 Shut the machine off with the button 2 Within 6 seconds of machine shutdown press the button 7 times At the end of the 6 seconds the message P0 will appear on the screen 3 Select the parameter to modify with the button 4 Press the button to view the selected parameter on the display 5 Modify the parameter with the button 6 Confirm the modification with the...

Page 10: ...l dishwashers Do not use detergents intended for hand washing It is recommended to use products which were designed especially for this dishwasher During the loading of the tanks be careful not to switch products as this could provoke dishwasher malfunction and damage Do not mix different detergents together as this could damage the metering unit Detergents for industrial dishwashers can cause ser...

Page 11: ...ly on a medium cycle The green led indicator relative to the selected cycle turns on The led indicator flashes until the end of the wash cycle after which it turns a steady green again To start the cycle open the hood insert the basket and close the hood the selected led indicator will begin to flash and will stop flashing at the end of the completed cycle The display will indicate the wash or rin...

Page 12: ...r is capable of performing an auto clean cycle at the end of the day At the end of the working day press the drain button for 4 seconds Lift the hood remove the overflow and close the hood When the led indicator turns on the draining of the boiler and the cleaning of the Tank will begin These operations will terminate with the automatic shutdown of the machine When all washing operations have been...

Page 13: ...hem Do not utilize pointy or sharp objects for cleaning Be sure to remove eventual hardened calcium deposits in order to avoid their accumulation Clean the surfaces well and frequently with a damp rag use neutral non abrasive detergents which do not contain chlorine based substances Corrosive products can damage stainless steel In order to avoid drops or vapors damaging the steel surfaces do not e...

Page 14: ...fy detergent type and quantity Plates glasses poorly positioned Arrange plates glasses accordingly Low wash temperature Verify the temperature shown on the display if below 50 C call Assistance Inadequate cycle setting Increase the duration of the wash cycle particularly if dishes are very dirty or contain partially dried residues RINSE INSUFFICIENT Sprinkler nozzles clogged Calcium encrustations ...

Page 15: ...er sensor malfunction E2 Tank sensor malfunction E3 Water loading timeout the water loading duration has exceeded the time set in P9 E6 Draining anomaly At the end of the draining phase the CPU still detects water in the Tank This may be due to Drain pump malfunction Drain tube blockage Tank Pressostat malfunction Drain cycle time set too low E7 30 minute Tank timeout E8 15 minute boiler timeout ...

Reviews: