


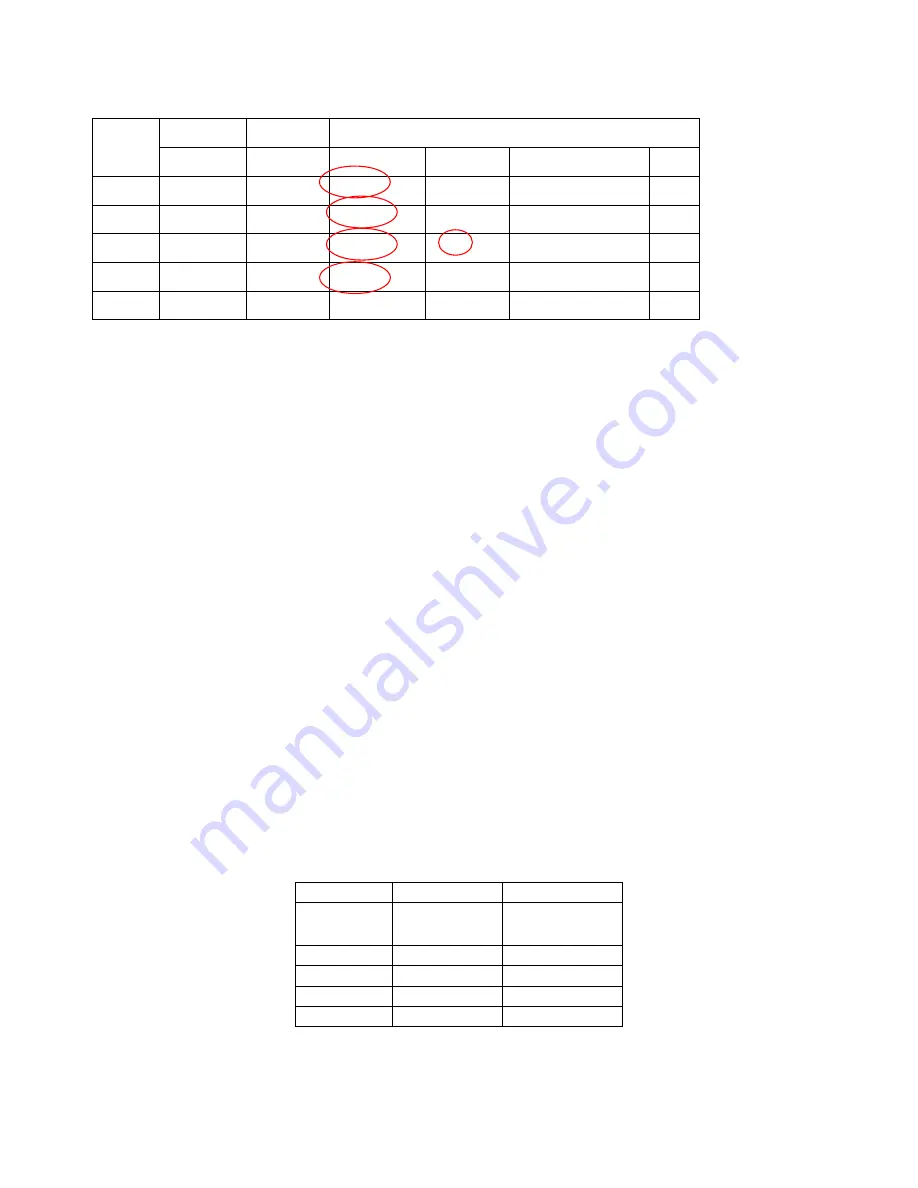
4. Once you have filled out the table, it should look something like this.
en
Sensor 1
Sensor 2
Zone Depend t Features
Auto Mute
Location
Beep / Alarm
Event Trigger
Alert
Location
Zone 1
Front Door
Front Window
Beep / Alarm
Y / N
Disabled / On / Off
Y / N
Zone 2
Kitchen Motion
Beep / Alarm
Y / N
Disabled / On / Off
Y / N
Zone 3
Back Door
Y / N
Beep / Alarm
Disabled / On / Off
Y / N
Zone 4
Backyard Motion
Beep / Alarm
Y / N
Disabled / On / Off
Y / N
Zone 5
Basement Water
Motion
Beep / Alarm
Y / N
Disabled / On / Off
Y / N
Basement
You can now refer to each column representing the zone dependent features, to program
each zone with the selected feature. For example, Auto Mute feature is only enabled for
zone 3, when you are in the auto mute programming, you should set it so that auto mute is
only enabled for zone 3, the rest of the zone should hav
5.
e this feature disabled. Repeat this
step for all 4 zone dependent features programming.
earn Sensor – continue
r to
e control panel. To learn a sensor into the control panel, follow the instructions below.
6.
sword is
e emitted and [PROG] LED will be off.
8.
once, some of
or.
9.
1 for
ee Fig. X.
After
selecting the zone and sensor numbers, that zone LED will be on.
L
After studying the “Sensor Location Selection Guide”, you may proceed to learn the senso
th
5. Press the [PROG] button on the side of the control panel, the [PROG] LED will be on.
Enter the current Master Password. Control panel will emit 3 beeps if the valid pas
entered, otherwise a single long beep will b
7. Enter [3], which represents “learn sensor”.
Notice all 5 zone LEDs, some of them may be off, some of them may flash
the may flash twice. The LED flashing represents the occupied sensors.
•
If the zone LED remains off, that indicates that zone is not occupied by any sens
•
If the zone LED flashes once, that indicates sensor 1 of that zone is occupied.
•
If the zone LED flashes twice, that indicates sensor 2 of that zone is occupied.
You may now select a zone and sensor location to program the sensor to. Select the zone
and sensor number by pressing on to button 1 to 0. Buttons 1 to 5 represent sensor
zones 1 to 5. Buttons 6 to 0 represent sensor 2 for zones 1 to 5.
S
Sensor 1
Sensor 2
Zone 1
Button [1]
Button [6]
Zone 2
Button [2]
Button [7]
Zone 3
Button [3]
Button [8]
Zone 4
Button [4]
Button [9]
Zone 5
Button [5]
Button [0]


