P37
4.
暫停的使用方法
把記憶體開關
No.31
設定為
1
之後,
鍵可以作為暫停鍵來使用。
(請參照「Ⅰ
.[8]
記憶體開關的使用方法」
P.49
。)
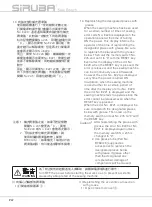
⑴
按
鍵後,縫紉機停止動作。出錯
50
被顯示出來。然後,按
鍵解除出錯。
⑵
解除後的操作有如下
3
個步驟。
1
)按開始開關重新開始縫製。
2
)按
鍵,進行切線後,再按
鍵,進行位置調整,然
後再按開始開關重新開始。
3
)按
鍵,進行切線後,再次按
鍵回歸到原點。
5.
圖案線張力的設定
縫製開始的
6
針和從下縫線曲折縫變換的部
分以及縫製結束的加固部分的上線張力可以
分別進行設定。
⑴
縫製
LED
亮燈時,按
鍵,設定為上
線張力
顯示。
⑵
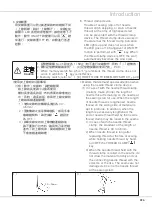
用腳踏開關讓壓腳下降。
注意
:
如果把腳踏開關踩到最後,縫紉機
會開始縫製,請注意安全。
⑶
用
鍵移動送布。
⑷
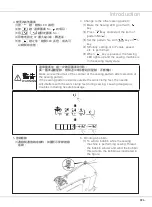
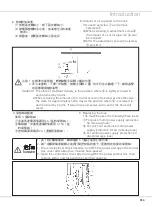
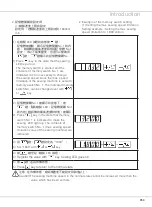
在可以設定張力的位置,「
c
」被顯示出
來。
⑸
一邊按
鍵,一邊用
鍵
設定張力。
⑹
反覆
⑶⑷⑸設定張力。。
⑺
設定結束之後,按
鍵。壓腳移動到
原點然後上升。
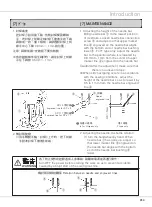
4. How to use the temporary stop
When memory switch No. 31 is set to
"1",
key can be used as the temporary
stop key. (Refer to"
Ⅰ
.[8] HOW TO USE
THE MEMORY SWITCH" p.49.)
⑴
Sewing machine stops by means of
key.Error 50 is indicated, the error
release is performed using
key.
⑵
There are three operations after the
release as below.
1
)
Re-start of sewing by means of the
start switch.
2
)
Press
key to perform thread
trimming, perform positioning with
or
key, and re-start by
means of the start switch.
3
)
Press
key to perform thread
trimming, and press again
key to
return to the origin.
5. Setting the pattern thread tension
Needle thread tension for 6 stitches at the
sewing start, the portion which is changed
over from basting stitch to zigzag stitch,
and the portion of tie stitch at the sewing
end can be individually set.
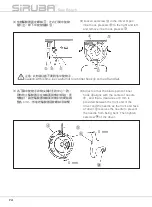
⑴
While the sewing LED lights up,
press
key to indicate the needle
thread tension
.
⑵
Lower the presser with the foot pedal.
Caution
:When the foot pedal is
depressed until it will go no further, the
sewing machine starts. So, be careful.
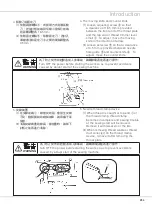
⑶
Move the feed with
key.
⑷“
c
"
is indicated at the position where
the tension setting is possible.
⑸
Pressing
key, set the tension with
or
key.
⑹
Repeat steps
⑶
,
⑷
and
⑸
to set the
tension.
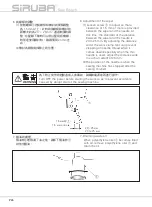
⑺
When setting is completed, press
key.The presser moves to the origin and
goes up.


