98
ENG
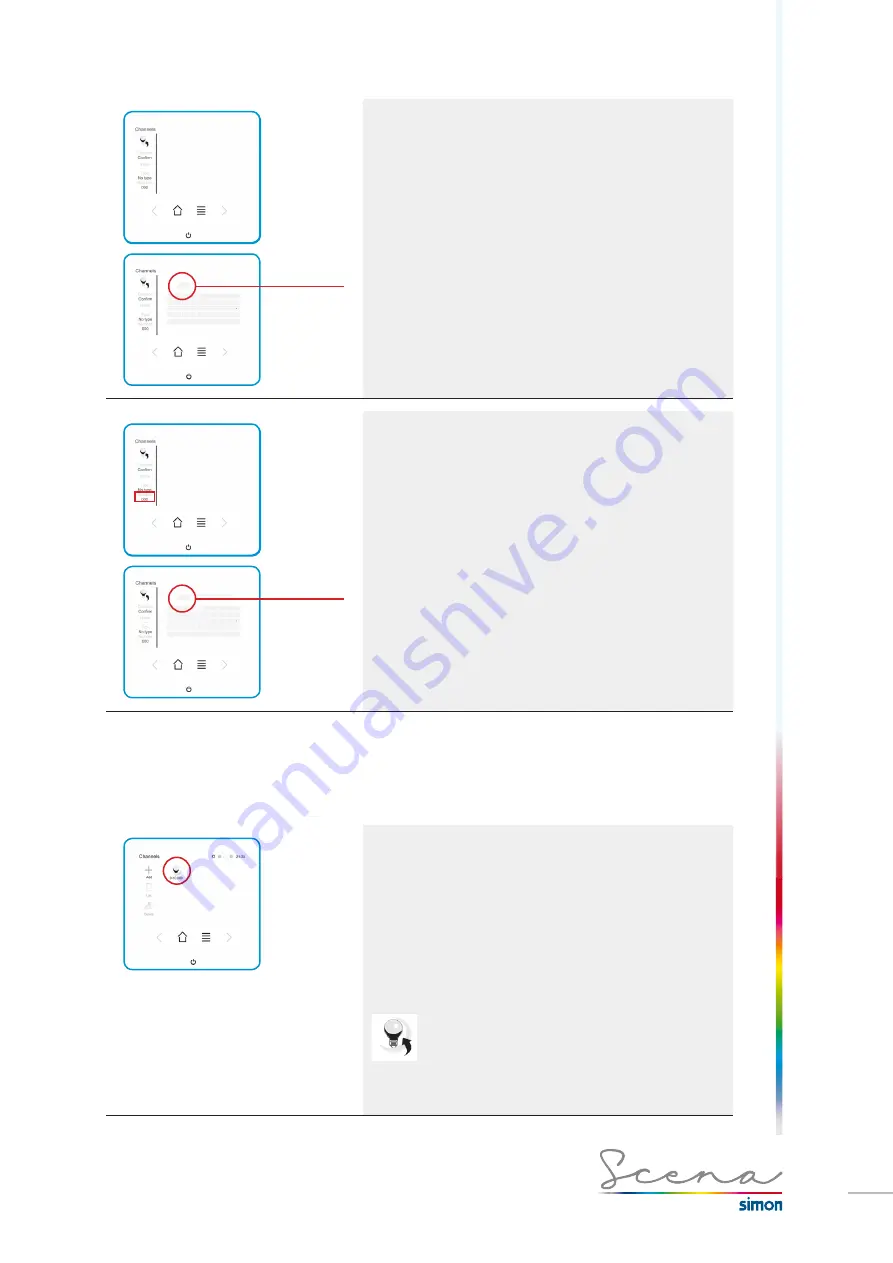
Name
Accept
pressing OK
Name
· Select
Name
on the Channels screen
· Maximum 9 characters.
· Ideally the name should match the installation.
To accept, we press the
OK
icon.
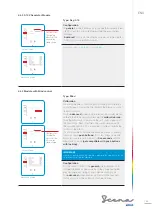
Number
Accept
pressing OK
Number
For the protocol converters DMX-DALI and DMX-PWM, in
order to install a channel, its address must be correct. Phy-
sically assigned address: “
n
”, address to be assigned in the
console:”
n-1
”, this registration procedure is only for named
converters
(see section “3.1 Switch operation” page 90)
.
· Select Number on the Channels screen.
To accept, we press the
OK
icon.
5.4 Standard channel settings
Once all the channels have been registered, their settings will be adjusted individually for each channel.
Setting
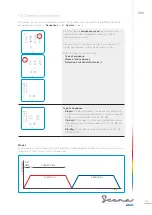
The setting of each channel can be done in a
general
(user
and installer mode) or
advanced
(installer mode)
fashion
.
· A short press
activates / deactivates the channel
.
· A long press gives us
access to this channel’s general
menu
.
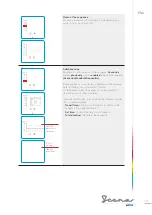
If we have channels active on the screen this will be
demonstrated by a halo on each icon:
Each type of channel will have its own general and advanced
screen.
Below we present the screens for each type of channel.
Summary of Contents for Scena
Page 1: ...MANUAL Y GU A DE INSTALACI N SCENA MANUAL AND INSTALLATION GUIDE...
Page 4: ...4 CAST...
Page 17: ...17 CAST 2 2 6 Modulo Regulador 0 10V 2 2 7 Modulo control de Persianas...
Page 60: ...60 CAST 2 Conexionado tipo...
Page 70: ...70 CAST MANUAL AND INSTALLATION GUIDE...
Page 73: ...73 ENG...
Page 86: ...86 ENG 2 2 6 0 10V Regulator Module 2 2 7 Blind control module...
Page 129: ...129 ENG 2 Standard Connection...


