


7 MENU SCREENS
The menu structure on the SDP660 Portable Radio is configurable using the FPP. A
system administrator usually tailors the order and presence of the menu options to
specific customer requirements.
This section describes all the menus that are currently available.
Normally, the menus are divided into three menu lists. These are the Main Menu list,
the Settings Menu list and the Options Menu list.
In the default configuration, the Main menu contains the Channel, Zone and Settings
menus. This allows access to the second ‘Settings’ menu level.
The Main Menu can be accessed from the main default screen by selecting the ‘Menu’
(F1) button.
To access any of the menu options from the Main, Settings or Options Menus, use the
▲
and
▼
keys to scroll through the lists until the required menu option is selected
with the leading pointer (>) and then press the ‘Select’ (Nav Select) button.
Pressing the ‘Back’ (F4) button at any point will go back to the previous screen.
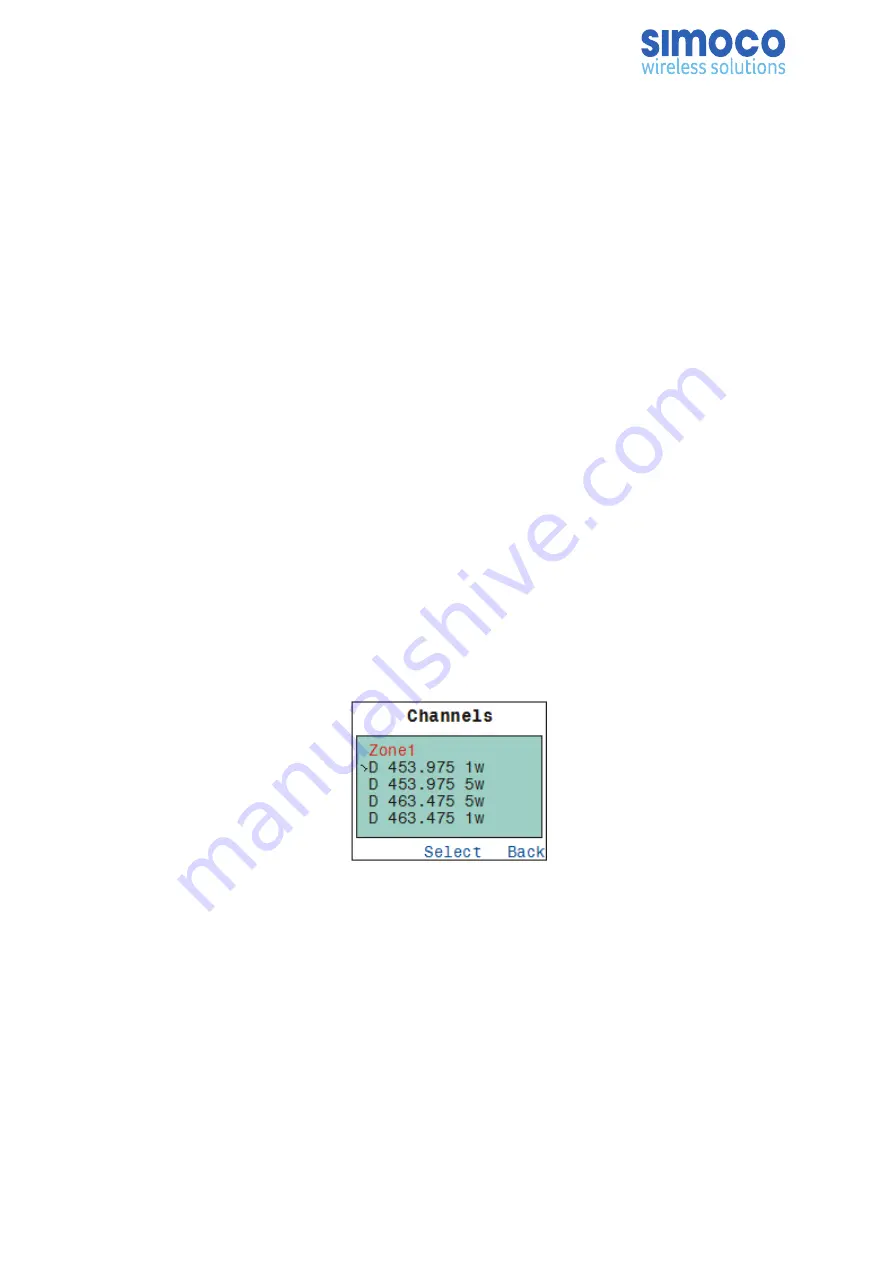
7.1. CHANNELS MENU
The Channels menu allows the user to select the communication channel to be used
within a Zone. An example of the Channels menu screen is shown below in Figure 16.
Figure 16: Channels Menu.
The Channel Screen shows the currently selected channel. To change to another
channel, use the
▲
and
▼
keys or the Rotary Encoder to move the leading pointer to
the required channel and press the ‘Select’ button.
The channel can also be changed from the main default screen simply by using the
▲
and
▼
keys.
Radio channels may be configured with the FPP as specific frequencies or as auto-scan
types. When an auto-scan channel is selected, it will immediately go into scan mode.
Selecting another non-auto-scan channel will stop the scan.
Doc Number:
TNM-U-E-0114 ISSUE 1.4
Page
51