


9
Getting Started
F
EN
D
ES
I
Customizing Your Monitor
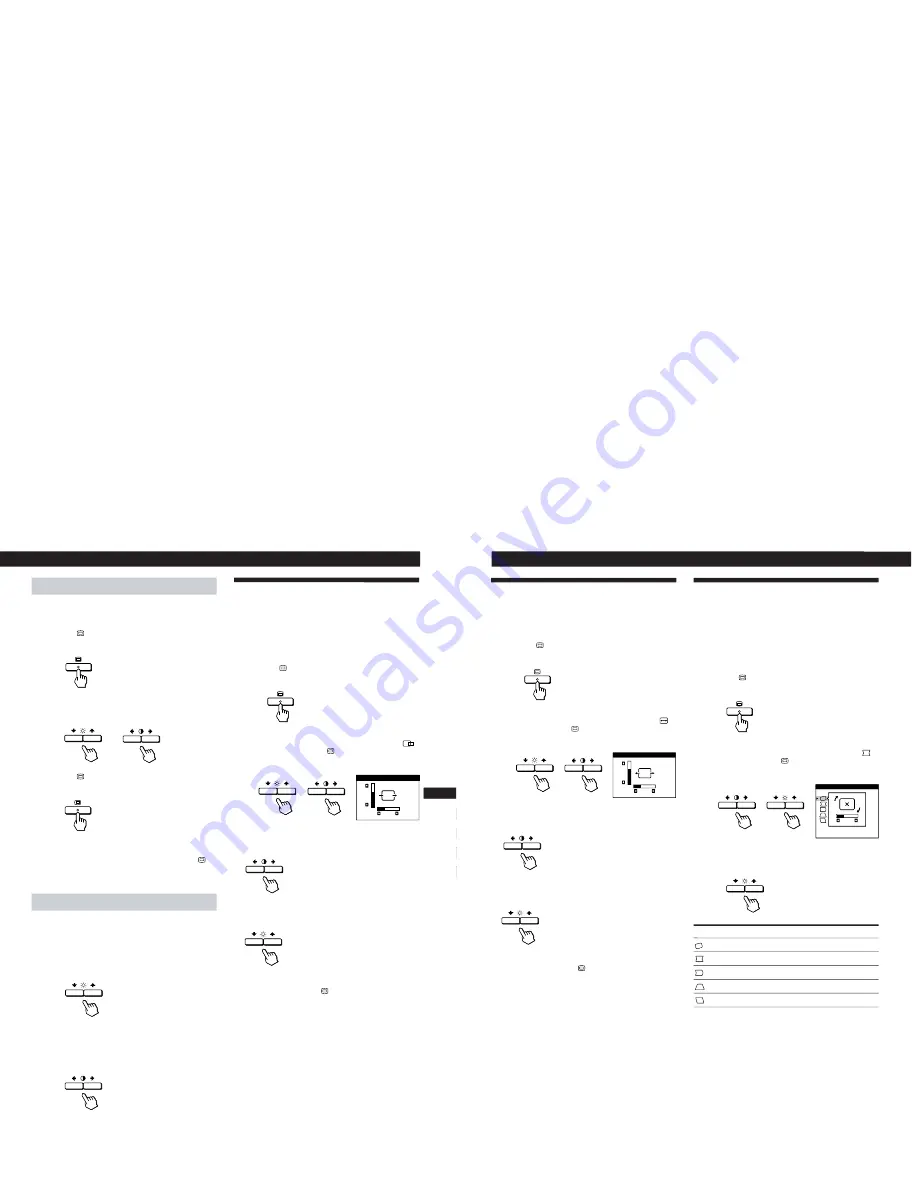
Navigating the MENU on-screen display
Select a link using the
¨
.
/
>
and
>
?
/
/
buttons in the
MENU OSD.
1
Press the
button.
The MENU OSD appears.
2
Press the
¨
.
/
>
and
>
?
/
/
buttons to select a link.
The selected link turns yellow.
3
Press the
button.
The selected OSD appears.
If no buttons are pressed, the MENU OSD automatically
disappears after about 10 seconds.
To close the MENU OSD, select “EXIT” and press the
button.
Adjusting the on-screen display settings
Select an item using the
¨
.
/
>
buttons and adjust or select
the setting of that item using the
>
?
/
/
buttons.
To select an item, press the
¨
.
or
>
button.
The
”
mark goes to the selected item and the item turns
yellow.
To adjust or set an item, press the
>
?
or
/
button.
When adjusting an item, the bar length and the figure
increase or decrease.
When setting an item, the
p
mark turns green.
Using the CENTER On-screen
Display
The CENTER settings allow you to adjust the centering of
the picture.
Once the setting is adjusted, it will be stored in memory for
the current input signal.
1
Press the
button.
The MENU OSD appears.
2
Press the
¨
.
/
>
and
>
?
/
/
buttons to select “
CENTER,” and press the
button again.
The CENTER OSD appears.
3
For horizontal adjustment
Press the
>
?
/
/
buttons.
/
. . . to move the picture right
?
. . . to move the picture left
For vertical adjustment
Press the
¨
.
/
>
buttons.
>
. . . to move the picture up
.
. . . to move the picture down
The OSD automatically disappears after about 30 seconds.
To close the OSD, press the
button again.
To reset, press the
?
(reset) button while the OSD is on.
The horizontal and vertical centerings are both reset to the
factory settings.
CENTER
26
73
10
Customizing Your Monitor
Using the SIZE On-screen Display
The SIZE settings allow you to adjust the size of the picture.
Once the setting is adjusted, it will be stored in memory for
the current input signal.
1
Press the
button.
The MENU OSD appears.
2
Press the
¨
.
/
>
and
>
?
/
/
buttons to select “
SIZE,” and press the
button again.
The SIZE OSD appears.
3
For horizontal adjustment
Press the
>
?
/
/
buttons.
/
. . . to increase picture size
?
. . . to decrease picture size
For vertical adjustment
Press the
¨
.
/
>
buttons.
>
. . . to increase picture size
.
. . . to decrease picture size
The OSD automatically disappears after about 30 seconds.
To close the OSD, press the
button again.
To reset, press the
?
(reset) button while the OSD is on.
The horizontal and vertical sizes are both reset to the factory
settings.
SIZE
26
73
Using the GEOM (Geometry) On-
screen Display
The GEOM(geometry) settings allow you to adjust the
shape and orientation of the picture.
Once the rotation is adjusted, it will be stored in memory for
all input signals received. All other adjustments will be
stored in memory for the current input signal.
1
Press the
button.
The MENU OSD appears.
2
Press the
¨
.
/
>
and
>
?
/
/
buttons to select “
GEOM,” and press the
button again.
The GEOMETRY OSD appears.
3
Press the
¨
.
/
>
buttons to select the item you want
to adjust.
Select
ROTATION
PINCUSHION
PIN BALANCE
KEYSTONE
KEY BALANCE
To
adjust the picture rotation
adjust the picture sides
adjust the picture side balance
adjust the picture width
adjust the picture shape balance
ROTATION
GEOMETRY
26
1-2


