SIMPRO-100
Front-Panel Operation
5
PRIM-2400C
79
5.4.2.4
To Correct Entry Errors
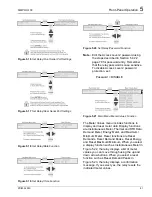
1. If the cursor in the upper line of the display is
blinking, press the
{ESC}
pushbutton once.
2. Use the left or right arrow pushbutton to move
the underline cursor to the position of the
incorrect letter.
3. With the incorrect letter underlined, press the
{Down Arrow}
pushbutton. The blinking
cursor will reappear in the upper line of the
display and the underline cursor will appear in
the lower line of the display.
a. To substitute a new character in the
location of the blinking cursor, use the
arrow pushbuttons to move the underline
cursor to the location of the desired
character in the character table and press
the
{ENTER}
pushbutton.
b. To insert a character in front of the
blinking cursor, use the arrow pushbuttons
to move the underline cursor to INS and
press the
{ENTER}
pushbutton. Use the
arrow pushbuttons to move the underline
to the desired character in the character
table and press the
{ENTER}
pushbutton.
c. To delete the character at the blinking
cursor, use the arrow pushbuttons to
move the underline cursor to DEL and
press the
{ENTER}
pushbutton.
d. To clear the entire password and start
over, use the arrow pushbuttons to move
the underline cursor to CLR and press the
{ENTER}
pushbutton.
4. With the correct Access Level 2 password
spelled in the upper line of the display, press
the
{ESC}
pushbutton to move the cursor
from the lower line of the display. Now press
the
{ENTER}
pushbutton to accept the
password shown in the upper line of the
display.
•
Correct Password:
the relay displays the
message
Level 2 Access Granted
. Press
the
{ENTER}
pushbutton to continue your
task.
•
Incorrect Password:
the relay displays
the message
Invalid Password
. Press
{ENTER}
pushbutton to return to your
previous task.
5.5
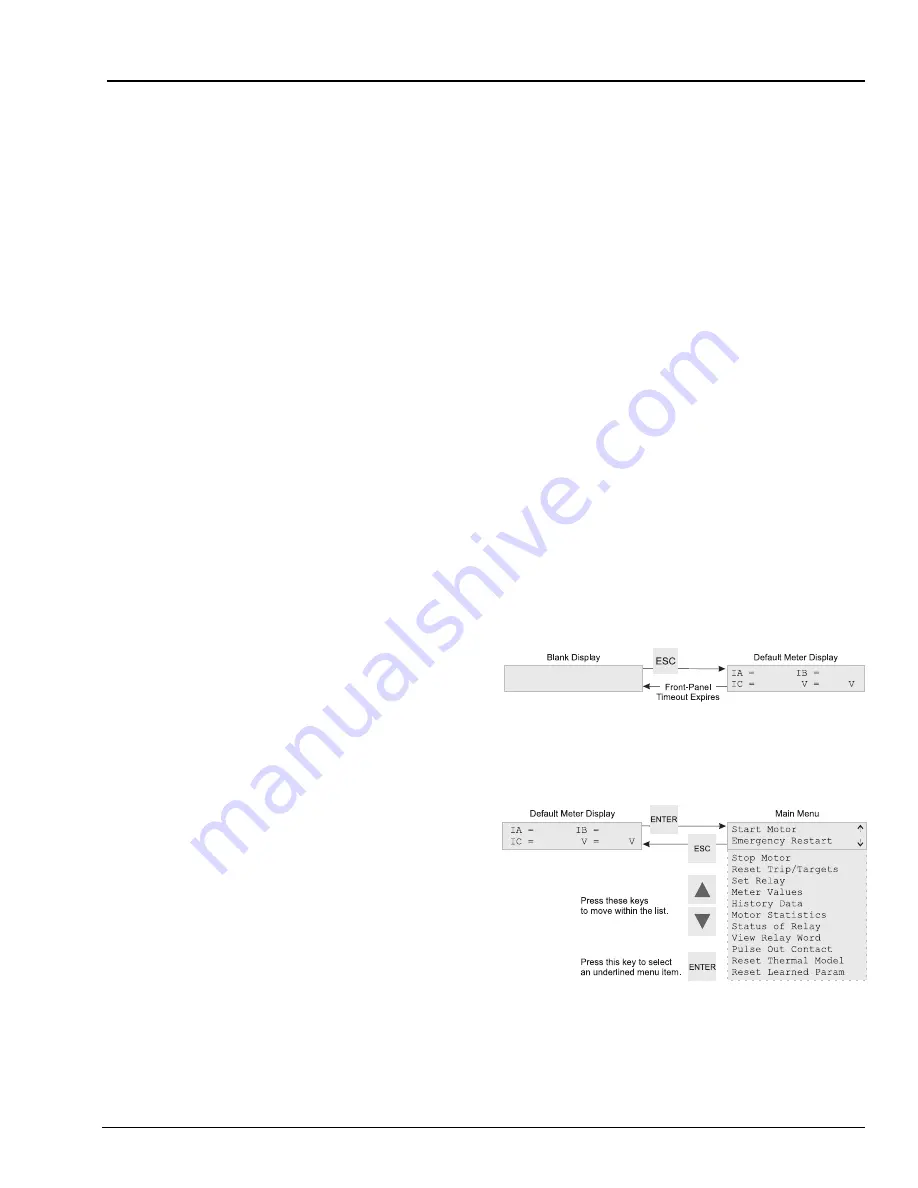
Front-Panel Main
Menu
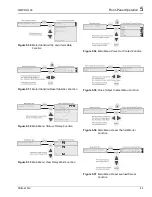
All access to information and relay settings
through the front panel starts at the relay Main
Menu. The remainder of this section describes
the use of the main and lower level menus.
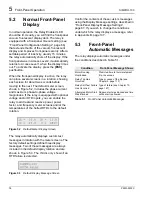
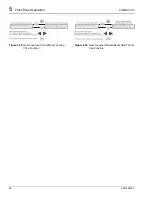
Figure 5.7
Activate Front-Panel Display
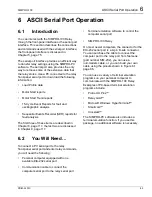
Figure 5.8
Front-Panel Main Menu
Summary of Contents for SIMPRO-100
Page 1: ...SIMPRO 100 Motor Protection Relay Instruction Manual Document No PRIM 2400C ...
Page 12: ...Contents SIMPRO 100 x PRIM 2400C ...
Page 16: ...Contents SIMPRO 100 xiv PRIM 2400C ...
Page 42: ...3 SIMPRO PC Software SIMPRO 100 40 PRIM 2400C ...
Page 100: ...6 ASCII Serial Port Operation SIMPRO 100 98 PRIM 2400C ...
Page 127: ...SIMPRO 100 Event Analysis 9 PRIM 2400C 125 Figure 9 2 Example SER Report ...
Page 136: ...10 Maintenance Troubleshooting SIMPRO 100 134 PRIM 2400C ...
Page 138: ...A Firmware Versions SIMPRO 100 136 PRIM 2400C ...
Page 206: ...D SIMPRO PC Compatibility Features SIMPRO 100 204 PRIM 2400C ...
Page 214: ...E Motor Thermal Element SIMPRO 100 212 PRIM 2400C ...
Page 230: ...F SIMPRO 100 Relay Settings Sheets SIMPRO 100 228 PRIM 2400C ...
Page 239: ......

