

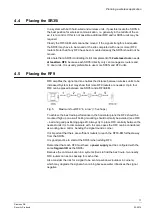


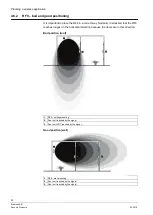
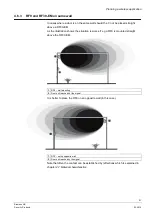
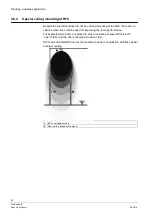


Installation
29
Siemens AB
Security Products
03.2014
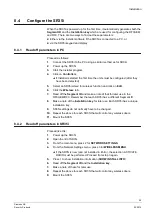
8.4 Configure the SR35i
When the SR35i is powered up for the first time, it automatically generates both the
Segment ID
and the
Installation key
which are used for configuring the RF30-EM
and RF9. There are two ways to find out these parameters:
Either via the Installer software if the SR35i is connected to a PC, or
via the SR35i keypad and display.
8.4.1 Read off parameters in PC
Proceed as follows:
1.
Connect the SR35i to the PC using a similar method as for SR34i
2.
Power up the SR35i.
3.
Start the
Installer
program.
4.
Click on
Controllers
If Installer is started the first time the units must be configured (after they
have been detected)
5.
Select an SR35i aimed for wireless function and click on
Edit
.
6.
Click the
Wireless
tab.
7.
Read off the
Segment ID
and make a note of that for later use in the
RF30-EM/RF9. Remember that each SR35i has a
different
Segment ID.
8.
Make a note of the
Installation key
for later use. Each SR35i has a unique
installation key.
9.
SR35i settings do not normally have to be changed.
10.
Repeat the above for each SR35i that will control any wireless doors.
11.
Mount the SR35i.
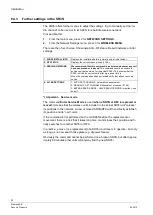
8.4.2 Read off parameters in SR35i
Proceed like this:
1.
Power up the SR35i
2.
Open the lid of SR35i.
3.
From the main menu, press 2 for
NETWORK SETTINGS
.
4.
From the Network Settings menu, press 3 for
WIRELESS MENU
.
If the SR35i is new (and not installed in Entro), the selection ACTIVATE
RADIO must be performed. Proceed from step 3 again.
5.
Press 1 to show installation information (
SHOW INSTALL INFO
)
6.
Read off the
Segment ID
and the
Installation key
.
7.
Make a note of these for later use.
8.
Repeat the above for each SR35i that will control any wireless doors.
9.
Mount the SR35i.