s
Product documentation 1D
3.8.
en
Rev. E, 10/13
page 24/42
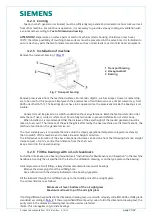
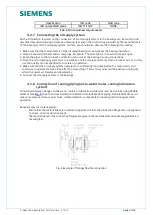
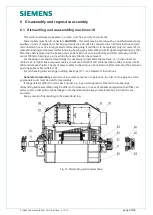
Fig. 9 Checking the alignment of shafts
Deviations of dimensions A and B measured at different positions may be greater than (see
Diameter of flange coupling (mm)
Deviation (mm)
to 250
0,02
over 250 to 400
0,03
over 400
0,05
Tab. 3 Deviations
4.2.9.2
Alignment of the coupling
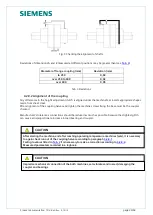
Any differences in the height adjustment clutch is aligned under the machine feet inserts appropriate shapes
made from sheet steel.
After alignment of the coupling halves and tighten the machine screws fixing the base must be the coupler
checked.
Manufacturer’s tolerances connections should be reduced as much as possible, because the slightest glitch
can cause a disproportionate increase in load bearing and coupler.
Imprecise mechanical connection of the both machines, sets vibrates and roared, damaging the
coupler and bearings.
CAUTION
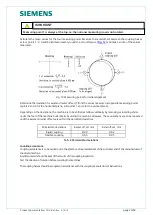
After starting the machine, and after reaching operating temperature machines (sets), it is necessary
to again check run out of the coupling halves according to paragraph
it is necessary to make a correction according to
Measured parameters recorded in a logbook.
CAUTION

