Connecting devices
Preparation for use and operation
Connecting a mouse
Connect the mouse to the mouse port.
Connecting devices with serial or parallel interface
Connect the data cable to the external device.
Connect the data cable from the external device to the appropriate interface on
the system Unit.
Connecting the monitor
Connect the data cable of the monitor to the monitor port of the system unit.
b
a
a
1
2
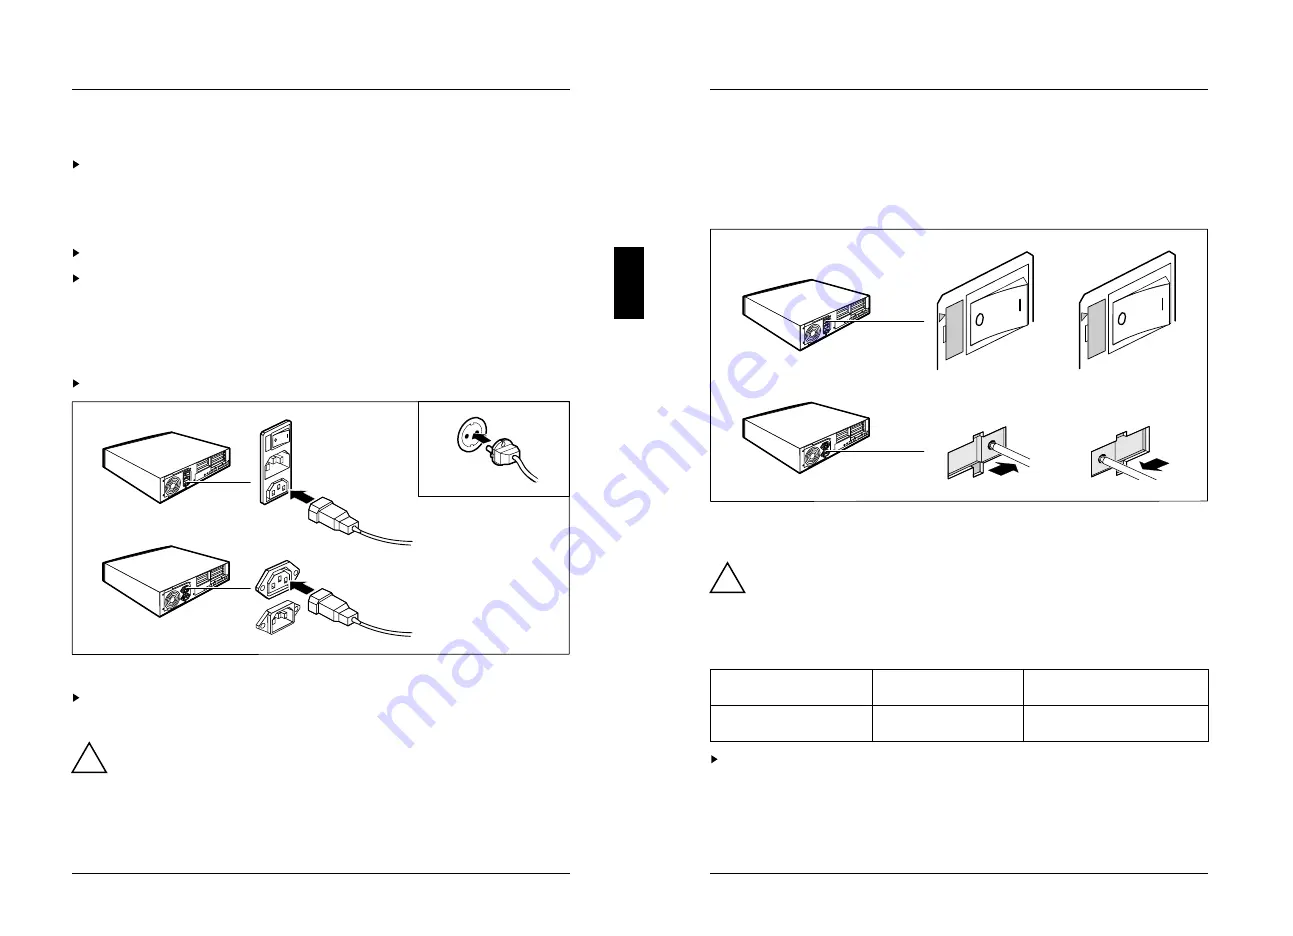
1 = System unit with main switch
2 = System unit without main switch
Depending on the connector, plug the monitor's power cable into either the
system unit (a) or the power outlet (b).
!
If monitor power consumption is greater than shown in chapter "Technical
data", do not plug the monitor into the monitor socket on the system unit
(see technical data on the monitor casing or in the monitor operating
manual).
A26361-K381-Z102-2-7619
15
Preparation for use and operation
Checking the rated voltage
Checking the rated voltage and connecting the
power cable
The changeover switch for rated voltage is located to the rear of the Docking Unit.
There are two different types of changeover switch.
1
2
100 V - 120 V
200 V - 240 V
115
23
0
11
5
23
0
23
0
11
5
1 = Plugin unit at system unit with
2 = Wiper switch at system unit without
main switch
main switch
!
In the case of a plugin unit (1), the upper value (arrow) must agree with the
local line voltage. The rated voltage (115V or 230V) shown on the wiper
switch (2) must agree with the local line voltage.
Always check that the correct voltage has been set at the monitor, printer
and any other peripheral.
Rated voltage
115 V
230 V
Voltage range
100 V - 120 V
200 V - 240 V
Check the rated voltage and set up the correct value.
Plugin unit (1):
Lift out the plugin unit with a screwdriver, turn it and replace it.
Wiper switch (2): Move the wiper switch to the correct position.
16
A26361-K381-Z102-2-7619


