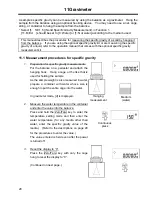
40
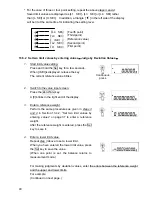
(Fourth point)
(Third point)
(Reference value)
(Second point)
(First point)
* For the case of three or four point setting, repeat the above
steps 3 and 4
.
Saved limit values are displayed as [L1 SEt] - [L3 SEt] or [L4 SEt] rather
than [L. SEt] or [H. SEt]. In addition, a triangle [ ] in the left side of the display
will be lit at the same time for indicating the setting level.
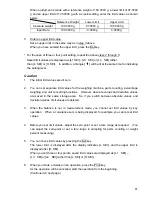
13.5.2 Set two limit values by entering values
−
Judge by Deviation Values
−
1. Start limit value setting.
Press and hold the Set key for a few seconds.
When [r.SEt]is displayed, release the key.
The current reference value blinks.
2. Switch to the value input screen.
Press the Zero/Tare key.
A [0] blinks in the right end of the display.
3. Enter a reference weight.
Perform the same procedures as given in
steps 3
and 4
in Section 13.4.2, “Set two limit values by
entering values” on page 37 to enter a reference
weight.
After the reference weight is entered, press the Set
key to save it.
4. Enter a lower limit value.
Repeat
step 3
above to set a lower limit.
When you have entered the lower limit value, press
the Set key to save the value.
(When one point is set, the balance returns to
measurement mode.)
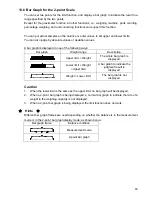
For making judgments by deviation values, enter the errors between the reference weight
and the upper and lower limits.
For example:
(Continued on next page.)
Continuous
press
『
L4 SEt
』
『
L3 SEt
』
『
L2 SEt
』
『
L1 SEt
』
『
r.SEt
』


