SHIELD SmartCam USER MANUAL
8
SHIELDeye LiveWatch UI
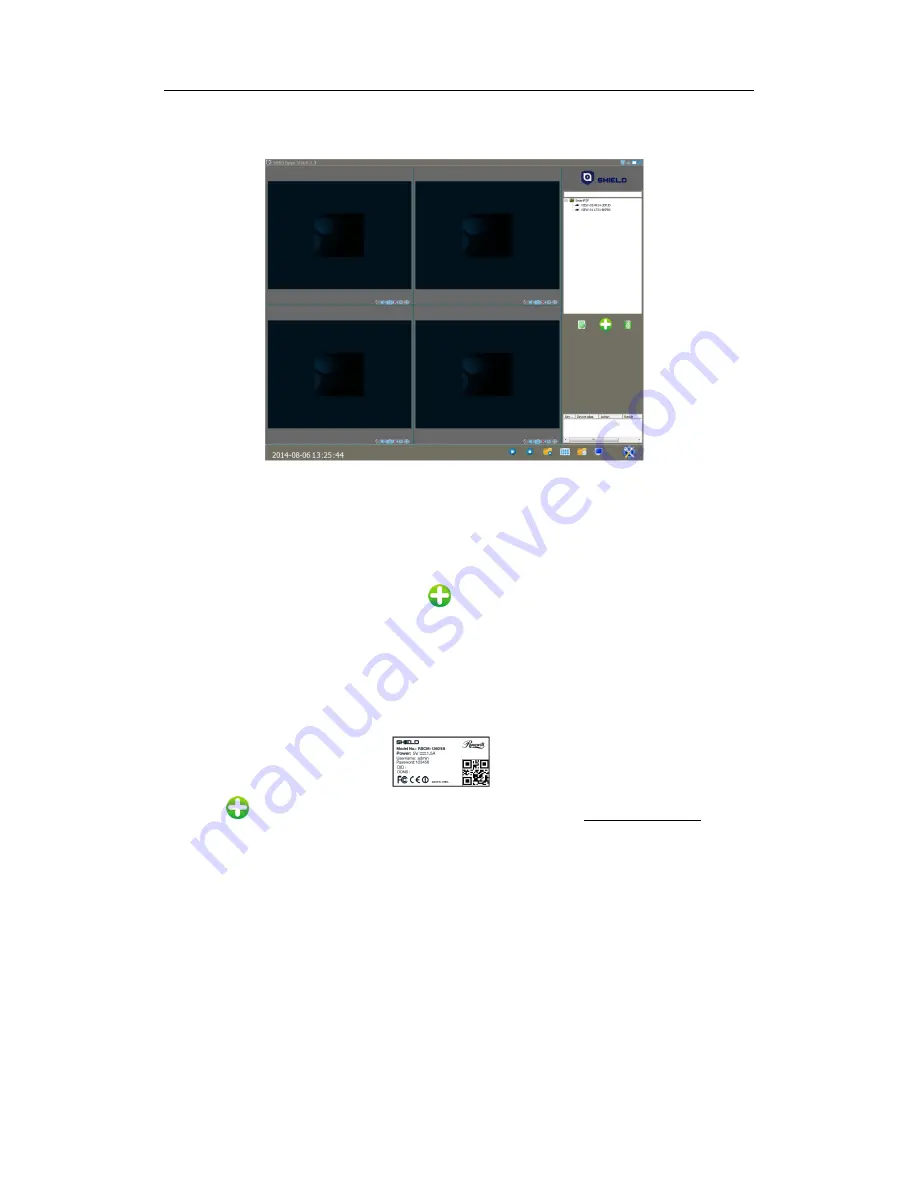
When you launch SHIELDeye, you will see the screen below which is
LiveWatch UI
.
When you finish installing the SHIELDeye, it allows you to connect multiple cameras up to 16,
record videos, take snapshots, configure Wi-Fi settings, and use 2-way audio conversation
remotely.
If you feel confused with the button, you can move and hover your mouse cursor over
the button to see a detailed explanation of it.
Adding to the Camera List
The camera contains a unique device ID (DID)
code that’s embedded on a QR code sticker.
The DID helps you to connect your PC or Smart phone to the camera in just a few simple
steps using SHIELD
’s Peer-to-Peer (P2P) network technology.
Before you begin the following steps, look for the QR sticker on the bottom of the camera
and write down the DID code.
Click the
button. This displays the
Add Device Mode
window (shown next page)
1.
Search to Add:
S
elect “
Smart P2P”
in Device Type and search. The name of the
corresponding camera will appear. Enter the DID and password and
save
; the DID will
then be saved in
Camera List
.
2.
Add device manually
: Select
“Add device manually”
to edit device information The item
marked * must be filled out. (Suggest naming your camera for easy identification in the
device alias field)
3
. The camera you’ve just added will appear in the camera list in the
LiveWatch UI
. Since it’s
the first camera added, it will occupy the number 1 row in the list. If more cameras are
added, these cameras will be listed in the order they are added.
4. Double click on the camera name to start watching live video on the corresponding
channel number.
Summary of Contents for SmartCam RSCM-13701W
Page 1: ......


