


Page 45
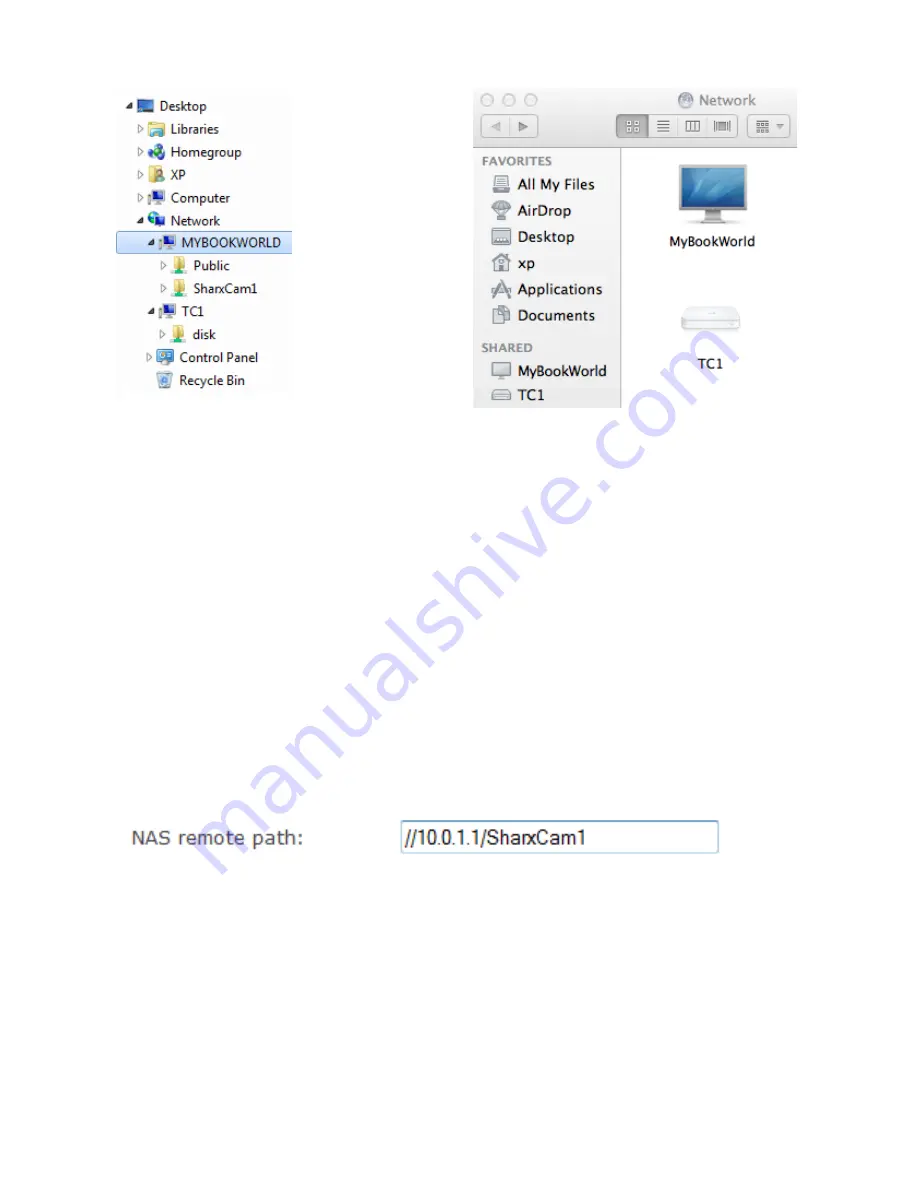
Network folder as shown on a PC:
Network folder as shown on a Mac:
To set up a Time Capsule for use with Sharx Cameras:
In Airport Utility, go to
the “Disks” icon at the top, then to the File Sharing tab, make sure “Enable File
Sharing” is checked. Use “Secure Shared Disks” setting: “With accounts”, then
configure an account for each camera, for example “SharxCam1”. No spaces or
punctuation are allowed in the account name or password. Make sure the
account has “Sharing Access” of “Read and Write”, then update these settings.
Next, go to the globe shaped “Internet” icon at the top, click on the TCP/IP
tab, and check the IP address of the Time Capsule. Typically the IP address is
10.0.1.1 but can be different if the Time Capsule is in bridge mode.
Go to the camera’s “Storage Setup” menu, enable it, select “NAS”, then for
the NAS remote path enter these things exactly with no extra spaces: two
slashes, the Airport’s IP address from the previous step, one slash, then the
name of the user account you created for the camera. If you followed the
example above, the camera’s NAS path would be:
Then click on “Yes” for authorization, enter the username and password for
the account you created, “Apply”, and after about a minute click on “System”
at the top of the camera’s settings screen again, and scroll all the way down to
the storage section. You should have a NAS status of “Ready” and lots of
storage available.
Now you can use “Record on Alarm” for motion detection video, “Continuous
Record”, “Snapshot on Alarm”, or “Snapshot at Interval”. When the limit of
10,000 files is reached or storage is full, the oldest files are deleted.


