Page 13
Generic Quickstart
The previous Quickstart sections showed you how to obtain the initial IP
address of the camera if you have a Mac or PC with typical configuration.
In other cases it may be easiest to log into your router’s web based setup
menu. For the exact details you may need to refer to your router’s manual,
which is usually available for download on the router manufacturer’s support
web site.
Typically you access your router’s web menu by typing the router’s IP address
into a browser window. Common IP addresses are:
http://192.168.0.1
,
http://192.168.1.1
,
http://192.168.10.1
, or
http://192.168.1.254
.
Once you’re logged into your router, you would look for a status screen or
menu that mentions LAN or DHCP client list (LAN means local area network).
Typically there is a list of attached devices, and among these it is easy to pick
out the IP camera since the name starts with SCNC, or there will be a 12 digit
number that matches the number on the tag or sticker of the camera.
Regardless of the method you used to find your camera’s IP address, once
you’ve clicked on the icon or entered the IP address manually into your
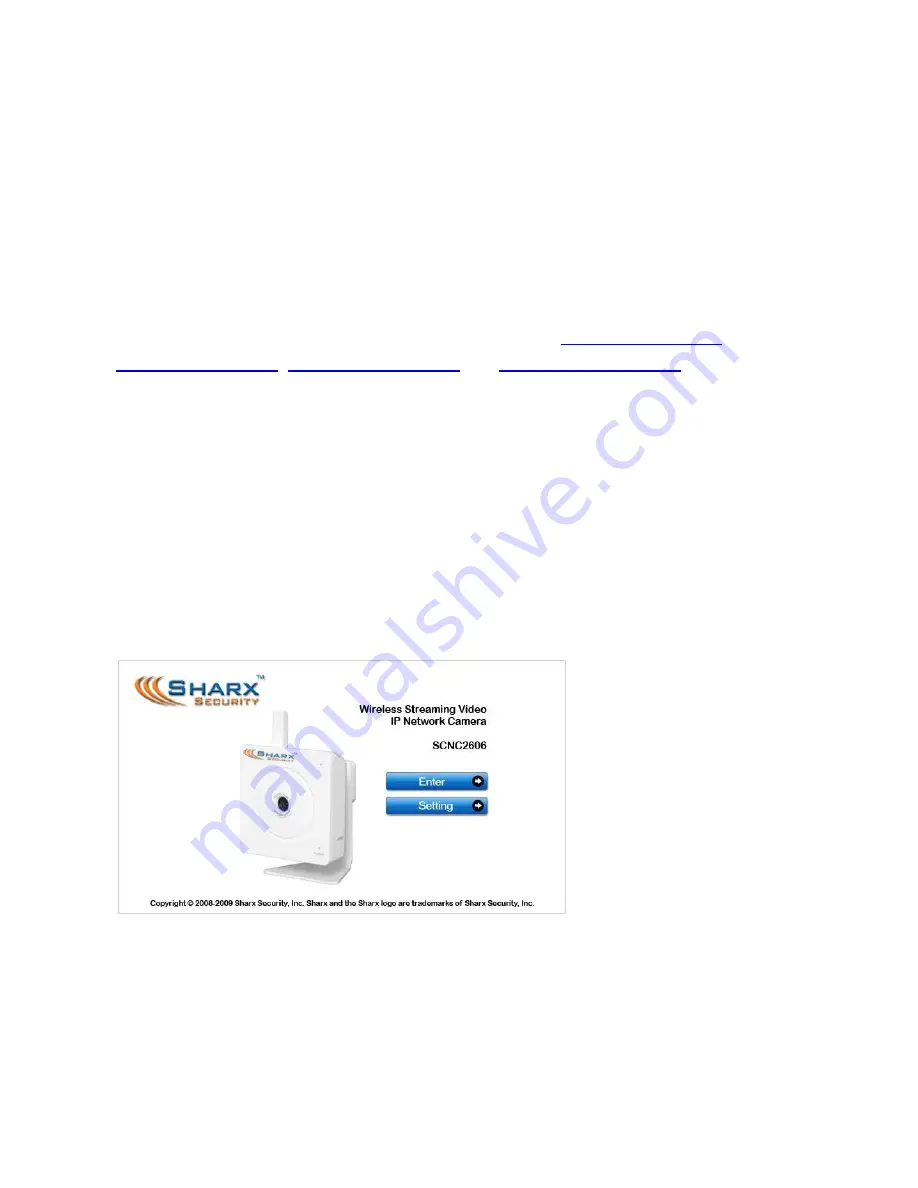
browser (with http://), you get to the main login screen for the camera:
To see video, click on “Enter”, then username:
admin
and password:
admin
.
To complete the camera setup, it is easier if you close all video windows and
go to the main login screen again, then instead of clicking on “Enter” you
would just click on “Setting”.


