


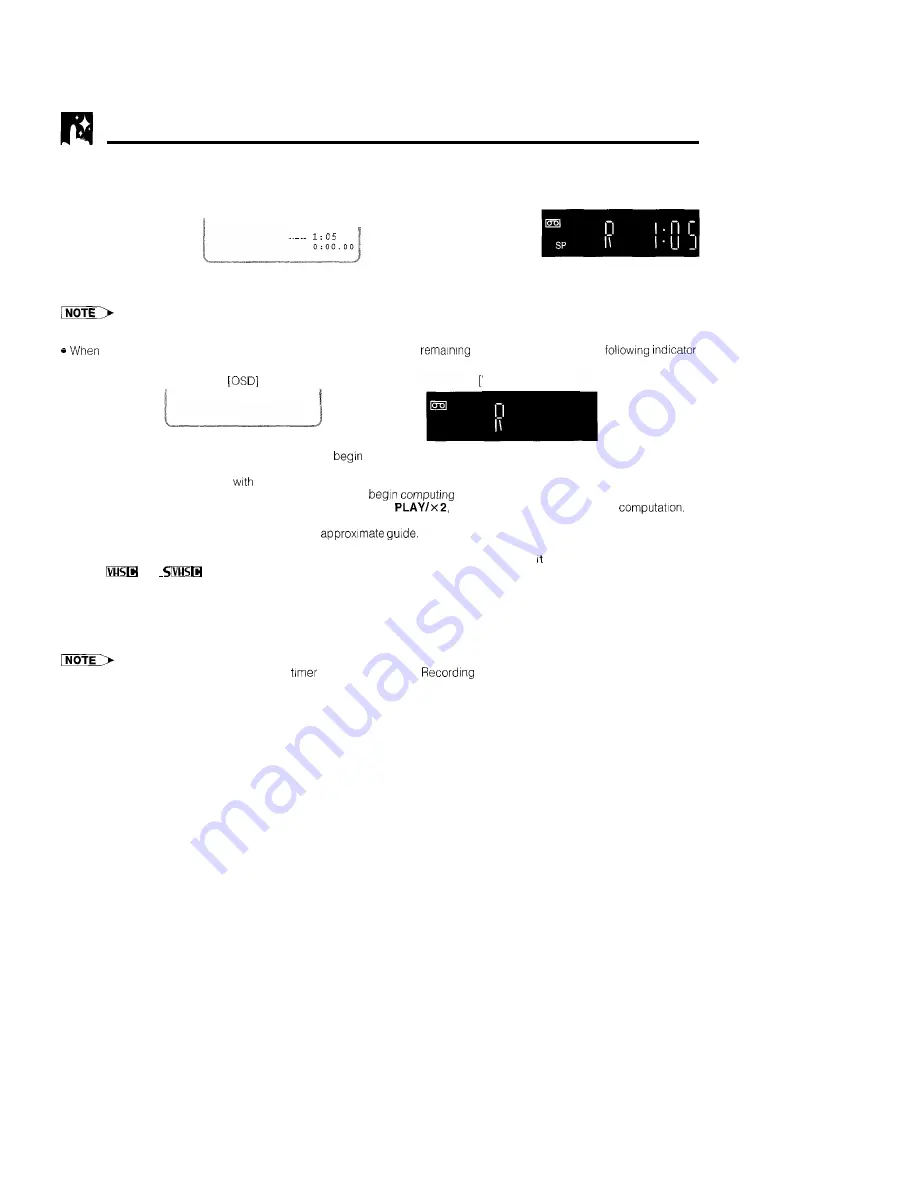
Tape Remaining Display
The tape remaining display only works with tapes recorded in PAL. It does not work with tapes recorded in
NTSC.
On Screen Display
l
Select FULL or
COUNTER display
mode by pressing
MODE OSD
on
the
remote control
VCR Display
l
Press DISPLAY on
REM
the remote control.
l
This function accurately displays the tape remaining only for tapes recorded in PAL mode. (It does not accurately
display the tape remaining for tapes recorded in NTSC mode.)
you insert
the tape and the VCR
IS
in the stop mode, the tape
cannot be computed. The
is shown when the tape remaining has not yet been computed or cannot be computed
REM
VCR display]
l
When you start recording or playback, the VCR will
the computation. However, this may take some time.
When computation
IS
completed, tape remaining will be shown on the OSD and VCR display for 5 seconds.
l
If the “REM.” mode is selected
MODE OSD or DISPLAY and the VCR is in stop mode, the tape will automatically fast
forward or rewind for a few seconds and then the VCR will
the amount of tape remaining.
l
During computation, REC will not function, and pressing STOP,
or other buttons will interrupt the
l
Setting the DPSS or ZERO-BACK function during computation may cancel it.
l
The indicated length of tape remaining is only an
l
This function may not properly work for video tapes other than E-60, E-90, E-180 and E-240.
l
The length of tape remaining during fast forward or rewind may be indicated as greater than actually is.
l
When
and
tapes are used with a cassette adapter, the indication may not be correct.
Warning for the length of tape remaining
When the tape reaches the point where only about five minutes of recording time is left, the remaining length of
tape will be automatically displayed, as a warning.
l
No warning, however, will be shown during
recording or Simple
Timer recording
3 7