


E-17
SD-AS10W_EX_E.fm
05/3/18
ENGLISH
TINSZA124AWZZ
SD-AS10W
Pr
epara
tion f
o
r Us
e
- A
C
po
we
r
c
onne
c
tion / Se
tting t
h
e
AM
/F
M
inte
rv
a
l -
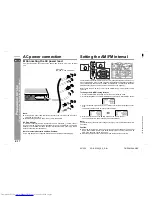
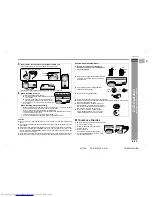
AC power connection
"
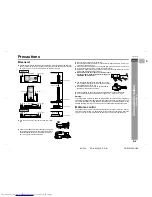
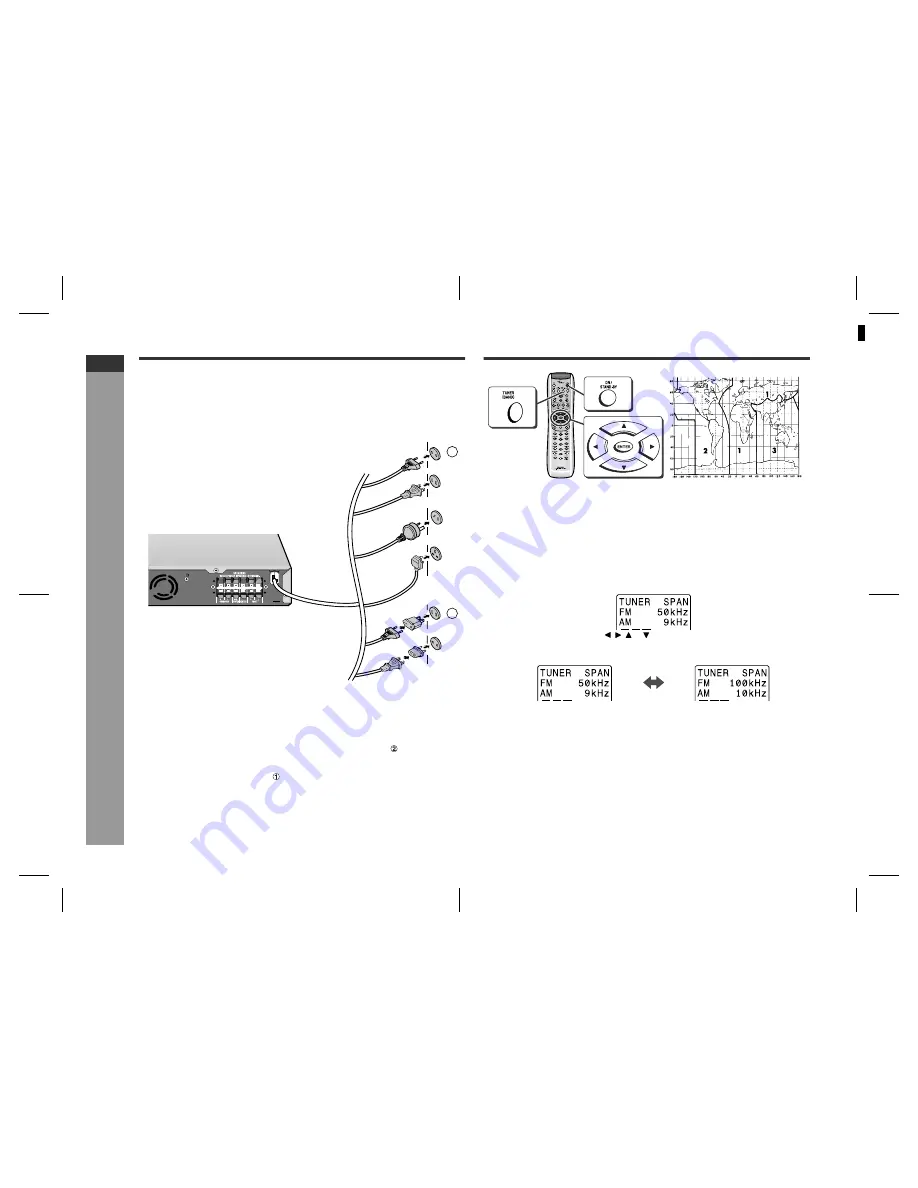
Connecting the AC power lead
After checking all the connections have been made correctly, plug in the amplifier
unit.
Note:
!
Unplug the AC power lead from the wall socket if the unit will not be in use for a
prolonged period of time.
!
Before unplugging the AC power lead, remove all the discs.
AC Plug Adaptor
In areas (or countries) where a wall socket shown in illustration is used, connect
the unit using the AC plug adaptor supplied with the unit, as illustrated. The AC plug
adaptor is not included in areas where the wall socket and AC power plug can be
directly connected (see illustration ).
Note for users in Australia and New Zealand:
An AC plug adaptor is not supplied if the lead has an Australian Standard plug.
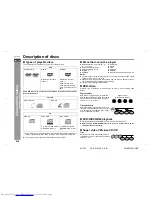
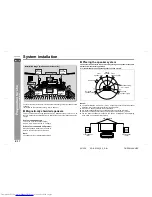
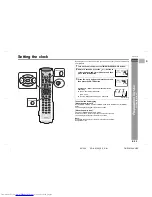
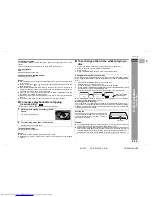
Setting the AM/FM interval
The International Telecommunication Union (ITU) has established that member coun-
tries should maintain either a 10 kHz or 9 kHz interval between broadcasting frequen-
cies of AM stations and 100 kHz or 50 kHz for FM stations. The illustration shows the
50/9 kHz zones (regions 1 and 3), and the 100/10 kHz zone (region 2).
Before using the unit, be sure to set it to the AM/FM tuning interval (span) used in
your area.
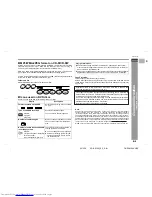
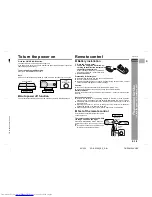
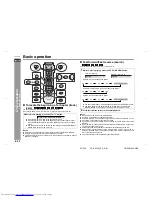
To change the AM/FM tuning interval:
Note:
The AM/FM tuning interval will not change unless you press the ENTER button within
6 seconds.
Caution:
!
When the unit is left for a few hours after the span is switched and the AC power
lead is disconnected, the AM span automatically returns to 9 kHz (FM span to 50
kHz). If this happens, set the span again.
!
When the span is switched, all the memorised stations will be cancelled.
Wall socket
(AC 220 V - 240 V, 50/60 Hz)
1
2
1
Press the ON/STAND-BY button to enter the power stand-by mode.
2
Whilst holding down the TUNER (BAND) button, press the ON/STAND-BY button.
3
Within 6 seconds, press the , , or button to select the interval (span) in your
area.
The display switches each time you press the button.
4
Within 6 seconds, press the ENTER button on the remote control.
The unit will enter the power stand-by mode automatically.
1
SHARP TI
NSZ
A
1
2
4
A
WZ
Z (
W
)


