


5-4
5
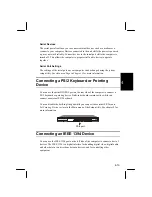
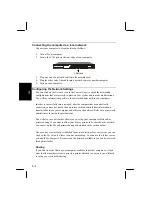
Connecting the computer to a local network
Connect your computer to a local network as follows:
1.
Turn off your computer.
2.
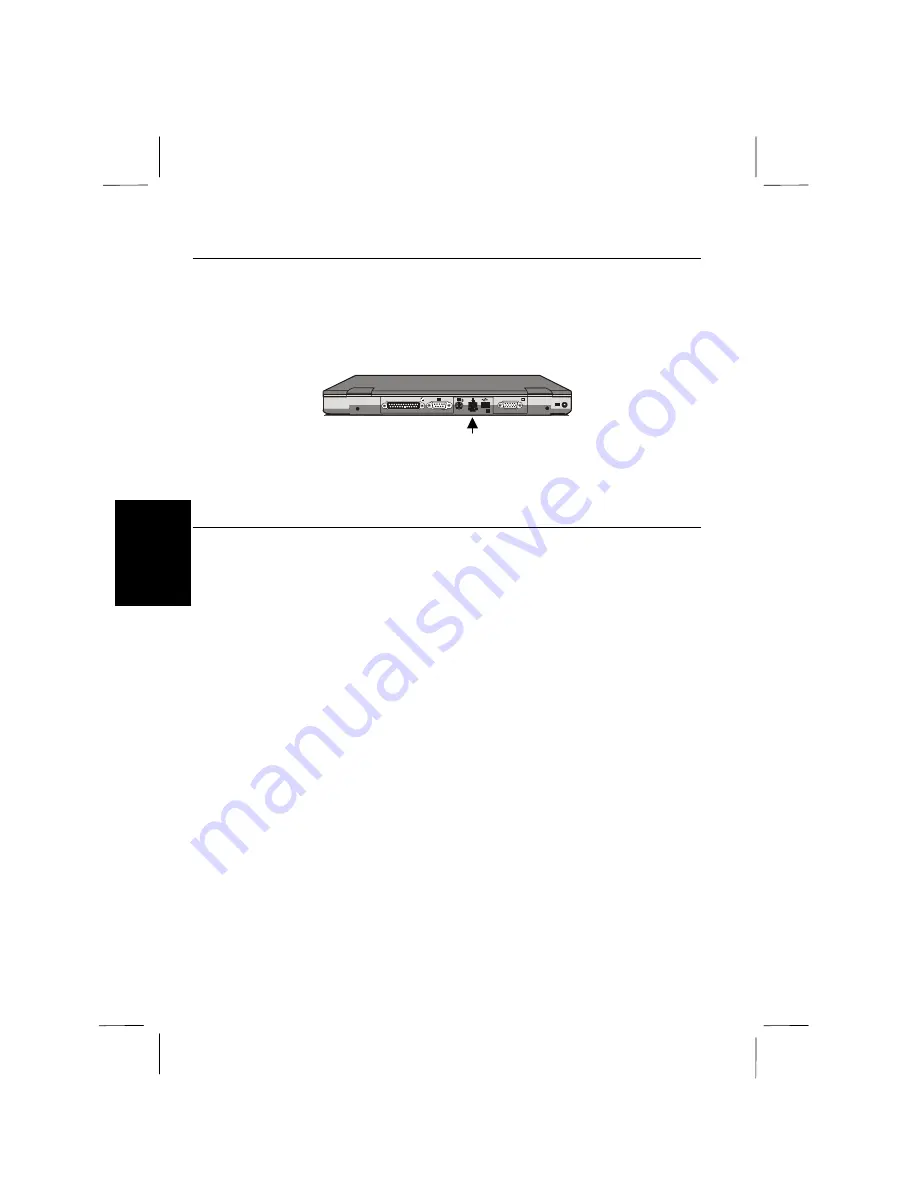
Locate the LAN jack on the rear edge of your computer.
LAN jack
3.
Plug one end of a network cable into the network jack.
4.
Plug the other end of the cable into a network router or another computer.
5.
Turn on your computer.
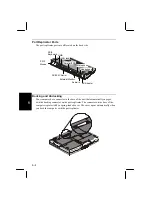
Configuring the Network Settings
You can click on the
Network
icon in the
Control Panel
to check the networking
configurations that are currently in place on your system and to make modifications.
You will see information specific to the network adapter built-in your computer.
In order to successfully join a network, after the computer has been physically
connected, you need at least define a protocol, which controls how information is
transferred between your computer and others on the network. Refer to your network
administrator for network specifications.
You will also see a button that allows you to set up your computer for file and/or
printer sharing. If you want to allow your files or printer to be shared on the network,
you can set up the file and printer sharing as described in the section below.
Once you have successfully established the network settings for your system, you can
click on the
My Network Places
icon on your desktop. You can use this folder just as
you would
My Computer
. Resources on the network available to you can be accessed
through this folder.
Sharing
If you want to make files on your computer available to another computer, or if you
want to allow another system to print to a printer attached to your unit, you will need
to set up your system for sharing.
Summary of Contents for PC-AR Series
Page 17: ...xvi ...
Page 93: ...8 8 8 Save Changes Saves the settings you have changed ...


