


30
HOW TO USE THE NETWORK SCANNER FUNCTION
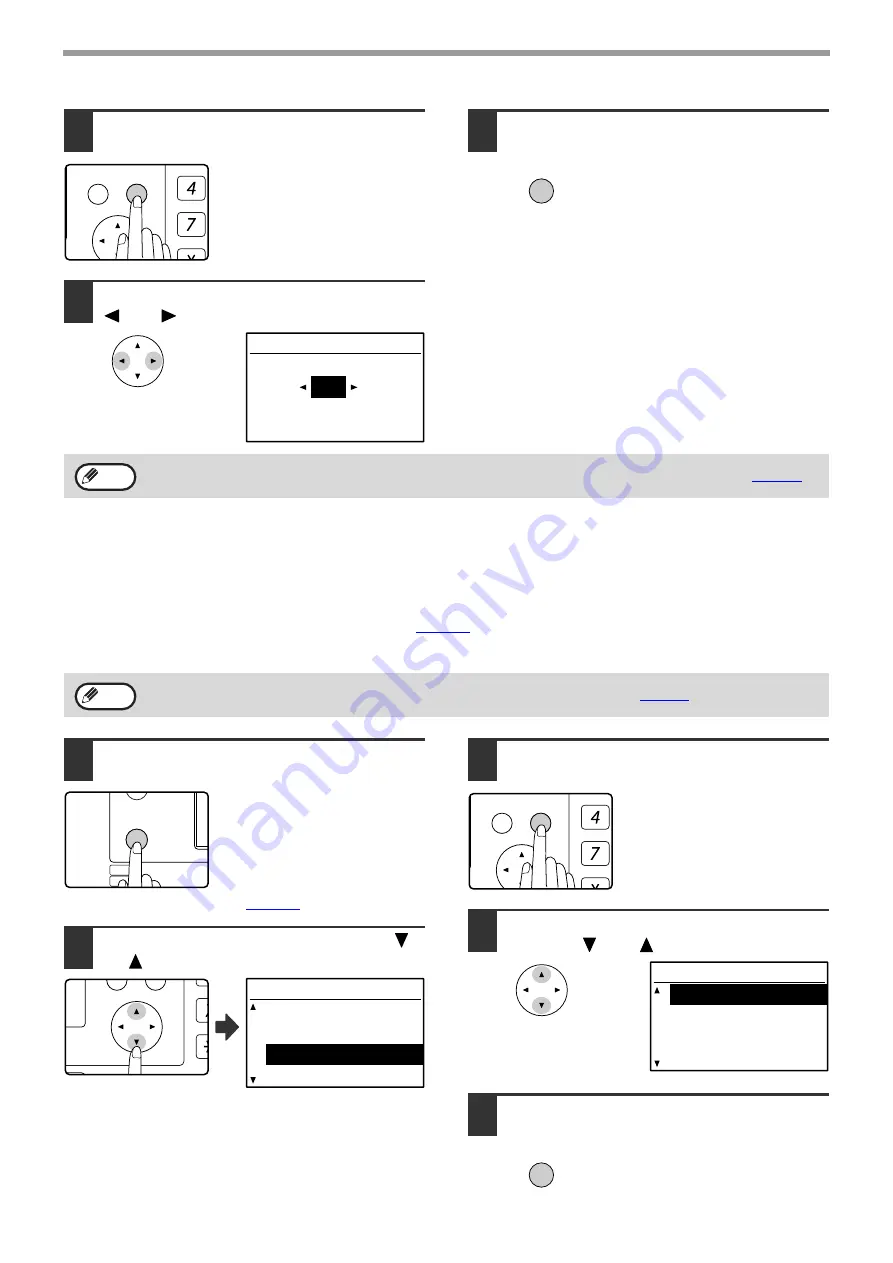
3
Press the [OK] key.
4
Adjust the scanning exposure with the
[
] or [
] key.
5
Press the [OK] key.
The setting is stored and you
return to the base screen.
SETTING THE LIGHT SOURCE COLOR
When scanning in black and white mode, you can set the light source color.
For example, if you do not wish to scan the red parts of an original, set the light source color to "RED". ("WHITE" will
cause all colors to be scanned.)
Select scan mode, place the original (steps 1 to 3 on
), and then follow the procedure below.
The factory default setting for the light source color is "WHITE".
If you need to change the light source color, follow these steps.
1
Press the [SPECIAL FUNCTION] key in
scan mode.
Perform this operation from the
base screen of scan mode.
When the [SPECIAL
FUNCTION] key is pressed, the
special function menu appears.
(To select scan mode, see step
1 on
.)
2
Select "LIGHT SOURCE" with the [
]
or [
] key.
3
Press the [OK] key.
4
Select the desired light source color
with the [
] or [
] key.
5
Press the [OK] key.
The setting is stored and you
return to the base screen.
GHI
PQRS
BACK
OK
AN
X
EXPOSURE ADJUST
3
(1~5)
OK
The scanning exposure can be adjusted only when "COLOR MODE" is set to "COLOR" or "GRAY". (
The light source color can only be selected when the color mode is set to "B/W". (
)
Note
Note
EXPOSURE
COLOR MODE
PAPE
RESOLUT
COPY
SCAN
SPECIAL
FUNCTION
LINE
DATA
DATA
ON LINE
PQ
ACC
LEX SCAN
LEX SCAN
UPLEX
SPECIAL FUNCTION
B/W THRESHOLD
EXPOSURE ADJUST
LIGHT SOURCE
VOID AREA
GHI
PQRS
BACK
OK
AN
X
LIGHT SOURCE
WHITE
RED
GREEN
BLUE
OK