26
FU-28H-S
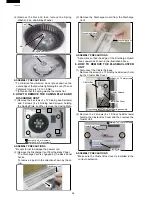
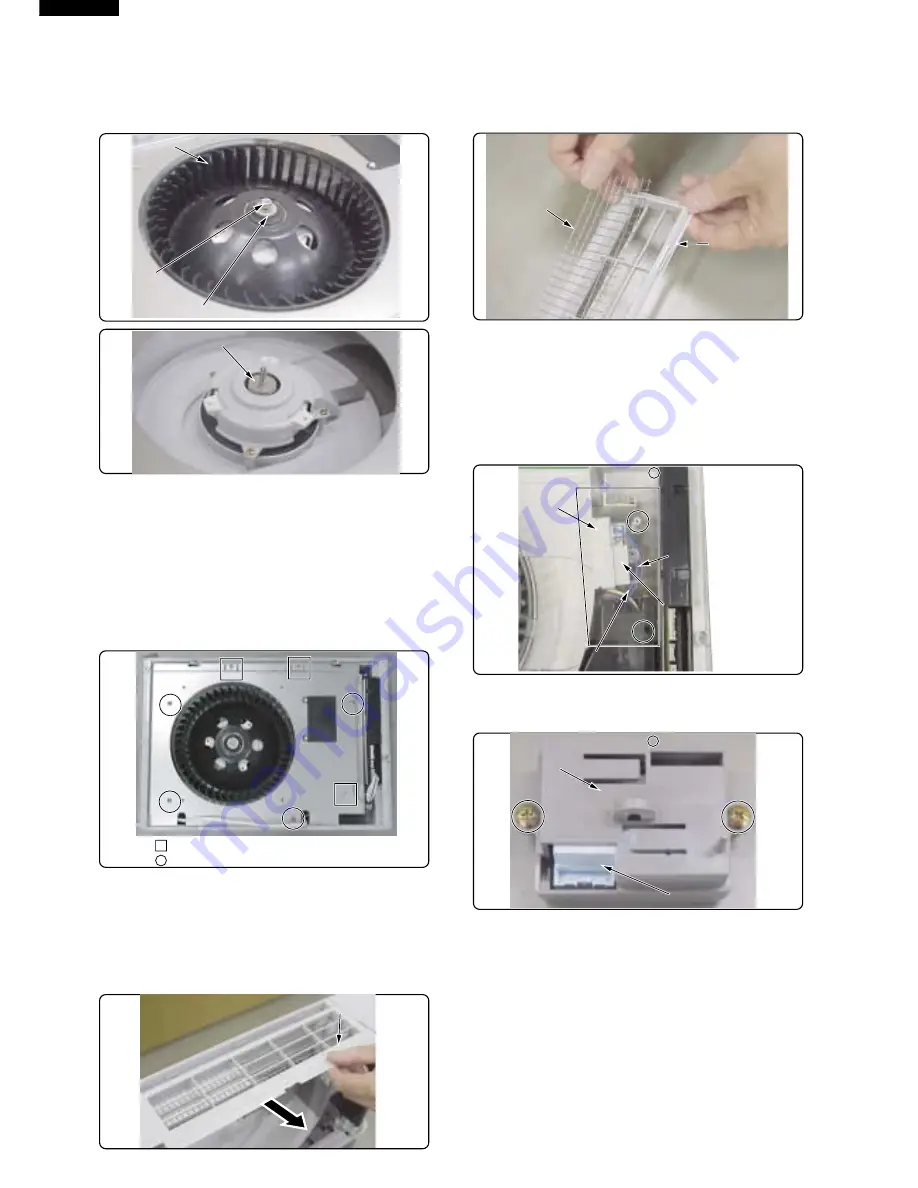
(2) Remove the Nut and then remove the Spring
Washer, Fan, and Sitting Washer.
Spring
Spring Sasher
asher
Nut
Nut
Fan
Fan
Spring Sasher
Nut
Fan
Sitting
Sitting Washer
asher
Sitting Washer
ASSEMBLY PRECAUTIONS
* To minimize fan vibration, do not press down on the
outer edge of the fan while tightening the nut. (The nut
tightening torque is 1.6 to 1.8 Nm)
* Tighten so that the spring washer becomes flat.
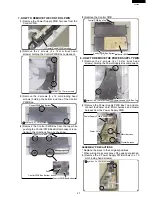
5. HOW TO REMOVE THE CASING PLATE AND
DISCHARGE VENT
(1) Remove the 4 screws (4 x 12 binding head screws)
and 3 screws (4 x 8 binding head screws) holding
the Casing Plate, and then remove the Casing Plate.
symbol: 4 x
symbol: 4 x 8 mm screws
mm screws
symbol: 4 x 1
symbol: 4 x 12 mm screws
mm screws
symbol: 4 x 8 mm screws
symbol: 4 x 12 mm screws
ASSEMBLY PRECAUTIONS
* Be careful not to damage the power cord.
(2) Remove the Discharge Vent from the Back Panel.
The Discharge Vent is engaged by the Back Panel
hooks.
To remove it, pull it in the direction shown by the ar-
row.
Discharge
Discharge Vent
ent
Discharge Vent
(3) Remove the Discharge Guard from the Discharge
Vent.
Discharge
Discharge Vent
ent
Discharge
Discharge Guard
uard
Discharge Vent
Discharge Guard
ASSEMBLY PRECAUTIONS
* Assemble so that the edge of the Discharge Guard
faces upward as shown in the illustration above.
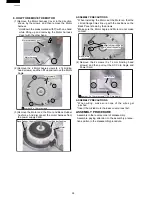
6. HOW TO REMOVE THE PLASMACLUSTER
UNIT
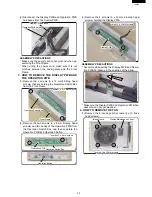
(1) Disconnect the Cluster harness.
Remove the screw (4 x 10 binding head screw) hold-
ing the Cluster Box Cover.
Cluster Box Cover
Cluster Box Cover
Hook the harness on the boss during assembly.
Hook the harness on the boss during assembly.
Cluster harness
Cluster harness
Cluster Box
Cluster Box
symbol: 4 x 10 mm screws
symbol: 4 x 10 mm screws
Cluster Box Cover
Hook the harness on the boss during assembly.
Cluster harness
Cluster Box
symbol: 4 x 10 mm screws
(2) Remove the 2 screws (4 x 10 truss head screws)
holding the Cluster Box Cover and then remove the
Cluster Unit.
Cluster Unit
Cluster Unit
Cluster Box
Cluster Box Cover
Cover
symbol: 4 x 10 mm screws
symbol: 4 x 10 mm screws
Cluster Unit
Cluster Box Cover
symbol: 4 x 10 mm screws
ASSEMBLY PRECAUTIONS
* Make sure the Cluster Box Cover is installed in the
correct orientation.

