37
Recording to HDD
Direct Recording to HDD
HDD
Explained below is the standard procedure
for recording the programme being viewed
onto HDD.
• A maximum of 12 hours can be recorded
onto HDD in one direct recording session.
• A maximum of 199 programmes can be
recorded (saved) onto HDD.
NOTE
• The content being recorded will not be
recorded if power failure occurs or if power
cord is accidentally unplugged.
* Also direct recording to a DVD-RW/R is
possible (page
38
).
Preparation for Direct Recording
• When you record NICAM broadcast, set
“NICAM” setting to “AUTO” (see page
95
).
• When recording to the HDD, the recorded
data is the same as that recorded to a
DVD-RW in VR mode.
1
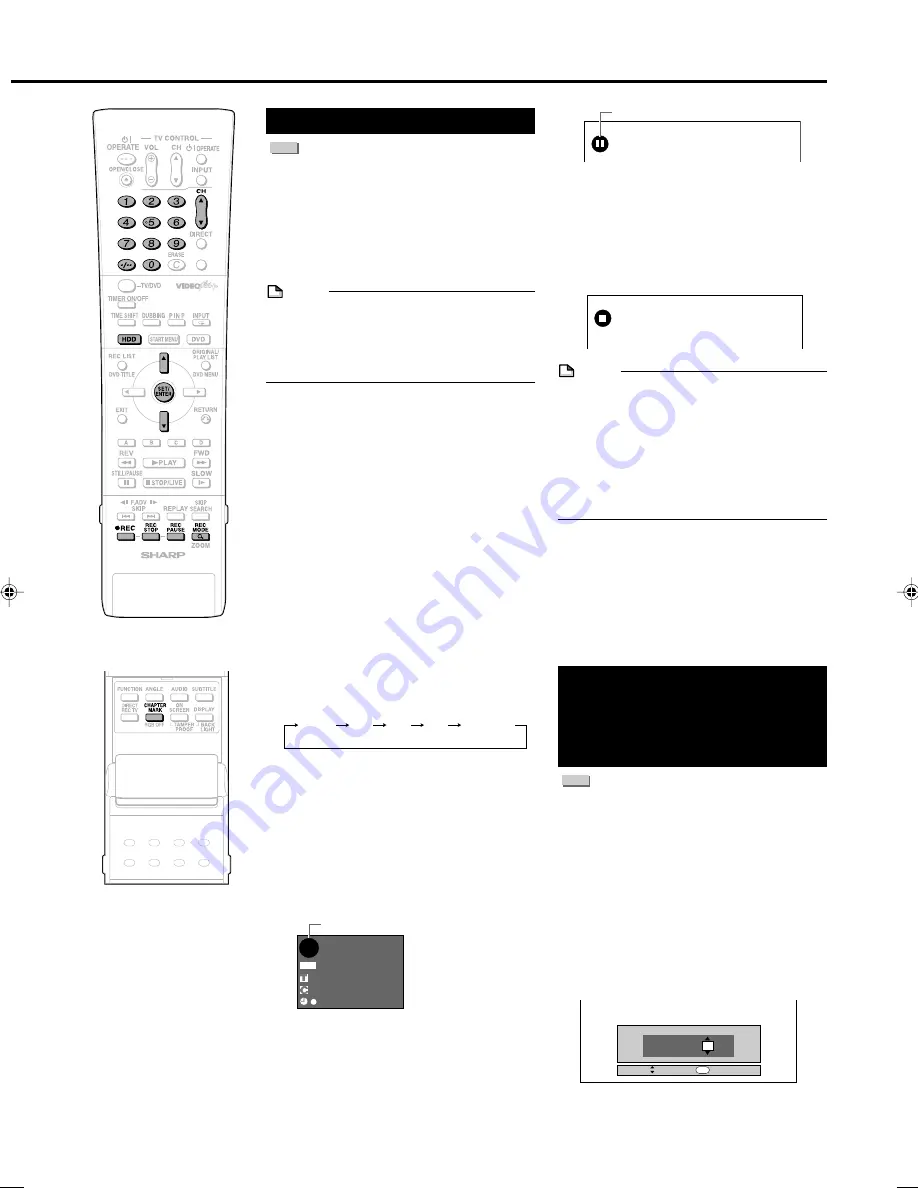
Press
HDD
to select HDD mode
.
• The
HDD
button on the front of the
Recorder lights up.
• HDD mode is selected automatically
when the power is turned on.
2
Press the
Number
buttons or
CH
'
/
"
to select the channel to
be recorded.
3
Press
REC MODE
to select the
recording mode.
• The recording mode changes as
shown below each time the button is
pressed.
• Recording mode set by selecting
“MN
gg
” is the recording mode set
on the “MANUAL REC. MODE” Select
screen (page
41
).
4
Press
Æ
Æ
Æ
Æ
Æ
REC
during broadcast
viewing.
• Recording begins and REC icon
displays in TV screen.
• REC indicator (for HDD) on the front of
Recorder is lit red during recording.
5
Press
REC PAUSE
to pause
recording.
• Record Pause does not work during
Chasing Playback.
• During pause, the REC indicator (for
HDD) on the front of the Recorder
blinks.
VIDEO Plus+
FINE
SP
LP
EP
MN
gg
HD
OR
I N AL
D
I G
REMAIN 19h8m
0 0 : 1 9 : 3 0
1 / 1
1 / 1
F I NE
REC
STOP TIME 10 :
30
SELECT
ENTER
ENTER
SET STOP TIME.
6
Press
REC PAUSE
to resume
recording.
7
Press
REC STOP
to stop record-
ing.
• “DATA IS BEING RECORDED TO
DISC.” displays on TV screen and
recording stops.
NOTE
• Data is still written to the disc after recording
is stopped, and so you may be unable to
start the next recording immediately.
• You cannot record programmes whose
recording is prohibited.
• Timer recording cannot be performed
during direct recording. To perform timer
recording, stop direct recording before the
preset time for timer recording.
Inserting Chapter Marks
Manually during Recording
Press
CHAPTER MARK
(under the cover).
• “RECORDED CHAPTER MARK. ” is
displayed and chapter mark will be
inserted.
• You cannot insert chapter marks during
Simultaneous Recording/Playback.
Setting the Record End
Time during Direct
Recording (Simple
Recording Timer)
HDD
1
Press
Æ
Æ
Æ
Æ
Æ
REC
on the remote
control during recording.
• The “SET STOP TIME” screen is
displayed.
2
Press
'
/
"
to set the end time.
• The end time can be set in units of 15
minutes.
• Total recording time cannot exceed
12 hours so the end time has to be
set accordingly.
• Press
EXIT
to stop setting midway
through.
3
Press
SET/ENTER
.
• The record end time is set, and the
Simple Recording Timer indicator
(clock mark) lights up on the front
display panel.
REC icon
REC PAUSE icon
DV-HR350H/300H-034-039
2004.4.8, 10:40 AM
37


