Chapter 2 Getting Started
13
Setting up Desktop Destination Control
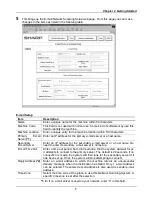
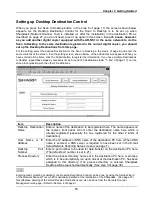
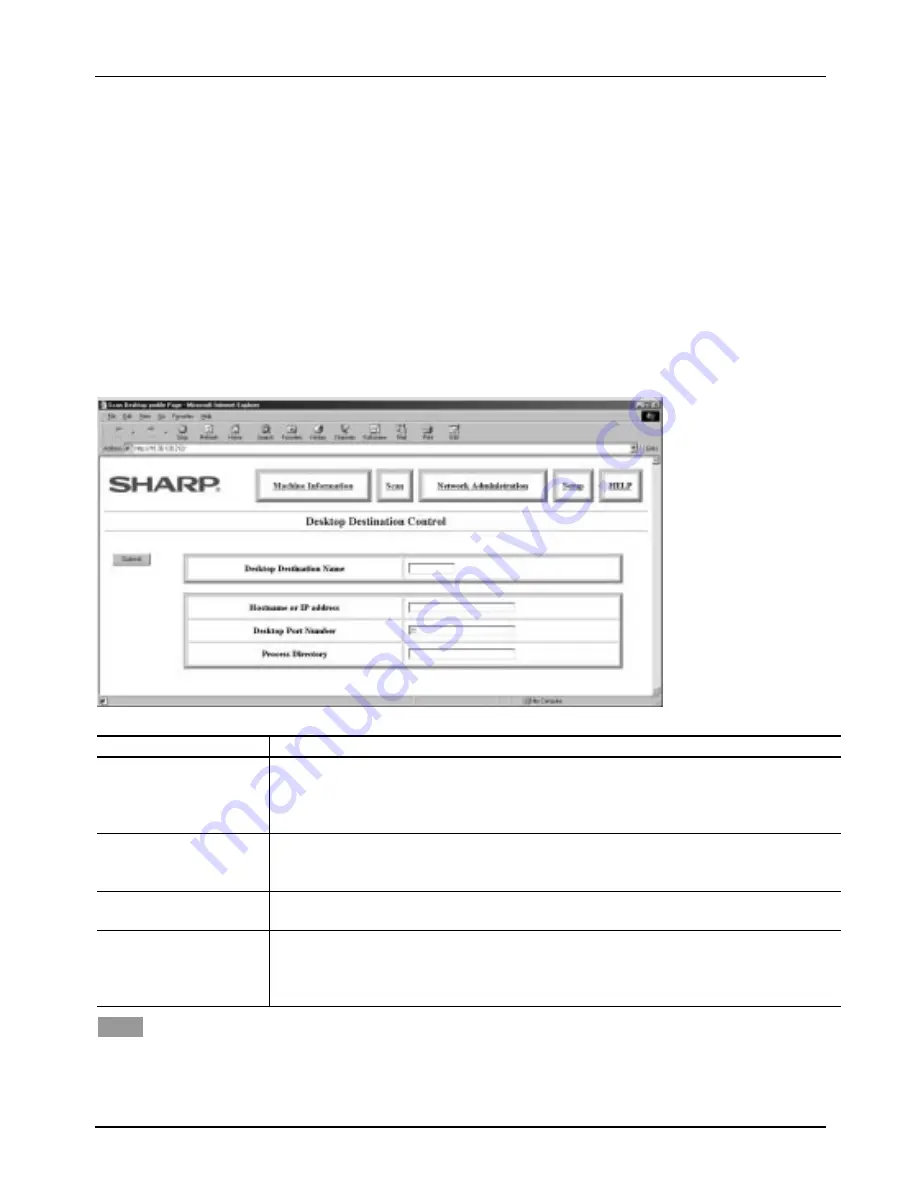
When you press the Scan to Desktop button in the step 5 of page 10, the screen shown below
appears. As the Desktop Destination Control for the Scan to Desktop is to be set up when
Sharpdesk (Network Scanner Tool) is installed (or after the installation) in the destination PC as
described on page 27, you do not need to set it up again in this screen. In such a case, however,
as you add another digital copier equipped with the AR-NS1 in the same network to do the
Scan to Desktop to the same destination registered in the current digital copier, you should
set up the Desktop Destinations from this page.
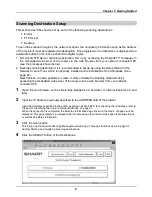
For the setting, select the desired Destination for the Scan to Desktop in the step 4 of page 9 and enter the
same contents of the screen, then the setting screen, shown below, of the added machine appears. When you
have entered all the items, click the Submit button to register the information. If you have multiple Destinations
to transfer, repeat these steps by necessary times.
Around 100 destinations
(see *1. & 2. of page 11)
can be
stored in conjunction with the other 2 Destinations.
Item
Description
Desktop Destination
Name
Enter a name of the destination to be registered here. The name appears on
the copier’s front panel. Do not enter the destination name here which is
already registered (especially the one registered for the other 2 kinds of
destination).
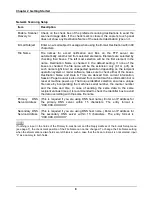
Host Name or IP
Address
Enter the IP address or DNS name of the destination PC here. (When DNS
name is entered, a DNS server is required to have been set in the E-mail
Setup/Network Scanning Setup screen (see page 7).
Desktop Port
Number
Enter a port number to be used for data transfer on the destination PC here.
(The default port number is set to 21.)
Process Directory
Enter the process directory name set in the destination PC here. A process,
which is to be automatically run upon arrival at the destination PC, has been
assigned to this directory. If no process directory is entered, Sharpdesk
Desktop will be launched automatically. (See step 3 of page 30.)
NOTE
Entering (and correcting or deleting) of a Desktop Destination Control can be done by using the Setup Wizard
of the Network Scanner Tool, which is optionally installed at the installation of the Sharpdesk. (See page 27.)
Nevertheless, deleting of the stored Desktop Destinations can also be done from the Network Scanner
Management web page. (Refer to the step 4 of page 9.)
Summary of Contents for AR-NS1
Page 2: ......
Page 45: ......
Page 46: ...2000F DSC3 CINSE2012FC51 ...
Page 47: ......
Page 48: ...Chapter 8 Grossary SHARP CORPORATION AR NS1 PRINTED IN JAPAN 2000F DSC3 CINSE2012FC51 ...

