17
MAKING COPIES
REDUCTION/ENLARGEMENT/ZOOM
Reduction/enlargement/zoom
Manual
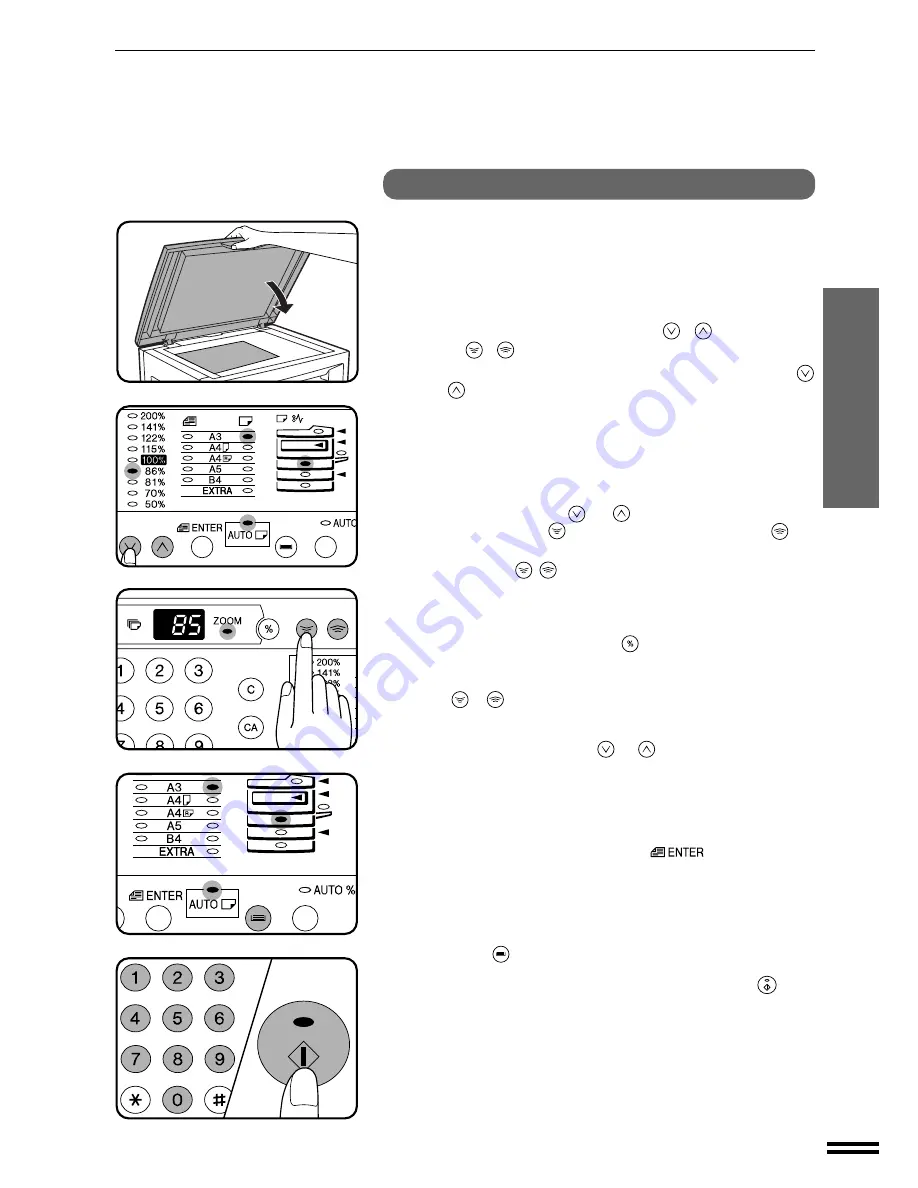
1
Place the original on the original table and close the
platen cover.
2
Use the PRESET RATIO selector (
,
) keys and the
zoom (
,
) keys to select the desired copy ratio.
●
To select a preset reduction or enlargement copy ratio, press the
or
key repeatedly until the indicator for the desired copy ratio is
lit.
A.
Preset reduction ratios are: 86%, 81%, 70%, and 50% (95%,
77%, 64%, and 50%).
B.
Preset enlargement ratios are: 115%, 122%, 141%, and 200%
(121%, 129%, 141%, and 200%).
C.
Zoom ratios: Any ratio from 50% to 200% can be set, in 1%
increments. Press the
or
key to set the approximate
ratio, then press the
key to decrease the ratio or the
key
to increase the ratio.
●
When a zoom (
,
) key is pressed, the ZOOM indicator will light
up and the zoom ratio will be displayed in the copy quantity display
for at least two seconds.
●
To verify a zoom setting without changing the zoom ratio, press and
hold down the copy ratio display (
) key. When the key is released,
the display will return to the copy quantity display.
●
To decrease or increase the zoom ratio rapidly, press and hold down
the
or
key. However the value will stop at the preset reduction
or enlargement ratios. To move beyond these ratios, release the key
and then press and hold it down again.
D.
Same-size reset: Press the
or
key repeatedly until the
copy ratio returns to 100%.
3
Ensure that copy paper of the desired size is installed in
the paper tray.
●
If an optional paper feed unit is installed:
Use the ORIGINAL SIZE ENTER (
) key to select the
original size. Copy paper of the appropriate paper size will be
automatically selected depending on the original size and copy ratio.
If the selected PRESET RATIO indicator or the ZOOM indicator
blinks, the selected copy image is too large for the copy paper size.
The desired paper tray can also be selected by pressing the TRAY
SELECT (
) key.
4
Set the number of copies and press the START (
) key.


