15
MAKING COPIES
●
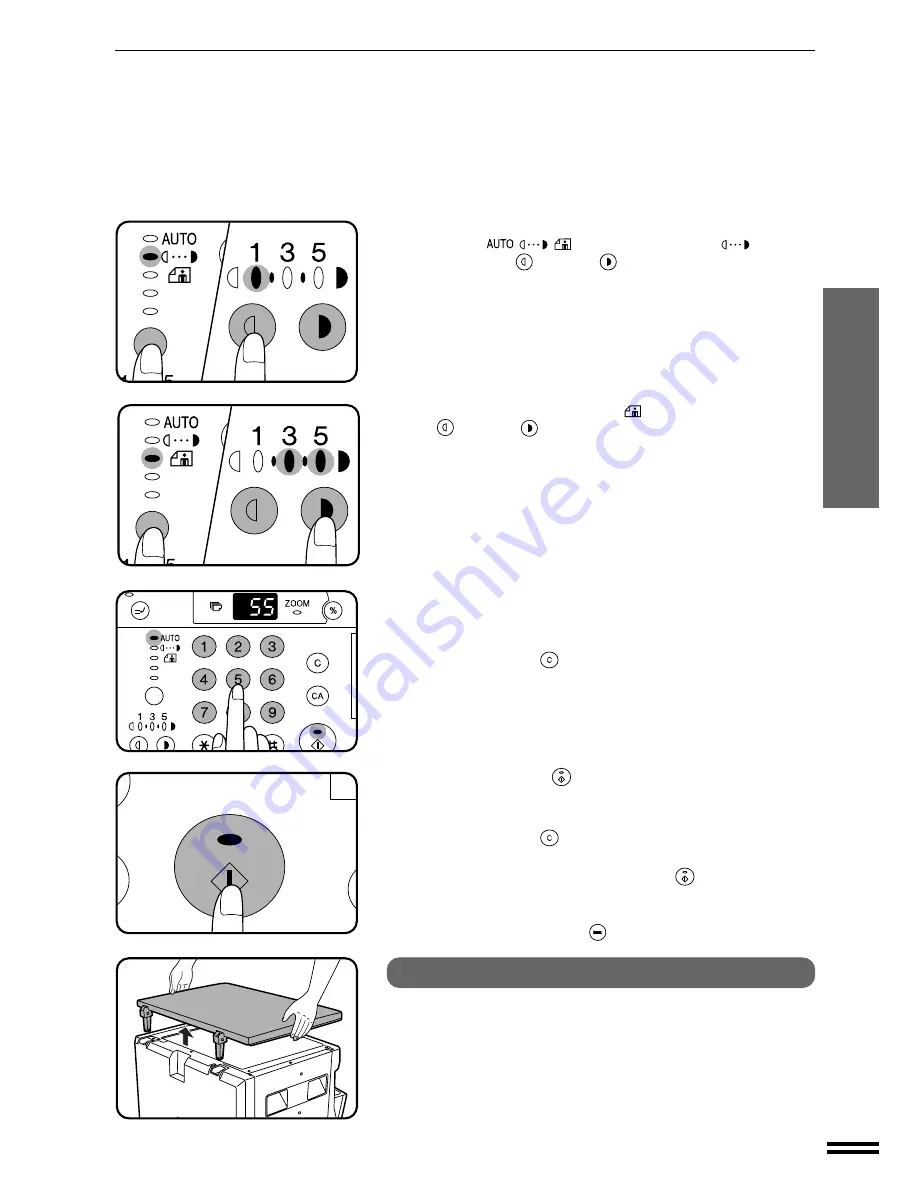
For manual copy density adjustment, press the AUTO/MANUAL/
PHOTO (
/
/
) key to select MANUAL (
) and adjust
with the light (
) and dark (
) keys as desired.
6
Set the number of copies using the numeric keys.
●
A single copy can be made with the initial setting, i.e., when “0” is
displayed.
●
Press the CLEAR (
) key to clear an entry if a mistake is made.
7
Press the START (
) key.
●
The number in the copy quantity display will decrease by 1 each time
a copy is made.
●
Press the CLEAR (
) key to stop copying in the middle of a run.
●
To repeat the same copy sequence for a different original, simply
replace the original and press the START (
) key.
●
If the paper in the selected tray runs out during the copy run and no
other tray contains the same size paper, the bypass tray can be selected
using the TRAY SELECT (
) key.
How to remove the platen cover
The platen cover can be removed to allow copying of
bulky objects. To remove it, simply lift the platen cover
straight up.
●
To reattach the platen cover, reverse the above procedure.
NORMAL COPYING
●
For photographs, select PHOTO (
) and then adjust with the light
(
) and dark (
) keys as desired.
●
There are 5 exposure steps indicated by 3 indicator lights. (The
indicators light up one or two at a time.)
If exposure level 2 is selected, the two left-handmost indicators for that
level will light up simultaneously. Also, if level 4 is selected, the two
right-handmost indicators for that level will light up simultaneously.
Normal copying


