32
Setting Timer Recording (Continued)
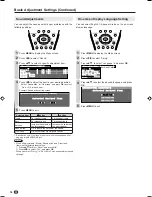
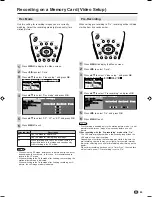
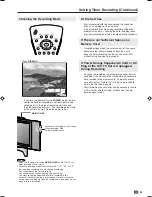
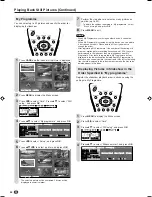
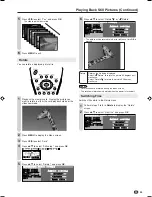
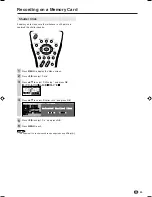
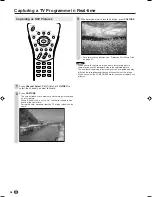
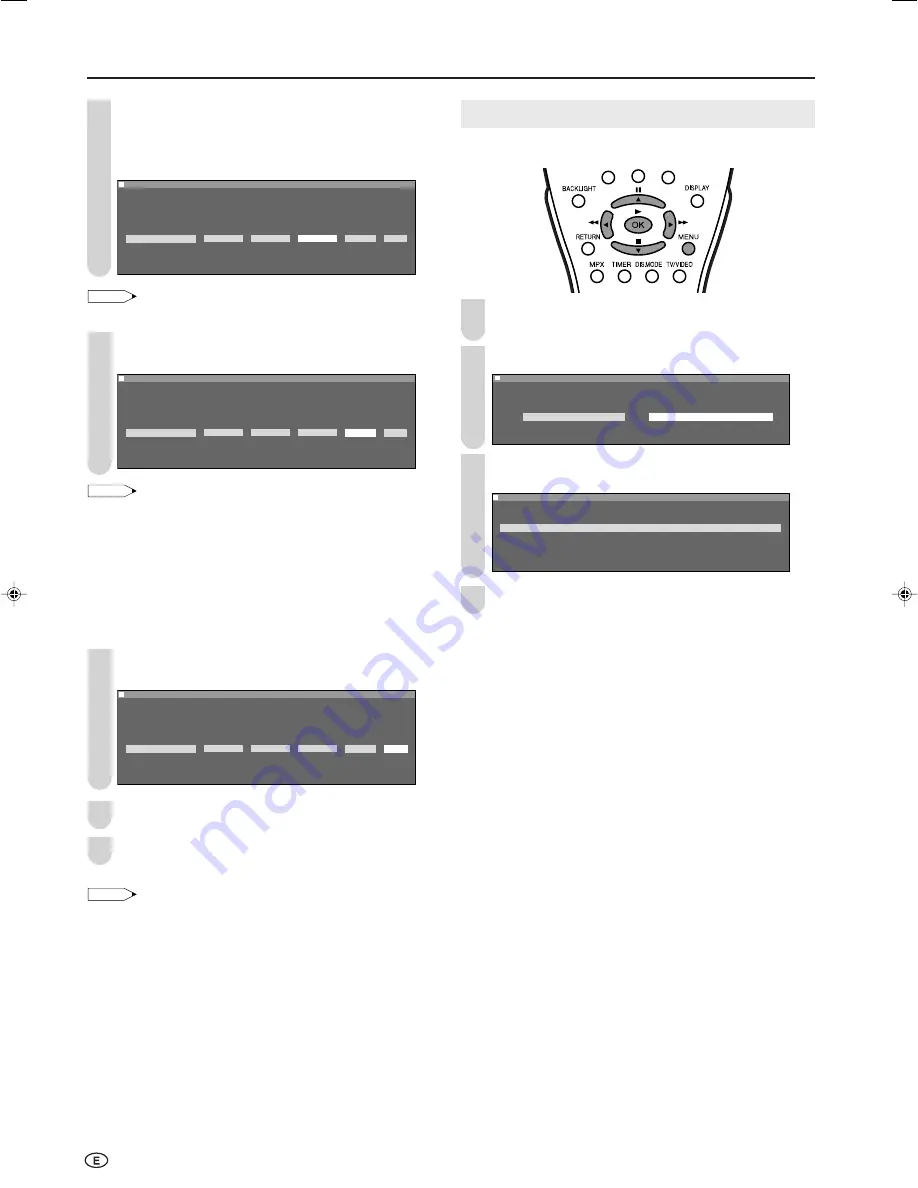
Press
\
/
|
to select “CH”.
• When you press
'
, channels are displayed in forward
direction.
• When you press
"
, channels are displayed in backward
direction.
: SELECT O K : ENTER M : BACK E : EXIT
M e n u [ C a r d T i m e r R e c . S e t u p ]
M e n u [ C a r d T i m e r R e c . S e t u p ]
A d j u s t t i m e r r e c . s e t t i n g
A d j u s t t i m e r r e c . s e t t i n g
D a t e S t a r t S t o p C H M o d e S e t
D a t e S t a r t S t o p C H M o d e S e t
1 3 /
0
5 T h u 1 9 : 4 5
~
2 1 : 4 5 C H 1 S P O n
0 0
NOTE
• Programmes set to “On” in “Skip” are not displayed.
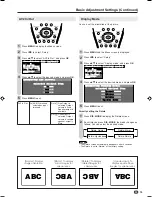
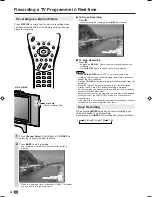
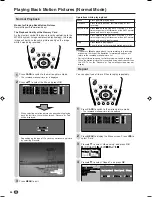
Press
\
/
|
to select “Mode”, and press
'
/
"
to select
either “SP”, “LP”, “EP” or “FIT”.
: SELECT O K : ENTER M : BACK E : EXIT
M e n u [ C a r d T i m e r R e c . S e t u p ]
M e n u [ C a r d T i m e r R e c . S e t u p ]
A d j u s t t i m e r r e c . s e t t i n g
A d j u s t t i m e r r e c . s e t t i n g
D a t e S t a r t S t o p C H M o d e S e t
D a t e S t a r t S t o p C H M o d e S e t
1 3 /
0
5 T h u 1 9 : 4 5
~
2 1 : 4 5 C H 1 S P O n
0 0
NOTE
• The recording is performed within the times set. When there is no
remaining time on the card, the message “Remain 0:00” is
displayed and the recording will be interrupted. In this case, use
another card or delete recorded files to make more space. (See
page 38.)
• FIT refers to automatic recording while adjusting image quality
between SP and LP so that the recording is completed within the
specified time. It may not be possible to record using FIT
depending on the remaining capacity of the card.
• Two recordings cannot be programmed simultaneously for FIT.
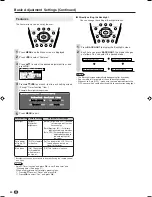
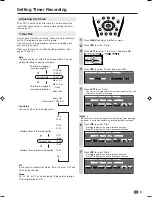
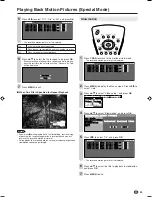
Press
\
/
|
to select “Set”, and press
'
/
"
to select
either “On”, “Off” or “Clr”.
: SELECT O K : ENTER M : BACK E : EXIT
M e n u [ C a r d T i m e r R e c . S e t u p ]
M e n u [ C a r d T i m e r R e c . S e t u p ]
A d j u s t t i m e r r e c . s e t t i n g
A d j u s t t i m e r r e c . s e t t i n g
D a t e S t a r t S t o p C H M o d e S e t
D a t e S t a r t S t o p C H M o d e S e t
1 3 /
0
5 T h u 1 9 : 4 5
~
2 1 : 4 5 C H 1 S P O n
0 0
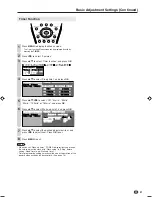
Press
OK
to set the timer.
Press
MENU
to exit.
NOTE
• Timer programming settings are cancelled when the duration of the
power outage exceeds the backup time. (See page 14.)
12
8
9
10
11
Checking the Programme List
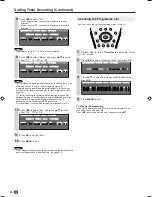
You can check the current recording states in the list.
Perform steps
1
to
3
in
Timer Rec
to display the “Timer
Rec.” screen.
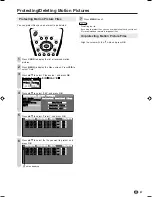
Press
\
/
|
to select “Programme list”, and press
OK
.
: SELECT O K : ENTER M : BACK E : EXIT
M e n u [ C a r d T i m e r R e c . S e t u p ]
M e n u [ C a r d T i m e r R e c . S e t u p ]
S e t u p P r o g r a m m e l i s t
Press
'
/
"
to select the file you want to check, and
press
OK
.
: SELECT O K : ENTER M : BACK E : EXIT
M e n u [ C a r d T i m e r R e c . P r o g r a m m e l i s t ]
M e n u [ C a r d T i m e r R e c . P r o g r a m m e l i s t ]
1 3 /
0
5 T h u 1 9 : 4 5 ~ 2 1 : 4 5 C H 1 S P O n
1 4 /
0
5 F r i 2 1 : ~ 2 2 : C H 1 5 E P O n
1 5 /
0
5 S a t 1 9 : ~ 2 1 : C H 1 5 S P O n
0 0
0 0
0 0
0
0
0
0
0 0
Press
MENU
to exit.
To change the programme
In the step
3
above, press
'
/
"
to select the programme to be
changed or clear, and press
OK
.
Press
\
/
|
to select the desired item, and adjust with
'
/
"
.
1
2
3
4
LC-15_20B5H_E_P31-33.p65
2/19/04, 4:54 PM
32

