18
AUTO CLOCK Setting (Continued)
SETTING THE CLOCK (Continued)
5
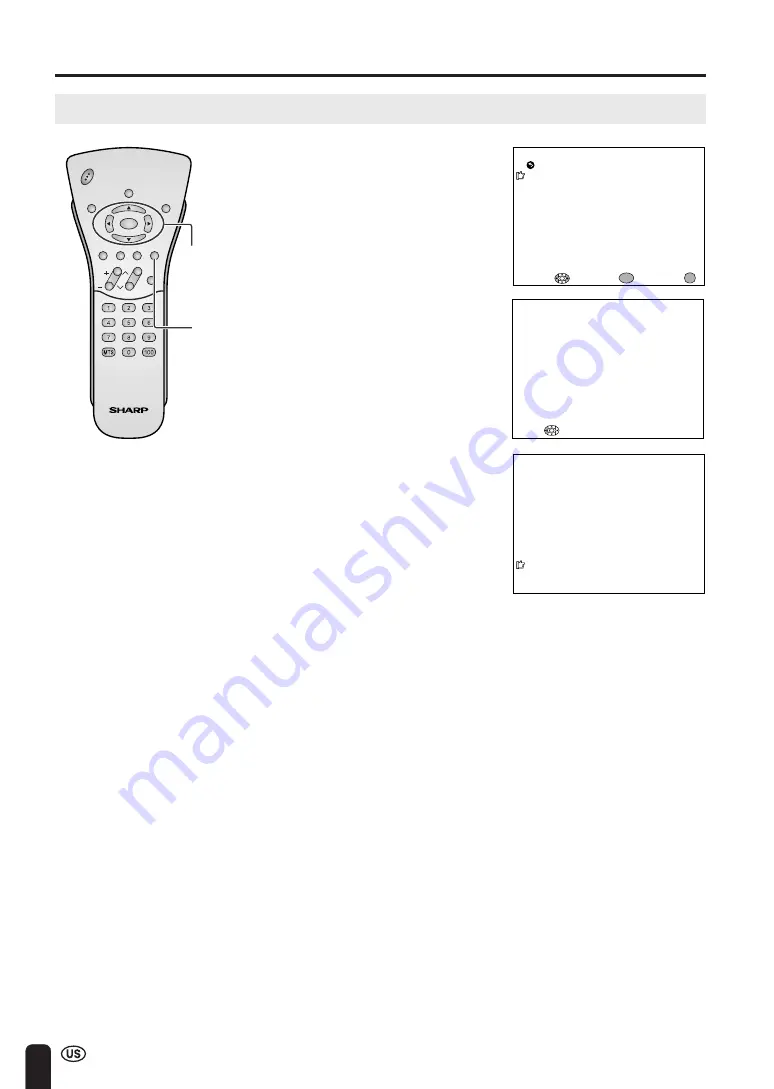
Press
c
/
d
to select AUTO or
MANUAL.
AUTO CLOCK
EDS CH SET [ AUTO ]
EX I T :
RE TURN
EDS CH [ ––– ]
START
ENTER :
ENTER
ADJUST :
MENU
PL EASE WA I T
NOW SEARCH I NG T IME
STOP :
2
STEREO
<
ON A I R
SAP
MONO
11 : 5 3AM
CH
VOL
POWER
ENTER
DISPLAY
MUTE
SLEEP
PIC. FLIP
BRIGHT TV/VIDEO MENU
FLASH-
BACK
A
•
CLOCK: The AUTO CLOCK setting may take from several minutes to an hour depending on the number of
channels to receive and signal status.
•
If there are no channels with EDS signals or the antenna signal is weak, the AUTO CLOCK Setting may not
operate. In this case, an “EDS CH IS NOT AVAILABLE” message will display, and the MANUAL CLOCK Setting
screen appears. Refer to MANUAL CLOCK Setting on page 19 to set the clock manually.
•
If you know the Channel of the EDS signal carrier in your area, set EDS CH SET to MANUAL and select START.
In case, the message “EDS CH (XXX) EDS DATA IS NOT AVAILABLE” displays, set EDS CH SET to AUTO when
the AUTO CLOCK Setting screen appears.
•
If broadcasting channels are not memorized, EDS signals cannot be received even when the EDS CH SET is set
to AUTO. In this case, try EZ SETUP again. (See page 33.)
6
Press
a
/
b
to move the cursor to
START, and press
ENTER
.
●
If you do not know the channel that
carries EDS signals in your area,
select EDS CH SET to AUTO and
select START. If you know the
channel of the EDS signal carrier in
your area, select EDS CH SET to
MANUAL. Set the EDS CH and
select START.
●
When set to “AUTO CLOCK”, the
time is acquired automatically when
MAIN POWER is turned OFF. (This
function will not work when EDS
CH is not set.)
ENTER/
a
/
b
/
c
/
d
MENU


