[8] INSTALLING THE PRINTER
DRIVER
To use this printer with your computer, you must install the printer
driver.
Install the printer driver using the supplied SHARP Software CD-
ROM. This kit is supplied with the following printer drivers:
•
PCL6 for Windows 95/98
•
PCL6 for Windows NT 4.0
•
PCL5e for Windows 95/98
•
PCL5e for Windows NT 4.0
Note:
•
It is recommended that you install the PCL6 printer
driver. If you have a problem printing from older
software using the PCL6 driver, remove it and install the
PCL5e driver.
•
The printer driver data in the CD-ROM can be copied to
floppy disks.
1. Double-click “My Computer”, “AL-1600” and
“Makedisk”.
2. Double-click “Makedisk.exe”.
3. Follow the on-screen instructions.
Before installation, make sure that:
•
You read the README.TXT file which is contained on the
SHARP Software CD-ROM. This file contains the information
and restrictions for using the printer.
•
The printer is connected properly with the computer or network.
•
The printer is loaded with paper.
•
The printer is turned on and on-line (the ON LINE light is lit).
•
You quit all application software that is running on your com-
puter.
•
Your computer meets the following hardware and software re-
quirements:
Computer Type
IBM PC/AT or compatible computer
equipped with a bi-directional parallel
interface and CD-ROM drive
Operating System Windows 95, Windows 98, Windows NT 4.0
CPU
Windows 95:
486SX or better
Windows 98:
486DX/66MHz or better
(Pentium or better is
recommended.)
Windows NT 4.0: 486/25MHz or better
RAM
Windows 95:
8MB or more (12MB or
more is recommended.)
Windows 98:
16MB or more (32MB or
more is recommended.)
Windows NT 4.0: 16MB or more
This procedure uses the following drive name in examples:
Drive
R: CD-ROM drive (holds the CD-ROM containing the
printer drivers)
Change the drive name as required according to your environment.
1. Installing onto Windows 95
This printer is compatible with plug & play. If your computer is incom-
patible with plug & play, refer to “Installing onto Windows 95/98
without Using the Plug & Play Function”.
1) Turn the computer on and start Windows 95.
Note: Depending on which version of Windows you are using,
the display examples in this step may differ from those on
your system.
•
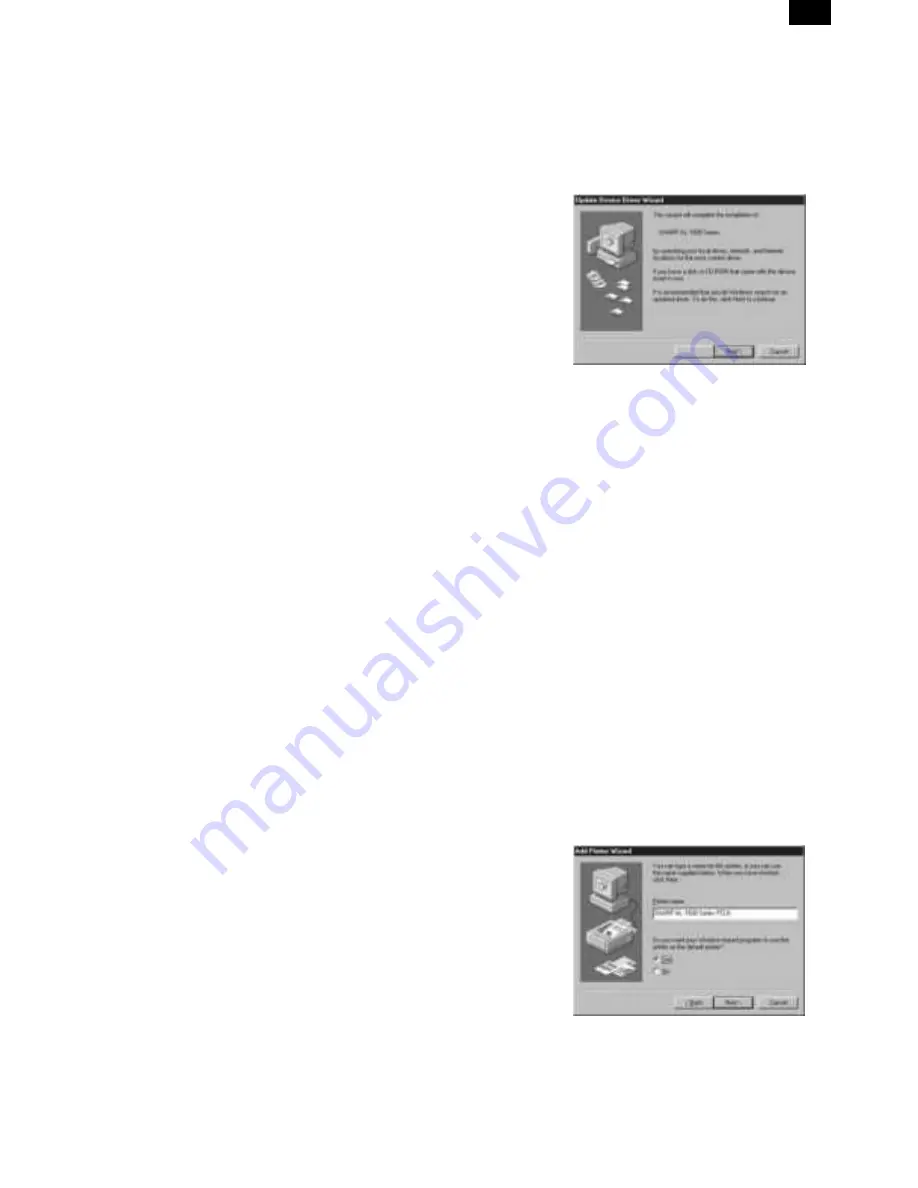
Either the “Update Device Driver Wizard” window or the “New
Hardware Found” window may appear automatically.
Note: If neither the “Update Device Driver Wizard” window nor
the “New Hardware Found” window appear, refer to “In-
stalling Windows 95/98 without Using the Plug & Play
Function”.
•
If the “Update Device Driver Wizard” window appears, click the
[Next] button and proceed to step 2).
•
If the “New Hardware Found” window appears, perform the
following steps:
<1> Choose “Driver from disk provided by hardware manufac-
turer” and click the [OK] button.
<2> When the “Install From Disk” window appears, insert the
SHARP Software CD-ROM into the CD-ROM drive, type
R:\English\WinXX and click the [OK] button.
Note: In this step the PCL6 printer driver is installed automat-
ically. If you want to install the PCL5e printer driver, refer to
"Installing onto Windows 95/98 without Using the Plug &
Play Function".
<3> Proceed to step 5).
2) Search for the printer driver by clicking [Other Locations...] button.
3) Insert the SHARP Software CD-ROM into the CD-ROM drive, type
R:\WinXX and click the [OK] button.
4) After Windows finds the printer driver, click the [Finish] button to
continue the installation.
Note: In this step the PCL6 printer driver is installed automat-
ically. If you want to install the PCL5e printer driver, refer to
“Installing onto Windows 95/98 without Using the Plug &
Play Function”.
5) Set the printer name.
<1> If you want to change the printer name, enter a new name in
the space provided.
<2> If the program displays, “Do you want your Windows-based
programs to use this printer as the default printer?”, check
“Yes”.
<3> Click the [Next] button.
AL-1670
8 – 1


