6
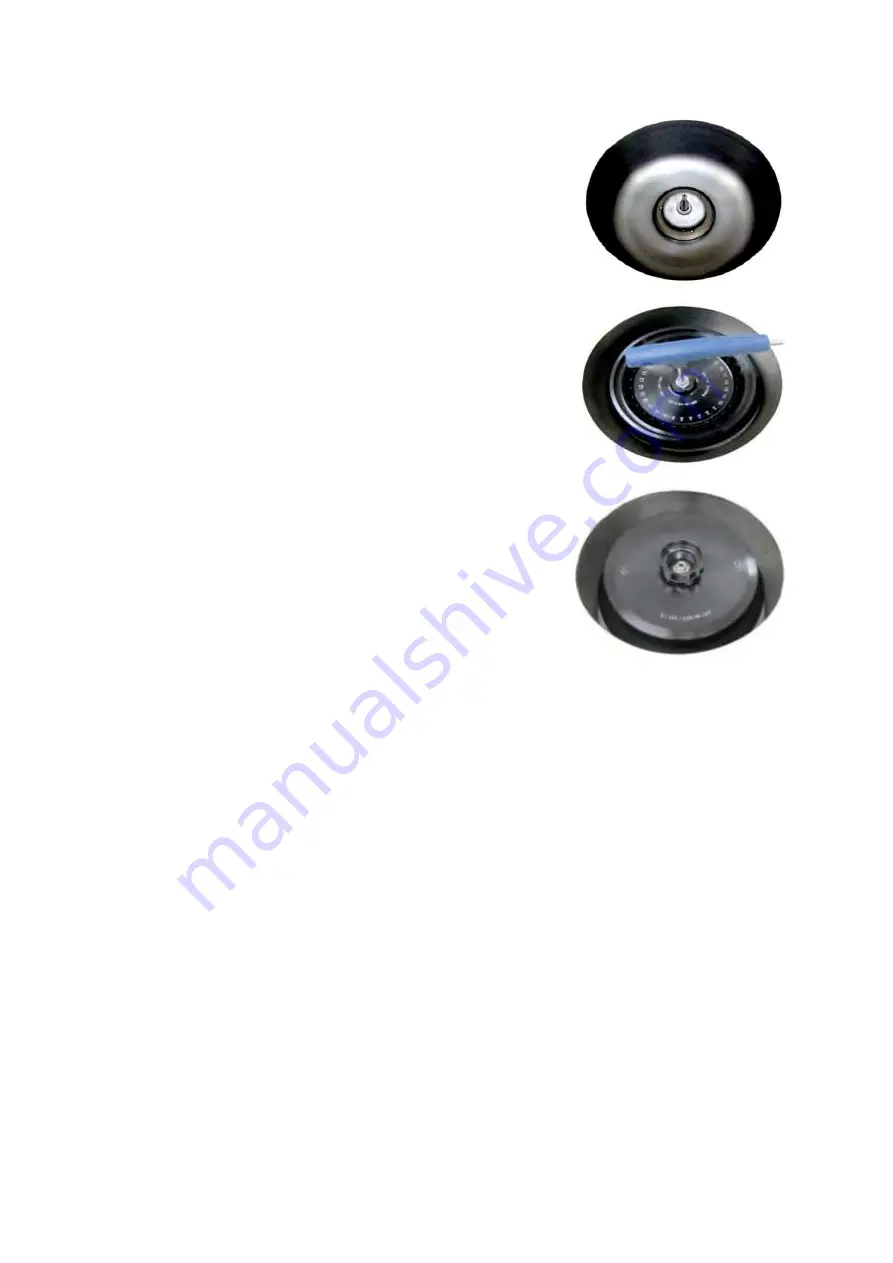
7. Mount a proper rotor into the motor shaft.
8. Grasp the rotor with one hand, and place Rotor
Locking Tool at the center hole of the rotor.
To assemble the rotor: Rotate the Rotor Locking
Tool clockwise until tightly assembled.
To disassemble the rotor: Rotate the Rotor Locking
Tool counterclockwise
9. To close the rotor lid, rotate the rotor lid nut
clockwise. For opening lid: rotate the rotor lid nut
counterclockwise.
When you run a fixed angle rotor, make sure that the
rotor lid is tightly closed. If you don’t close the rotor
lid completely, it will be crushed.
10. Positioning of sample tubes:
•
Before loading sample tubes, check for water drops or dirt in the rotor hole
or inner adaptor.
•
If there is a water drop or dirt in the rotor hole or inner adaptor, remove it
with soft dry cloth.
•
Tubes should be placed in the rotor with same amount of samples at
symmetrical positions.
•
Only use appropriate centrifugal tubes and do not exceed the speed beyond
the tube’s max g-force.
•
For safety, fill the sample for 70 ~ 80 % in the tubes.
•
If the number of samples is not in pair, please load the control tubes at each
symmetrical position. Otherwise, it results noise and vibration, and
eventually damages the instrument.


