


Revision 7 Jan 17
Sensor Technology 2012
Page 3
TSE3168V
The selected transducer will now be connected and the ‘Search For Transducers’ screen will
disappear and be replaced by the Dials Screen.
See the Setup Screen for more information on how to change between transducers when
using TorqView. For ease of use, the next time TorqView is run it will default to the previously
selected port a transducer was connected to.
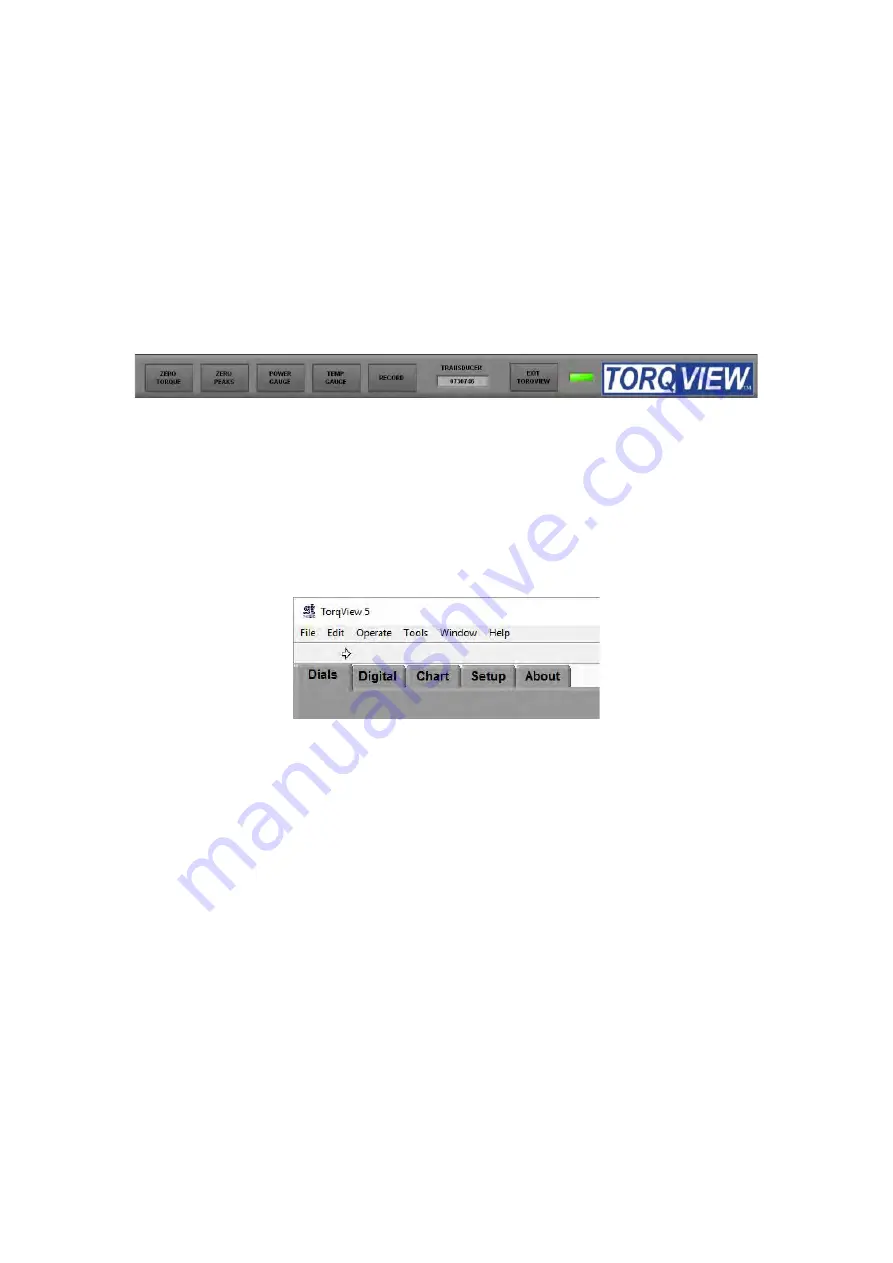
TorqView Function Bar
The TorqView Function Bar, located at the bottom of all the screens, shows all the relevant
TorqView buttons. The LED, illuminates green when connected to show that the transducer
is working correctly. If any warnings or errors occur with the transducer while running
TorqView, the LED will change its colour from Green to Yellow (Warning) or to Red (Error).
To diagnose the warning or error see the About Screen to diagnose.
The Function Bar also shows the serial number of the currently active transducer. If two
transducers are connected they can be changed using the Setup Screen.
Click “EXIT TORQVIEW” to exit the program. Choose, “Shutdown” to close the program or
“Standby” to disconnect the transducer and leave the screen showing so the program can be
run again.
To run the program from “Standby“, click on the white arrow button at the top left hand corner
of the screen.
Click “ZERO TORQUE” to zero the torque value. Care should be taken when using the
“ZERO TORQUE” function because an offset could be created if there is any torque already
applied.
Click “ZERO PEAKS” to zero the peaks of the Torque, Speed and Power values.
Click “POWER GAUGE” and “TEMP GAUGE” to select power and shaft temperature dials.
Click “RECORD” to start recording data. (See Setup Screen for details on how to set
parameters and record/save a file). Record button will be disabled until a file has been
configured.
Function buttons will change to a darker grey when switched on.
Summary of Contents for RWT420
Page 23: ......
Page 31: ...Transducer Control 5 User Manual Revision 5 December 2016...


