GLT Application User Manual
SENSIT Technologies, LLC
8
4.2
User Interface
The breakdown of the main user interface is as follows:
Menu bar – options for accessing different sections of
the application. Name, home screen, users menu,
setup, and about. To expand the menu bar, select the
icon with three horizontal lines. This shows the name
of each menu item along with the icon image.
Display – shows information from the display of the
instrument in real time. Any changes made, either by
the trainer or the user (such as entering into a menu) will be displayed. The ‘T’ in the lower right corner next to the
battery indicator shows that the instrument is in training mode. If the unit were in monitoring mode, this would be
denoted by an ‘M’ instead.
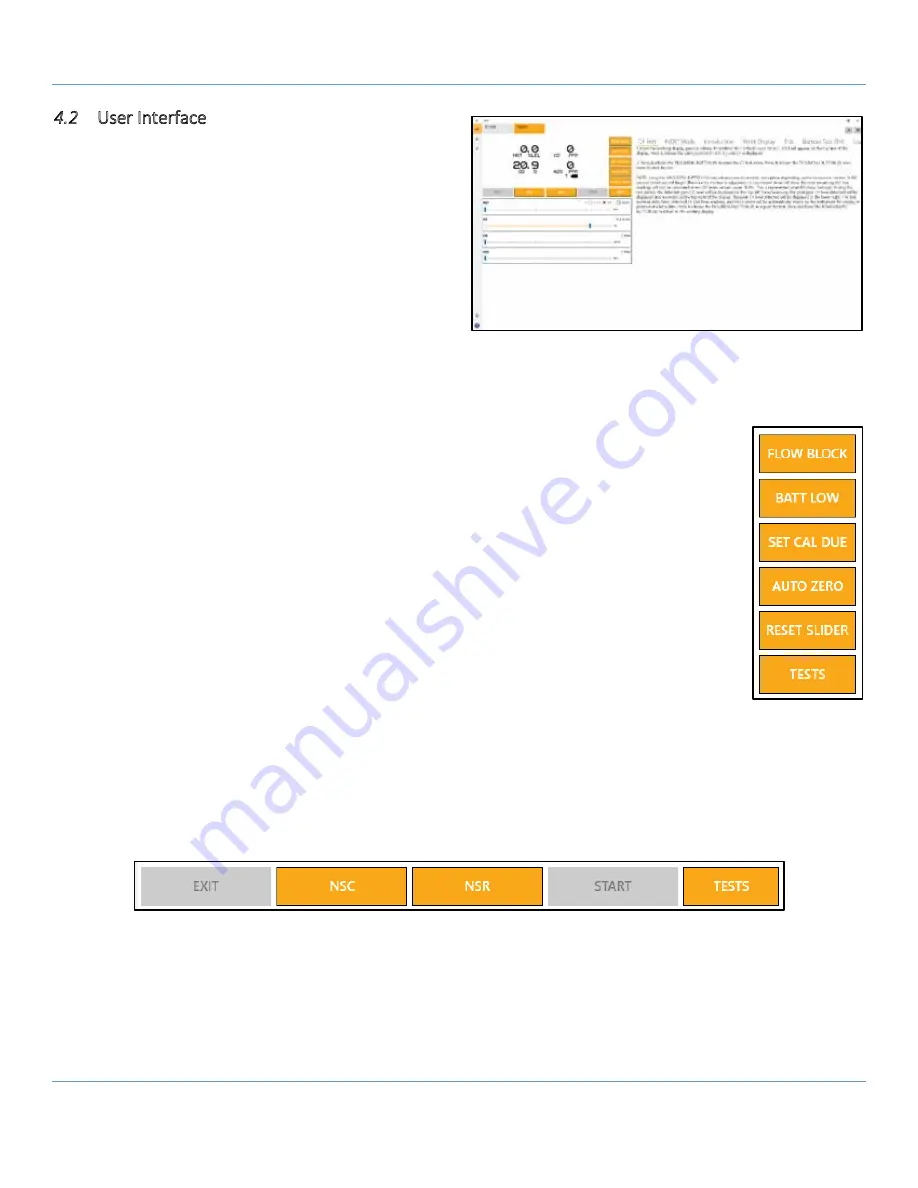
Test modes / conditions – allows the trainer to send various commands to the instrument.
NOTE: not available in monitoring mode.
FLOW BLOCK – sends a flow block command to the instrument.
BATT LOW – sends a low battery command/flag to the instrument. A 300 second
countdown will begin.
SET CAL DUE – flags the instrument for calibration due. Upon next restart, the instrument
will display a calibration due message. This can be done during the start-up process to
save time.
AUTO ZERO – sends an auto zero command to the instrument.
RESET SLIDER – resets all slide bars to their default positions (e.g. 0ppm, 0 %V/V, 20.9%
O2). This is specifically useful for O2 as it can be difficult to manually adjust the slider to
20.9%.
EXIT – exits out of any menus the trainer has forced the instrument to enter.
NSC – flags the instrument to show NSC, or non-standard combustible. [Note: must be enabled on
connected instrument]
NSR – flags the instrument to show NSR, or non-standard response. [Note: must be enabled on connected
instrument]
START – begins test selected by the trainer. Also gives further functionality depending on the test, such as
being used as a select/acknowledge button for inert mode testing.


