90
Module removal and replacement
Verifying component failure
•
Check Module Fault LED – rear (front of enclosure): Amber = Fault condition.
•
Check Fault LED (back of enclosure on IOM face plate): Amber = Fault condition.
•
Check that the OK LED (back of enclosure) is off.
Stopping I/O
When troubleshooting DISC drive and connectivity faults, stop I/O to the affected DISC groups from all hosts as a data
protection precaution. As an additional data protection precaution, it is helpful to conduct regularly scheduled backups of
your data.
IMPORTANT:
Stopping I/O to a DISC group is a host-side task, and falls outside the scope of this document.
When on-site, you can verify that there is no I/O activity by briefly monitoring the system LEDs; however, when accessing
the storage system remotely, this is not possible.
Removing an IOM
IMPORTANT:
Considerations for removing IOMs:
•
In a dual-controller environment, you may hot-swap a single controller module in an operational enclosure, provided
you first shut down the faulty controller.
•
In a dual-controller environment—if replacing both controller modules—you must adhere to the instructions
provided in
, and perform an orderly shutdown of the enclosure.
•
Do not remove a faulty module unless its replacement is on-hand. All FRU modules must be in place when the system
is in operation.
See CAUTION bullets regarding
electrostatic discharge
and
anti-static protection
Illustrations in the IOM replacement procedures show rear panel views of the enclosure, and IOMs are properly aligned
for insertion into the rear panel of the enclosure.
1.
Locate the enclosure whose ID LED (enclosure front panel – left side) is illuminated, and within the enclosure, locate
the IOM to be replaced.
2.
Disconnect any cables connected to the IOM.
Label each cable to facilitate re-connection to the replacement IOM.
3.
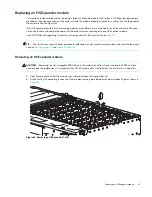
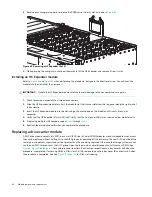
Unlock the IOM latch handle by turning the thumbscrew counter-clockwise as shown in detail No.1 in
Take care not to remove the thumbscrew from the IOM latch handle.
4.
Grasp the IOM latch handle between the thumb and index finger and pull. Revolve the handle out and downward to
lever the IOM out of the enclosure as shown in details No.2 and No.3 in


