Balancing
To start balancing you’ll first need to balance
your camera on your gimbal just as you
normally do. It helps if you have your gimbal
on a mini tripod for this.
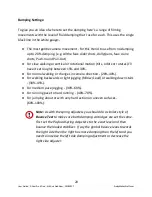
Now you’ll adjust the fluid damping so that
the top edge of the white indicator range
lines up with 50% which is ideal for your
setup and testing.
Note:
During other times when you’re adjusting the damping
adjustment knob to 0% or 100% you will feel an increase in resistance
when you get close to the limits. As soon as you feel this increase in
resistance, stop and back off the damping a half turn to set it.
Tightening further may permanently damage the damping
cartridge!
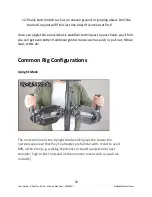
What angle should the support arms be when loaded?
When you hold the stabilizer with the rig loaded you’ll notice that the support
arms either point up towards the centre or down. The most common use is for
typical walking shots and the angle of the support arms is not as important as the
setting for the most optimal smoothing. Typically the best angle to have your
support arms is the angle that removes most of the bobbing from your footage.
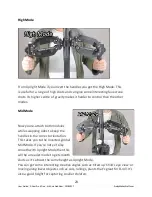
How low / high can you go?
As low as you like as long as you have enough play in the stabilizer so that the
arms don’t bottom out while filming. The same concept applies if your rig is sitting
high. Do a test run first to confirm your settings will work. For the majority of your
shots (from gentle to brisk movement) the illustrated range shows what loaded
angles should work.
11
User Guide - Glider Pro 3 Duo - 4th Axis Stabilizer - 20180917 ScottyMakesStuff.com


