Power on
→
Place PCB on PCB supporter
→
adjust position by laser
→
front
forward Joystick
→
Fixed the splint
→
Switch the CCD control bottom to AV2
(for watching the de-soldering process)→ Start
2. Detailed description:
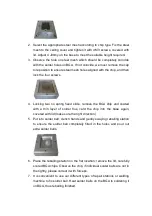
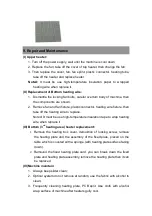
1) Put the BGA pad align bottom heater, fixing the PCB on the PCB
supporter;
2) Fixed PCB board by locked screw of X aisle;
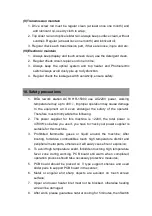
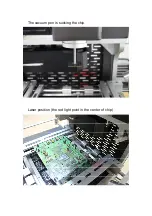
3) Choose the proper nozzle according BGA chip, let laser shine the chip
to position, adjust the joystick to make the top heater fall down to the
distance 3~5mm from PCB board.
4) Switch the CCD control bottom to AV2 for watching the de-soldering
process.
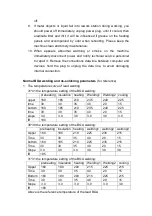
5) Press “start” to run, machine will be automatic heating.
6) After finished heated, press “vacuum”, make the sucker point sucked
up BGA, rising the sucker point to proper position, take out BGA after
cooling.
(II) Soldering process
1. work flow
:
Power on
→
Place PCB on PCB supporter
→
adjust position by laser
→
Front
forward Joystick→ Fixed the splint
→
Switch the CCD control bottom to AV2
(for watching the de-soldering process)
→
Start
2. Detailed description:
1) Place the PCB on the PCB splint, coating proper flux paste on the BGA
PAD, choose the proper nozzle according BGA size
;
2) Let laser shine the soldering place to position, front forward Joystick
,
stop when nozzle approaching BGA, then adjust alignment, make the
center of BGA pad aligns nozzle, adjust X axle fixing screw of PCB
splint, to fixed PCB board
;
3) Put the balled BGA chips on the PCB pad
;
4) Choose the proper nozzle according BGA chip, adjust the joystick to
make the top heater fall down to the distance 3
~
5mm from PCB
board;
5) Switch the CCD control bottom to AV2 for watching the de-soldering
process.


