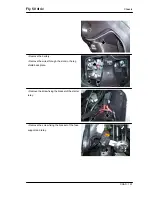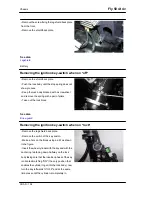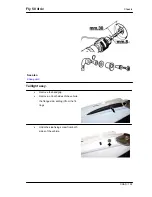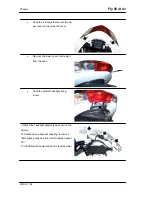
Rear handlebar cover
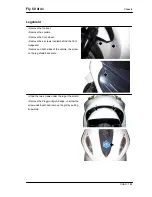
• Remove the front handlebar cover.
• Unscrew the odometer transmission joint and
slide it off.
• Disconnect the electrical connections of the in-
strument panel.
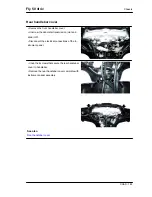
• Undo the 4 screws that secure the rear handlebar
cover to handlebar.
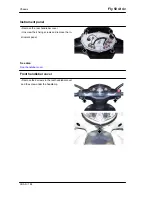
• Remove the rear handlebar cover complete with
instrument panel assembly.
See also
Front handlebar cover
Fly 50 4t 4v
Chassis
CHAS - 185
Summary of Contents for Fly 50 4t 4v
Page 1: ...WORKSHOP MANUAL 677586 EN Fly 50 4t 4v ...
Page 4: ......
Page 6: ...INDEX OF TOPICS CHARACTERISTICS CHAR ...
Page 28: ...INDEX OF TOPICS TOOLING TOOL ...
Page 37: ...INDEX OF TOPICS MAINTENANCE MAIN ...
Page 49: ...INDEX OF TOPICS TROUBLESHOOTING TROUBL ...
Page 53: ...Fly 50 4t 4v Troubleshooting TROUBL 53 ...
Page 54: ...INDEX OF TOPICS ELECTRICAL SYSTEM ELE SYS ...
Page 63: ...7 Start up solenoid 8 At the battery connections Fly 50 4t 4v Electrical system ELE SYS 63 ...
Page 93: ...INDEX OF TOPICS ENGINE FROM VEHICLE ENG VE ...
Page 99: ...INDEX OF TOPICS ENGINE ENG ...
Page 158: ...INDEX OF TOPICS SUSPENSIONS SUSP ...
Page 173: ...INDEX OF TOPICS BRAKING SYSTEM BRAK SYS ...
Page 181: ...Fly 50 4t 4v Braking system BRAK SYS 181 ...
Page 182: ...INDEX OF TOPICS CHASSIS CHAS ...
Page 203: ...INDEX OF TOPICS PRE DELIVERY PRE DE ...
Page 208: ...V Vehicle 8 94 169 ...


