


16
1st calibration point
:
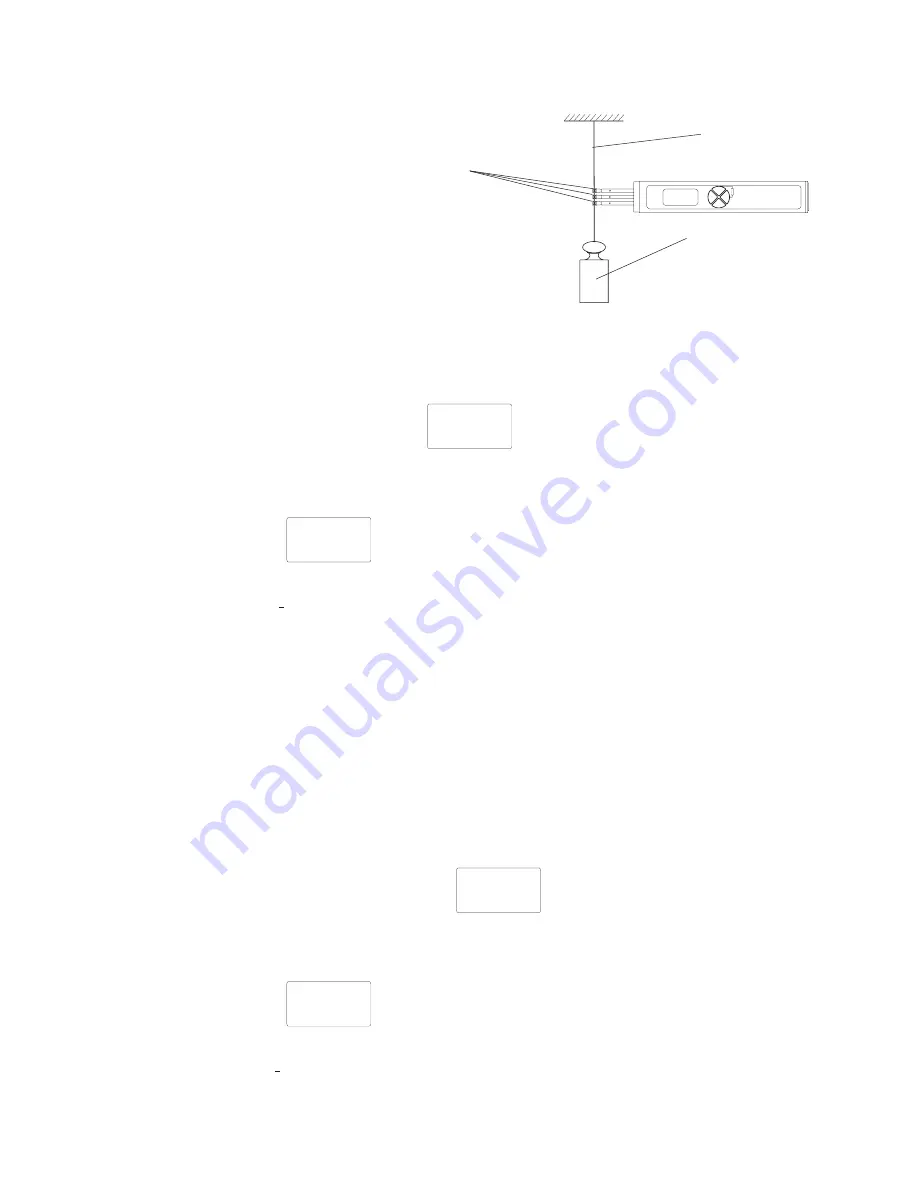
- Hang a weight which corresponds to 10% of the tension range from the measured
material, vertically, as shown in fig. 3.9
- Press the LEVER down all the way.
- Thread the process material through
the MEASURING- and GUIDE
ROLLERS as described in Chapter 3.4.
- Slowly release pressure on the LEVER
until the GUIDE ROLLER return to their
original position.
- Before starting the calibration, move the
instrument slowly up and down to compensate
for possible mechanical friction losses and thus
ensure repeatability of the measurements.
a)
Press the RECALL key.
As long as the RECALL key is depressed, the DISPLAY shows a decimal value which is
higher than the first decimal value, e.g.
3500
cN
.
This decimal value may vary from instrument to instrument.
- Release the RECALL key when the value shown on the DISPLAY is stable
(the reading might fluctuate greatly).
The DISPLAY shows
E 40
cN
.
2nd calibration point
:
- Hang a weight which corresponds to 40% of the tension range from the measured
material, vertically, as shown in fig. 3.9.
- Press the LEVER down all the way.
- Thread the process material through the MEASURING- and GUIDE ROLLERS as
described in Chapter 3.4.
- Slowly release pressure on the LEVER until the outer rollers return to their
original position.
- Before starting the calibration, move the instrument slowly up and down to
compensate for possible mechanical friction losses and thus ensure repeatability of the
measurements.
b)
Press the RECALL key.
As long as the RECALL key is depressed, the DISPLAY shows a decimal value which is
higher than the second decimal value, e.g.
6000
cN
.
This decimal value may vary from instrument to instrument.
- Release the RECALL key when the value shown on the DISPLAY is stable (the reading
might fluctuate greatly).
The DISPLAY shows
E 70
cN
.
3rd calibration point
:
- Hang a weight which corresponds to 70% of the tension range from the measured
material, vertically, as shown in fig. 3.9
- Press the LEVER down all the way.
3.9 Static Calibration of the ETB
(Cont.)
MEASURING
ROLLERS
fig. 3.9
PROCESS
MATERIAL
WEIGHT