MAIN FEATURES
•
Pan, tilt and zoom operations as well as focus and iris settings
can be done manually.
•
Up to 64 preset positions can be set to store zoom and focus
data for corresponding surveillance locations.
•
Surveillance can be set up for automatic successive display of
the locations established by the preset positions.
(SEQUENTIAL PAN) In addition, each of the preset positions
can be customized with 9 different camera settings. (VIEW
SETTING)
•
Automatic loop panning can be set after establishing start and
end locations. (AUTO PAN)
•
Manual pan, tilt and zoom operations can be saved in an image
track (30 or 60 seconds), and the image track can be used to
automatically repeat the set of camera operations. (TOUR
MODE)
•
For operations in which the camera is tilted beyond the straight
down position, automatic top/bottom or left/right inversion of the
image can be set for upright viewing of the image throughout
180 degrees of camera tilt. (DIGITAL AUTOFLIP)
•
A cleaning function keeps horizontal rotation of the camera unit
in smooth working order. (REFRESH)
•
Nine different items can be set for camera surveillance
conditions, such as white balance, iris and motion sensing.
These set conditions are applied separately for each preset
position when sequential pan is activated.
•
Gray-colored masking patterns can be placed over defined
areas to protect privacy. (PRIVACY MASK)
•
One-push automatic white balance is available to adjust the
image in surveillance locations where faithful color reproduction
is difficult.
•
Backlight compensation can be set to one of three different
methods: multi-spot evaluative metering, 5 spot centerweighted
average metering or 48 multi-spot metering.
•
The monitor screen can be divided into 48 zones and based on
image information for each zone, target objects for such images
as intruder movements can be discerned and an alarm
generated.
ACCESSORIES
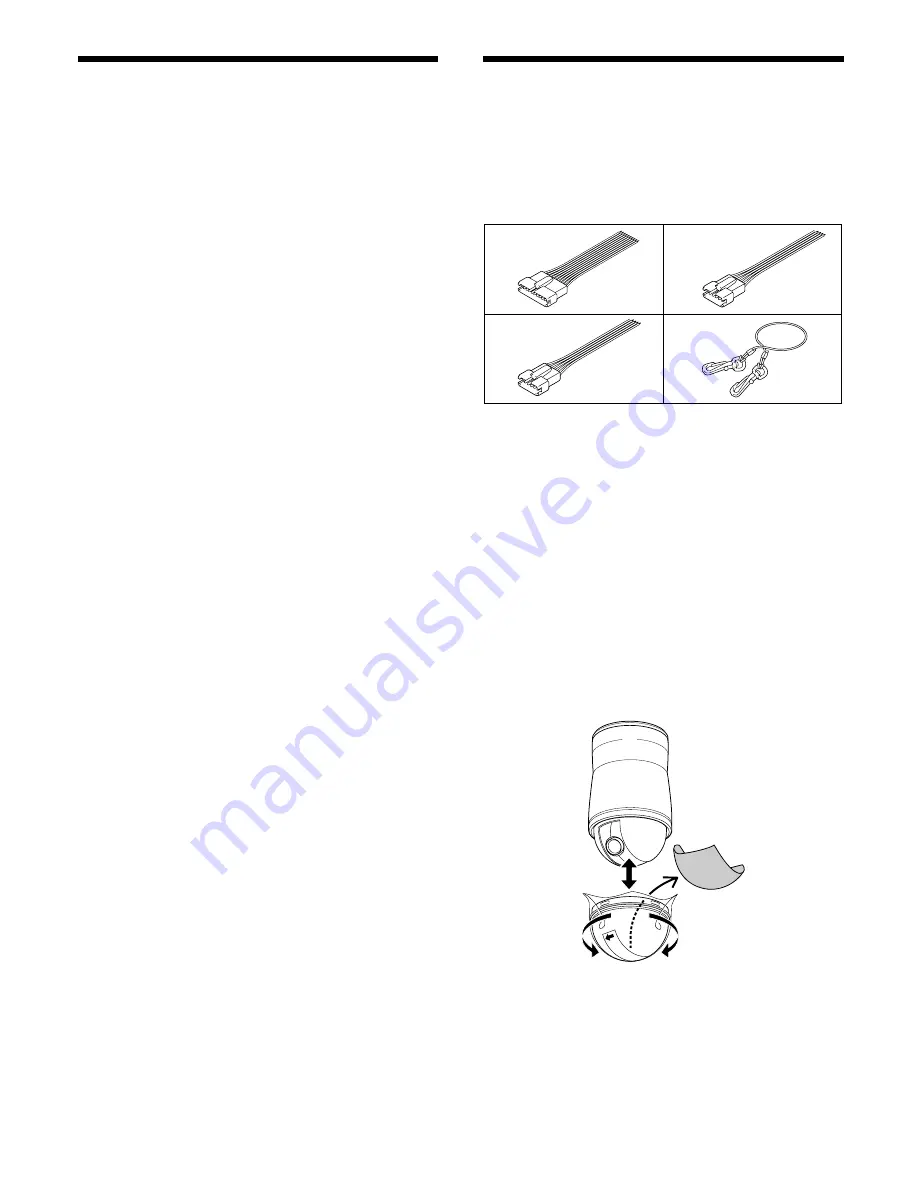
1
Alarm input expansion connector (10 pin) . . . . . . . . . . . . . . 1
2
Camera control expansion connector (5 pin) . . . . . . . . . . . . 1
3
Alarm output expansion connector (5 pin) . . . . . . . . . . . . . . 1
4
Safety cable . . . . . . . . . . . . . . . . . . . . . . . . . . . . . . . . . . . . . . . 1
5
Caution label . . . . . . . . . . . . . . . . . . . . . . . . . . . . . . . . . . . . . . 1
Before installation
A protective wrapper has been placed on the outside of the dome
cover and a protective sheet on the inside of the cover. Before
installing the unit, be sure to remove the wrapper and sheet as
described in the steps below.
1
With the exterior cover wrapper still in place, turn the cover to
the left from its fastened position (cover lock position) and
remove it from the unit.
2
Take the protective sheet out of the interior of the dome cover.
3
Confirm that the gasket on the dome cover has the proper gap,
then line up the 4 tabs on the dome cover with the 4 slots on the
inside of the dome camera unit and push the dome cover in
completely.
4
Lock the dome cover in place by turning it to the right (cover
lock position).
1
3
2
4
– 2 –
English


