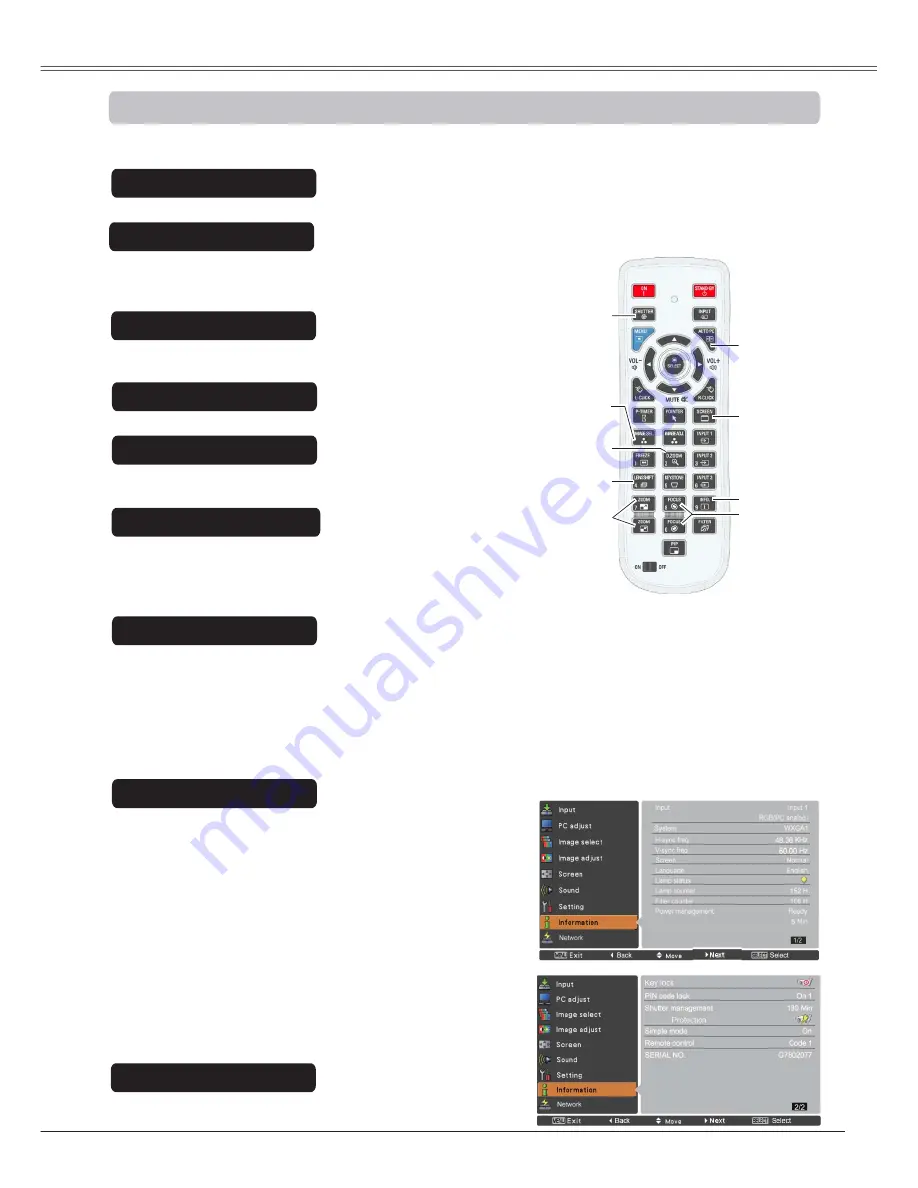
Using the remote control for some frequently used operations is advisable. Just pressing one of the buttons
enables you to make the desired operation quickly without calling up the On-Screen Menu.
Press the ZOOM buttons on the remote control to zoom
in and out the image.
ZOOM buttons
Press the FOCUS buttons on the remote control to adjust
focus of the image.
FOCUS buttons
See page 27 for details.
LENS SHIFT button
Remote Control
D.ZOOM button
SHUTTER
button
AUTO PC
button
ZOOM buttons
FOCUS buttons
LENS SHIFT
button
3
Note:
6HHWKHQH[WSDJHIRUWKHGHVFULSWLRQ
RIRWKHUEXWWRQV
INFO. button
SHUTTER button
See pages 27, 63 for details.
SCREEN
button
INFO. button
Press the AUTO PC button on the remote control to
operate the Auto PC adj. function. The computer screen
adjustment can be done easily by pressing this button.
See page 37 for details.
AUTO PC button
Press the SCREEN button on the remote control to
select the desired screen size. The selected screen size
symbol appears on the screen for 4 seconds. See pages
42-44 and 49-50 for details.
Press and hold the SCREEN button for more than 5
seconds to return all the screen size adjustment setting
to the factory default setting.
SCREEN button
Press the D.ZOOM button on the remote control to enter
to the Digital zoom +/– mode. See page 43 for details.
D.ZOOM button
Information display can be used to confirm the current
operating condition of the projector and the signal being
projected through the projector.
The information menu changes each time you press the
INFO. button on the remote control as follows:
page 1/2
¨
page 2/2
¨
hide
¨
page 1/2
¨
While the information menu is displayed, press the Point
WX
buttons to display the previous or next page.
The information window can also be selected from the menu.
Operating with Remote Control
Information Menu
3
Note:
7KH+V\QFIUHTDQG9V\QFIUHTYDOXHVGHVFULEHGLQ
WKHILJXUHPD\EHGLIIHUHQWIURPWKHDFWXDOYDOXHV
SERIAL NO.
LVXVHGWRVHUYLFHWKHSURMHFWRU
Basic Operation
IMAGE SEL.
button
IMAGE SEL. button
Press the IMAGE SEL. button on the remote control, the
last stored image will be displayed on the screen for about 4
seconds. For its further functions, see pages 40 and 46 for details.
29


