■
Before Adjustment
1. Each adjustment requires ball allen wrenches and slot
screwdrivers.
2. Set the motorized lens shift to the center position (hori-
zontal and vertical) with Lens Shift Button.
Lens shift arrow on screen turns red at center of lens
shift.
3. When adjusting optical components adjustments,
using Standard Zoom Lens (LNS-S03) is recommended.
4. When adjusting the Relay lens and Condenser lens, fol-
low the following procedure.
a) Remove the connectors K8E, K8N, K8P and three
flexible cables of the LCD panels from the Main.
(Do not touch the electrode of flexible cables.)
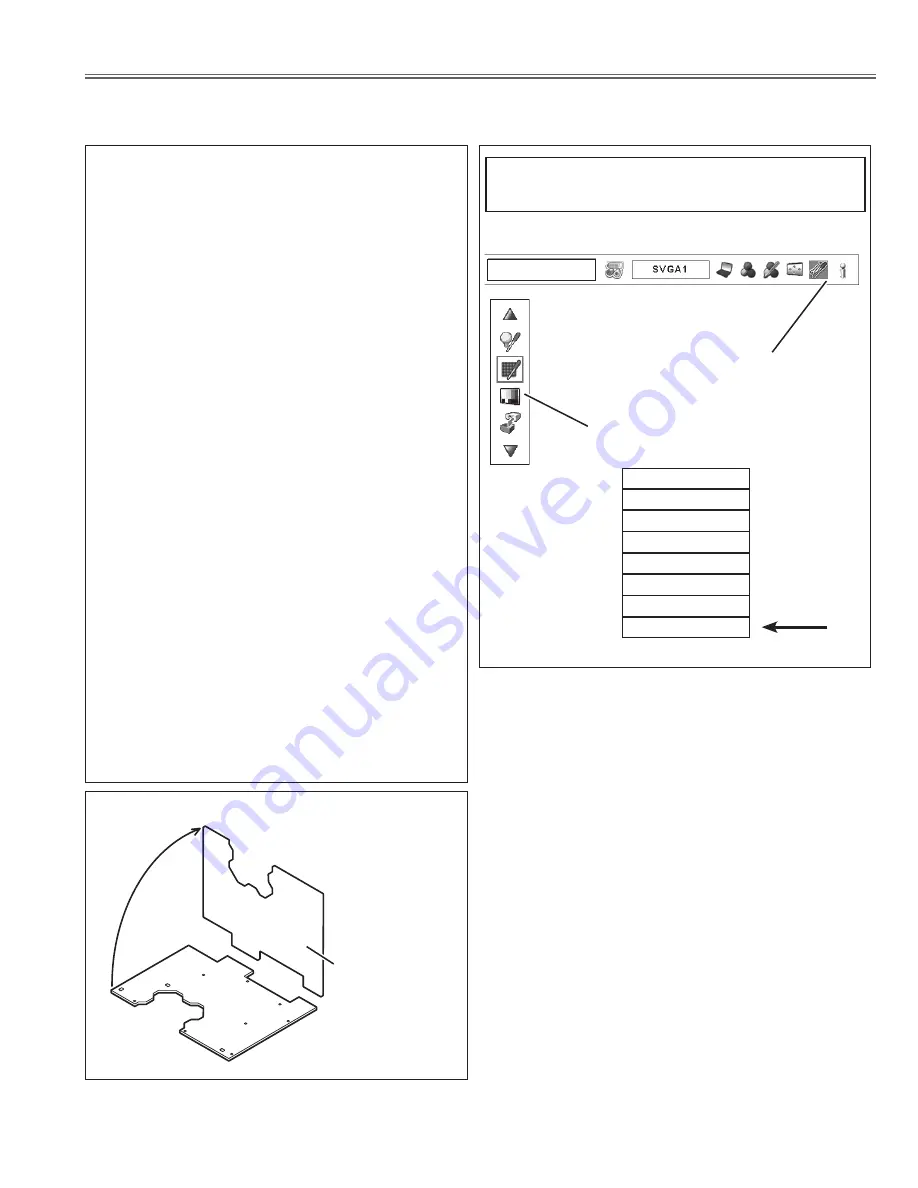
b) As shown in a figure below, set the Main board to
the upright position.
c) It is necessary to replace the polarized glass unit for
the Adjustment Tool.
Note;
When adjusting the Relay lens and Condensor lens,
Adjustment Tool is needed.
(This Tool can be ordered as a service part. Part No.
shown below.)
Part Name ; OPTICAL FILTER-S
Service Parts No. 610 337 6394
CAUTION:
Do not short Main board with the chassis.
Protect Main board with necessary isola-
tion materials from shorting.
K8E
K8N
K8P
Main board
Open upper way.
CAUTION: When adjusting the optical components, do not
insert any materials into the optical block for
blocking the light. Or the optical block may
be damaged by overheating or scratching the
parts.
Optical adjustment
- 73 -
5. Display adjustment grid pattern in setting menu mode.
Setting --> Test pattern --> Cross
Color
Gradation 1
Gradation 2
Gradation 3
Gradation 4
All white
All black
Cross
Test pattern
Select "Test pattern" and test patern
menu appears.
Summary of Contents for PLC-XF47
Page 153: ... 153 Mecanical and Optical Parts 53 72 68 52 118 120 126 55 54 69 69 70 70 101 123 ...
Page 154: ... 154 Mecanical and Optical Parts 102 103 115 114 114 121 121 125 112 119 118 122 117 ...
Page 155: ... 155 Mecanical and Optical Parts 71 116 71 116 116 116 111 80 111 110 110 78 81 79 ...
Page 195: ... 195 ...
Page 196: ...SM5110880 PLC XF47 SEP 2007 BB 350 Printed in Japan ...
Page 218: ......


