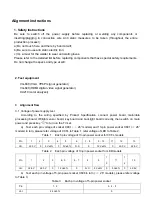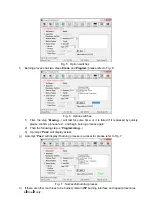
Fig. 2 Write-protect setup
c) Press
menu
“
Connect
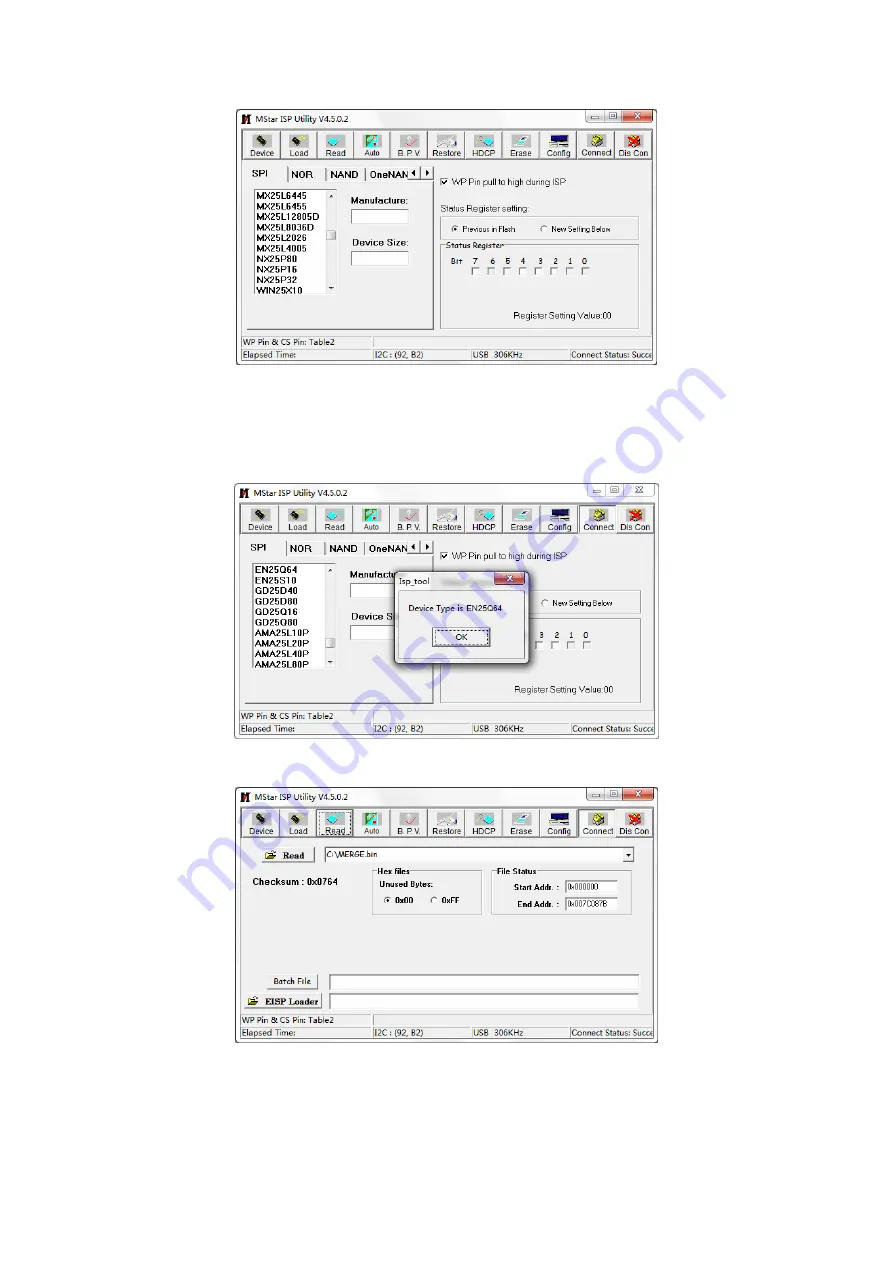
”, a dialog box “
Device Type is XXX
(
XXX
is corresponding type of
SPI
Flash
)” will pop up, that is, connection has been successful, please refer to Fig. 3; if connection
is failed, press the first menu “
Device
” to select SPI Flash type manually, then press menu
“
Connect
” again;
Fig. 3 Successful connection
d) Press
menu
“
Read
”, select the burning file, such as “
MERGE.bin
”, please refer to Fig. 4;
Fig. 4 Burning file
e) Press
menu
“
Auto
”, tick options “
All chip
”, “
program
” and relative option switches, please refer
to Fig.5, press key “
Run
” to begin burning;
Summary of Contents for LED-42XR10FH
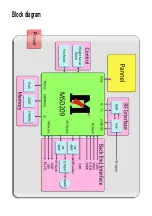
Page 19: ...Blockdiagram ...
Page 30: ...Troubleshooting guide LED 42XR10FH 1 No Backlight ...
Page 31: ...2 No Picture but backlight is normal ...
Page 43: ...APPENDIX B Exploded view LED 42XR10FH ...
Page 48: ...May 2010 ...

