


29
Playback procedure
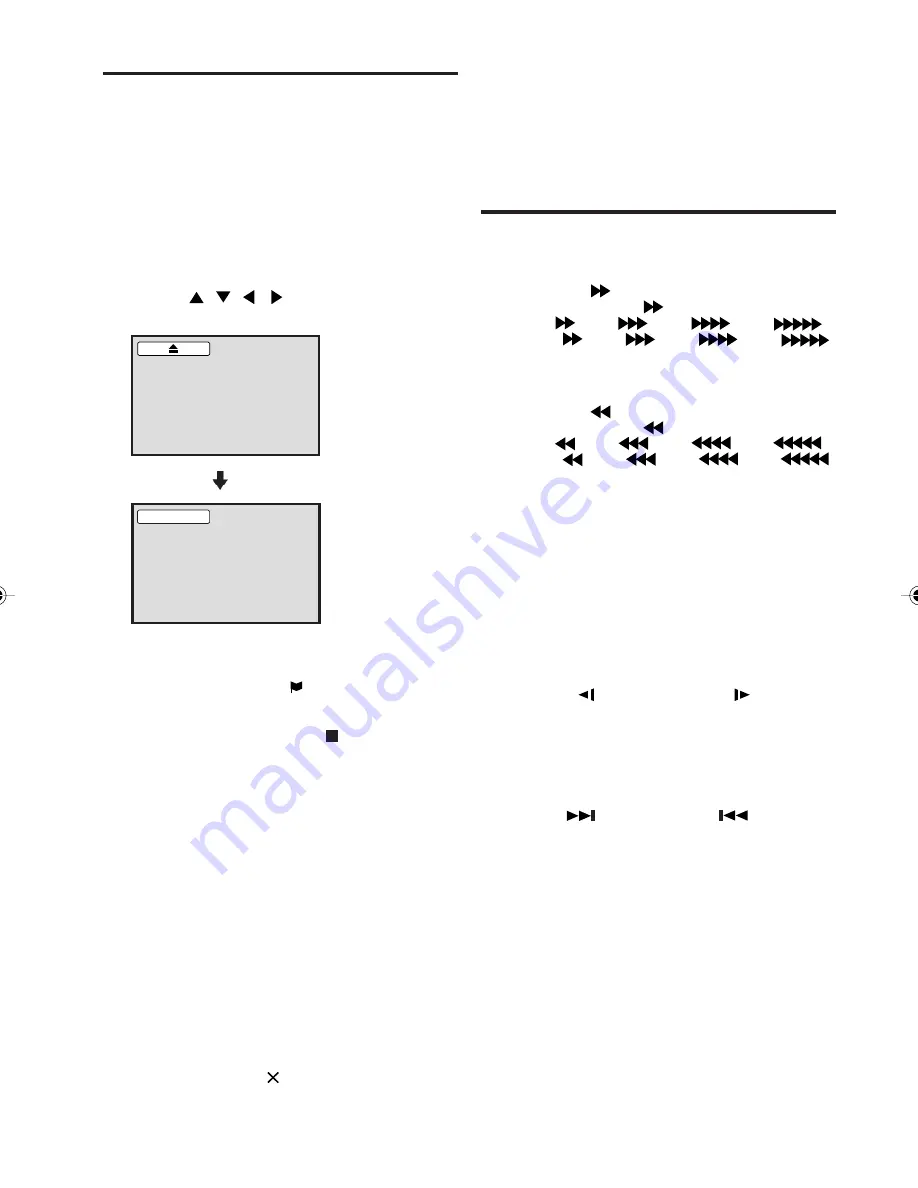
1
Press
TV/DVD
to select DVD mode.
2
Place the disc in the disc slot with the label side
facing forward. (If the disc has a label.) Hold the
disc without touching either of its surfaces, align it
with the guides, and place it in position.
3
On the screen, “
5
” changes to “Reading” and
then playback will commence.
• A menu screen may appear on the TV screen,
if the disc has a menu feature. In this case,
press
,
,
,
or
ENTER
to operate a
menu feature.
Reading
4
Press
STOP
to end playback.
• The unit memorizes the stopped point, de-
pending on the disc. “
” appears on the
screen. Press
PLAY
to resume playback (from
the scene point).
• If you press
STOP
again (“ ” appears on the
screen) or unload the disc, the unit will clear
the stopped point.
5
Press
5
(EJECT)
.
Remove the disc and then press
POWER
.
The unit turns off.
When you eject the disc, you may hear mecha-
nism noise, but it is not malfunction.
NOTE:
• If a non-compatible disc is loaded, “Incorrect Disc”,
“Region Code Error” or “Parental Error” will appear
on the TV screen according to the type of loaded
disc. If these appear, check your disc again (see
pages 9 and 37).
• Some discs may take a minute or so to start
playback.
• If an 8 cm disc is placed into the disc slot and
picture playback or menu display does not begin
automatically, press
PLAY
.
• A “Prohibition” symbol “ ” may appear at the upper
left of the screen. This symbol means either the
feature you tried is not available on the disc, or the
unit cannot access the feature at this time. This
does not indicate a problem with the unit.
• If you place a single-faced disc label backwards (i.e.
the wrong way) “Reading” will appear in the display
and then “Incorrect Disc” will be displayed.
• Some playback operations of DVDs may be inten-
tionally fixed by software producers. Since this unit
plays DVDs according to the disc content recorded,
some playback features may not be available. Also
refer to the instructions supplied with the DVDs.
Special playback
NOTE: There may be a slight delay between when
you press the button and the function activating.
Fast Forward Playback
Press
SEARCH
during normal playback.
Each press of
SEARCH
will increase the speed of
the search
(x 2),
(x 4),
(x 8),
(x 15). (CD:
(x 2),
(x 4),
(x 8),
(x 20))
• To resume normal playback, press
PLAY
.
Review Playback
Press
SEARCH
during normal playback.
Each press of
SEARCH
will increase the speed of
the search
(x 2),
(x 4),
(x 8),
(x 15). (CD:
(x 2),
(x 4),
(x 8),
(x 20))
• To resume normal playback, press
PLAY
.
Still Playback
Press
PAUSE/STILL
during normal playback to
pause playback.
• To resume normal playback, press
PLAY
.
Frame Advance
Press
PAUSE/STILL
during still playback.
One frame is advanced each time you press
PAUSE/
STILL
.
• To resume normal playback, press
PLAY
.
Slow-motion Playback
Press
SLOW
Reverse or
SLOW
Forward
during normal playback or still playback.
Each press of
SLOW
will change the speed of the
slow x1/2, x1/4, x1/6, x1/7.
• To resume normal playback, press
PLAY
.
• To resume the still playback, press
PAUSE/STILL
.
Locating a chapter or track
Press
SKIP
Forward or
SKIP
Reverse
during playback to locate a chapter that you want
to watch. Each time you press the button, a
chapter or track is skipped.
NOTE:
• The unit is capable of holding a still video image or
On screen display image on your television screen
indefinitely. If you leave the still video image or On
screen display image displayed on your TV for an
extended period of time, you risk permanent
damage to your television screen.
5Z80501A_EN_P24-31
7/3/07, 3:48 PM
29


