background image

33

2

Press 

 or 

 to select the “Time”, “Title/track”

or “Chapter”.

3

Press 

Number buttons (0–9)

 to input the

number.

• If you input a wrong number, press 

CANCEL

.

• Refer to the package supplied with the disc to

check the numbers.

4

Press 

ENTER

.

• Playback starts.
• When you change the title, playback starts from

Chapter 1 of the selected title.

• Some discs may not work in the above operation.

Repeat playback

Title, Chapter, Track Playback

1

Press 

PLAY


MODE

 during playback or stop

mode.

2

Press 

ENTER

 repeatedly to select “Chapter” or

“Title”.
The unit automatically starts repeat playback after
finishing the current title or chapter.
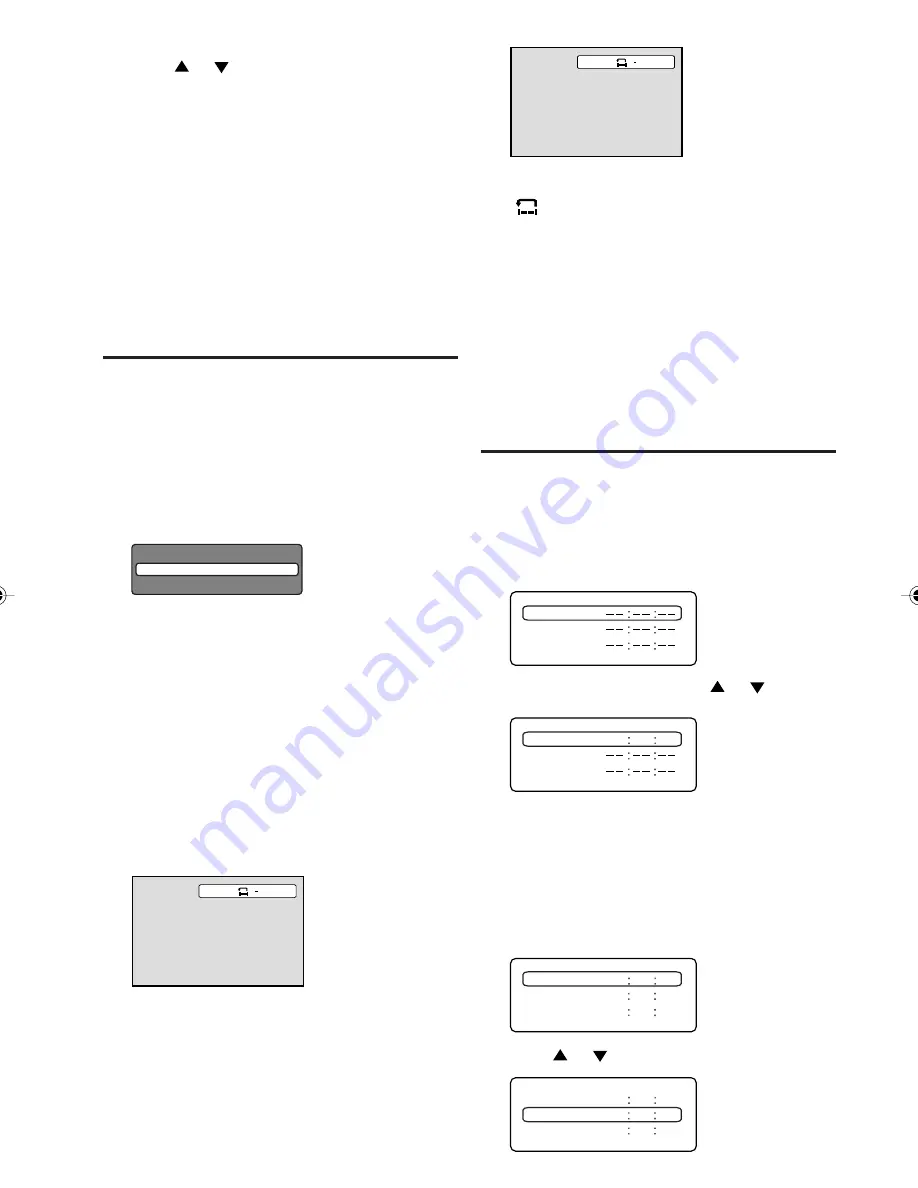
Play Mode

Repeat

: Off

• If you set the repeat mode during stop mode,

press 

PLAY 

to start Repeat playback.

3

Press 

PLAY MODE

 again to make the screen

disappear.
• Press 

PLAY

 to start Repeat playback.

• To resume normal playback, select Repeat

“Off” in step 2.

A-B Repeat Playback

A-B repeat playback allows you to repeat material
between two selected points.

1

Press 

REPEAT A-B

 during playback.

The start point is selected.

A

2

Press 

REPEAT A-B

 again.

The end point is selected. Playback starts at the
point that you selected. Playback stops at the end
point, returns to Point A automatically, then starts
again.

A B

To resume normal playback press 

REPEAT A-B

again.

Off

” appears on the screen.

NOTE:

Some discs may not work with the  repeat
operation.

In A-B repeat mode, subtitles near point A or B may
not appear.

During the A-B Repeat Playback the ANGLE
feature will not operate.

You may not be able to set A-B Repeat, depending
on the scenes of the DVD.

A-B Repeat does not work with an interactive DVD,
MP3/MPEG/WMA/JPEG-CD.

Marking desired scenes

The TV/DVD stores the points that you want to
watch again. You can resume playback from that
scene.

Marking the Scenes

1

Press 

MARKER

 during playback.

Marker 2

Marker 1

Marker 3

2

Select the blank Marker using 

 or 

, then

press 

ENTER

 at the desired scene.

Marker 2

Marker 1

0 0 2 7 5 4

Marker 3

• Up to 3 scenes can be selected.
• Repeat this procedure to set the other 2

scenes.

3

Press 

MARKER

 to remove this display.

Returning to the Scenes

1

Press 

MARKER

 during playback or stop mode.

Marker 2

Marker 1

0 0 2 7 5 4
0 1 1 6 2 5
0 2 0 8 3 1

Marker 3

2

Press 

 or 

 to select the Marker 1-3.

Marker 2

Marker 1

Marker 3

0 0 2 7 5 4
0 1 1 6 2 5
0 2 0 8 3 1

  5Z80501A_EN_P32-37

7/3/07, 3:48 PM

33

Summary of Contents for HDLCDVD320A

Page 1: ...e If not using CABLE set this menu option to the TV position IF CONTACT WITH CUSTOMER SERVICE IS REQUIRED PLEASE HAVE THE MODEL NUMBER READY PRIOR TO THE CALL CUSTOMER SERVICE 1 800 289 0980 ORION WEB...

Page 2: ...ENT ELECTRIC SHOCK DO NOT USE THIS POLARIZED PLUG WITH AN EXTENSION CORD RECEPTACLE OR OTHER OUTLET UNLESS THE BLADES CAN BE FULLY INSERTED TO PREVENT BLADE EXPOSURE WARNING This equipment has been te...

Page 3: ...d in any way such as power supply cord or plug damage liquid has been spilled or objects have fallen into the apparatus the apparatus has been exposed to rain or moisture does not operate normally or...

Page 4: ...ge 25 Do not allow the product to output distorted sound for an extended period of time It may cause speaker overheating and fire 26 When you use the headphones keep the volume at a moderate level If...

Page 5: ...nsult with your doctor after rinsing for at least 15 minutes or longer in clean water CONDENSATION Moisture will form in the operating section of the player if the player is brought from cool surround...

Page 6: ...the LCD Panel and cause subtle but perma nent ghost images This type of damage is NOT COVERED BY YOUR WARRANTY Never leave your LCD Panel on for long periods of time while it is displaying the follow...

Page 7: ...grammed sequences Zoom DVD only You can zoom in the selected subject on the screen during playback NOTE Make sure that discs are suitable for the following functions Multi Language Maximum 32 language...

Page 8: ...4 Cable TV connections 15 Before using your unit Setting the on screen display language 16 TV operation 16 Memorizing channels 17 Setting the V Chip 18 Labeling channels 20 Selecting the video input s...

Page 9: ...Chapter The titles can be subdivided into many sections Each section is called a CHAPTER Track An Audio CD can contain several items These are assigned to the tracks Removing Disc from Case Be sure t...

Page 10: ...ENU button Remote sensor POWER indicator Top Front POWER STOP button SKIP button EJECT button PLAY button To display the menu screen Press MENU button to display the menu screen CHANNEL buttons and VO...

Page 11: ...ls continued PC HDMI AUDIO IN jack PC IN jack HDMI1 IN jack AV2 IN jacks COMPONENT IN jacks Left side RF ANT IN jack COAXIAL DIGITAL AUDIO OUT jack AV1 IN jacks Rear DISC slot Bundle cables with a cab...

Page 12: ...21 25 26 29 30 38 EXIT Exit from On Screen menu 16 27 CANCEL Reset information in the menu 32 33 37 38 TOP MENU Select title 35 SEARCH Fast Forward Review playback 29 PLAY Playback 29 31 32 33 35 SKI...

Page 13: ...ompart ment cover in the direction of the arrow Power source NOTE Please make sure to insert the cord securely at both the LCD TV DVD and the wall outlet The AC Cord has a grounding type AC line plug...

Page 14: ...ntenna jack If your combination VHF UHF antenna has a 300 ohm twin lead wire the use of the 300 75 ohm matching transformer may be necessary Connect the UHF 300 ohm twin lead wire to the Combiner not...

Page 15: ...SIC CABLE TV SERVICE WITH SCRAMBLED PREMIUM CHANNELS Splitter B A Incoming 75 ohm Cable TV Cable A B Switch 75 ohm Cable to TV DVD Incoming 75 ohm Cable TV Cable 75 ohm Cable to TV DVD Converter Descr...

Page 16: ...hen the TV CABLE menu option is in the TV position all channels can be instantly selected by using two buttons For example to select channel 2 press 0 then 2 If you press only 2 channel selection will...

Page 17: ...very ten minutes to remind you that the sleep timer is operating To confirm the sleep timer setting press SLEEP and the remaining time will be dis played for a few seconds To cancel the sleep timer pr...

Page 18: ...6 Press EXIT to return to the normal screen To add a digital channel Select the channel you wish to add Press or to select ADDING CHANNEL as in step 3 above then press or CLEAR ALL All channels are d...

Page 19: ...esired rating you want Press or to select the setting ON or OFF 5 Press or to select MOVIE RATING then press or The RATING SET menu appears ADJUST SELECT RATING SET G ON OFF PG OFF PG 13 OFF R OFF NC...

Page 20: ...ows SPACE If the character which you desire appears press ENTER Repeat this step to enter the rest of the characters If you would like a blank space in the label name you must choose the empty space f...

Page 21: ...ss SETUP TV MENU Press or to select SETUP menu Press or to select PICTURE SIZE 2 Press or The PICTURE SIZE menu will appear Press or a Number button 0 4 to select the desired picture size as described...

Page 22: ...etting the picture scroll You can scroll the picture in CINEMA WIDE2 and CINEMA WIDE3 1 Press SETUP TV MENU in CINEMA WIDE2 or CINEMA WIDE3 mode Then press or to select SETUP menu 2 Press or to select...

Page 23: ...ct PICTURE PREFER ENCE 3 Press or to select the item you want to adjust PICTURE PICTURE PREFERENCE MOVIE SPORTS STANDARD MOVIE MEMORY BRIGHTNESS 25 CONTRAST 25 COLOR 25 TINT 0 SHARPNESS 25 SELECT ADJU...

Page 24: ...ST max 50 COLORTEMPERATURE COOL COLOR center 25 1 Press SETUP TV MENU in the TV mode then press or to select PICTURE menu 2 Press s or t to select RESET and then press or PICTURE COLOR TEMPERATURE COO...

Page 25: ...appear 2 Press or to select SETUP menu 3 Press or to select CC ADVANCED then press or The CC ADVANCED menu will appear 4 Press or to select the item you want to adjust then press or CC ADVANCED TEXT...

Page 26: ...the HDMI audio input source When you use HDMI AUDIO IN jacks with HDMI or DVI device you must select HDMI audio input source from HDMI or DVI 1 Press SETUP TV MENU in the TV mode Then press or to sele...

Page 27: ...will automatically shut itself off after 15 minutes 1 Press SETUP TV MENU then press or to select SETUP menu 2 Press or to select AUTO SHUT OFF 3 Press or to select ON or OFF SETUP PICTURE SIZE PICTU...

Page 28: ...S center 25 BASS center 25 CONTRAST max 50 TREBLE center 25 RED center 25 BALANCE center 0 GREEN center 25 BLUE center 25 1 Press SETUP TV MENU during PC mode then press or to select PICTURE or AUDIO...

Page 29: ...appear in the display and then Incorrect Disc will be displayed Some playback operations of DVDs may be inten tionally fixed by software producers Since this unit plays DVDs according to the disc con...

Page 30: ...R RW that has no music data or non MP3 WMA JPEG files can not be played back MP3 CD WMA and Audio CD playback 1 Load a MP3 WMA JPEG CD or an Audio CD in the disc slot 2 Reading will appear on the TV...

Page 31: ...file type from the list Music or Picture 2 Press ENTER to add remove check mark Checked file type will be displayed in the file browser 3 Press RETURN to save the setting NOTE MP3 or WMA files on the...

Page 32: ...disc tray or turn the power off The track repeat function is canceled when SKIP or is pressed In case of Audio CD the function of A B Repeat also can be used See A B Repeat playback 33 Random playbac...

Page 33: ...REPEAT A B again The end point is selected Playback starts at the point that you selected Playback stops at the end point returns to Point A automatically then starts again A B To resume normal playb...

Page 34: ...Turning the subtitles on and off When playing back a disc recorded with subtitles you can turn the subtitles on or off Press SUBTITLE during playback until Off appears Off Changing the subtitle langu...

Page 35: ...ubtitle Audio English Francais Espanol Other Menu English Francais Espanol The selected language will be heard or seen Other Other language can be selected see the Language code list on page 39 Origin...

Page 36: ...Display Picture Mode JPEG Interval Auto Film Video 16 9 Auto Select this position normally The DVD player automatically detects source content film or video of playback source Film Suitable for playba...

Page 37: ...el number de creases If you input a wrong number press CANCEL 4 Press or to select the level 1 to level 8 The limitation will be more severe as the level number is lower Then press ENTER Parental 2 Pa...

Page 38: ...the screen which follows the Reading screen will change depending on which disc is played If you select YES with ENTER key password input screen will then appear 3 Enter the password with Number butto...

Page 39: ...di 1819 Norwegian 2425 Thai 3018 Bihari 1218 Hungarian 1831 Oriya 2528 Tibetan 1225 Breton 1228 Icelandic 1929 Panjabi 2611 Tigrinya 3019 Bulgarian 1217 Indonesian 1924 Pashto Pushto 2629 Tonga 3025 B...

Page 40: ...nect various video and audio components to this unit is dependent on the model and features of each component Check the Owner s Manual provided with each component for the location of video and audio...

Page 41: ...nued The HDMI input receives digital audio and uncompressed video from a HDMI device or uncompressed digital video from a DVI device When you connect to a DVI device with a HDMI to DVI adapter cable i...

Page 42: ...f the computer and the other end to the VGA connector PC MONITOR on the back of the TV DVD Attach the connectors firmly with the screws on the plug In case of a Multimedia computer connect the audio c...

Page 43: ...drills or hair dryers SNOW If the TV DVD is located far from the TV station in a fringe reception area where the signal is weak small dots may appear in the picture If the signal is extremely weak th...

Page 44: ...emory Cable TV company is scrambling signal Check antenna orientation No Cable TV reception Check all Cable TV connections Set TV CABLE menu option to the CABLE mode Station or Cable TV system problem...

Page 45: ...he setup does not match your stereo system The remote control does not function Aim at the remote control at the remote sensor Operate within Approx 5 Meters or reduce the light in the room Clear the...

Page 46: ...3 V p p 75 ohms Video RCA 1 V p p 75 ohms Audio RCA 8 dBm 50K ohms Digital audio out 0 5 Vp p 75 ohms terminated Component video input Y 1 V p p 75 ohms PB PR 0 7 V p p 75 ohms HDMI input HDMI compli...

Page 47: ...or by the ORION Factory Service Center d Damaged because it is improperly connected to the equipment of other manufacturers This warranty does not cover a Damage to video disc b Damage to equipment no...

Page 48: ...Printed in Thailand J5Z80501A SH 07 07 N...

Reviews: