- 30 -
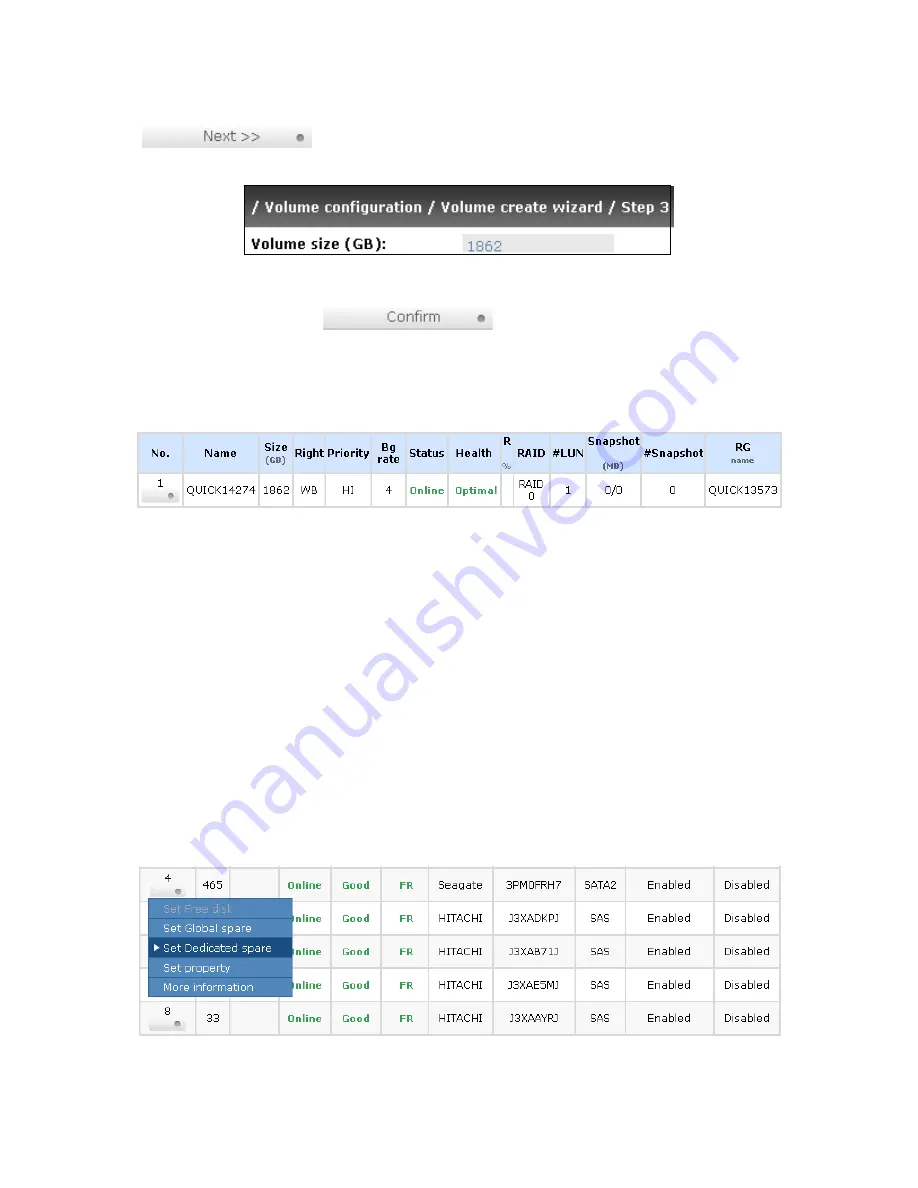
Step 3: Decide VD size. User can enter a number less or equal to the default number. Then click
“
”.
Figure 3.6.1.3
Step 4: Confirm page. Click “
” if all setups are correct. Then a VD will be
created.
Done. You can start to use the system now.
Figure 3.6.1.4
(Figure 3.6.1.4: A RAID 0 Virtual disk with the VD name “QUICK13573”, named by system itself, with
the total available volume size 1862GB.)
3.6.2
Physical disk
“Physical disk” can view the status of hard drives in the system. The followings are operational tips:
1.
Mouse moves to the gray button next to the number of slot, it will show the functions which
can be executed.
2.
Active function can be selected, but inactive function will show in gray color.
For example, set PD slot number 11 to dedicated spare disk.
Step 1: Mouse moves to the gray button of PD 11, select “Set Dedicated spare”, it will link to next page.
Figure 3.6.2.1


