07
GB
F
E
NL
D
Using your GoTune for the first time
1
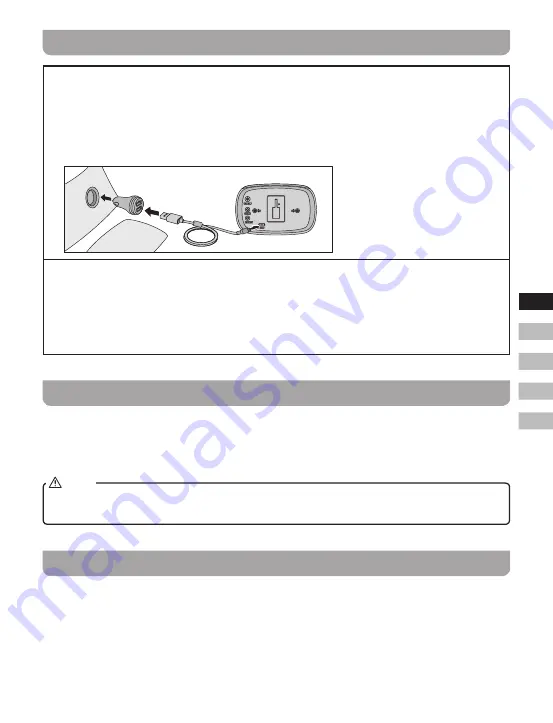
Insert the USB power cable into the micro USB socket on the rear of GoTune and insert the
other end to the supplied 5V cigarette type car power adaptor, then insert the power adaptor
into your vehicle's power socket. The display will show “Welcome to Digital Radio” for a few
seconds. Your GoTune will perform a scan of the Band III DAB channels and will normally
update the clock automatically using the DAB signal. If no signals are found, it may be
necessary to relocate the antenna to a position giving better reception. After a power failure the
GoTune will then set its clock the next time that you turn on the unit in DAB mode.
2
Choose how to connect your GoTune to your vehicle's audio system.
●
If connecting your GoTune with an auxiliary cable, choose Line out .
●
If connecting your GoTune by FM radio, choose ‘FM TX’(FM transmitter)mode and then
choose an FM frequency. Ensure a radio station isn't using the frequency you choose. Tune
yourvehicle’saudiosystemtothesameFMfrequencyyourGoTune.ToeasilyfindtheFM
frequency in the future, save it as a preset on your vehicle’s audio system.
Line out socket
A 3.5mm Line out socket located on the rear of your GoTune is provided for connecting the audio
signaltoanexternalamplifier.Insertanaudiocableintothissocketandinserttheotherendintothe
vehicle's auxiliary socket.
Adjust the Volume control on the vehicle's audio system to the required level.
When selecting Line out to connect your GoTune to your vehicle's audio system, there may be
interference noises due to different vehicles.
NOTE
FM transmitter (FM TX mode)
1.
Press the Power On / Off button to switch on your GoTune.
2.
Press the Mode button to select FM TX mode.
3.
Press the Autotune button to scan the FM frequency. The frequency of 10 unused radio stations
will be automatically stored in the preset list.
Summary of Contents for FMT-02
Page 1: ...Version 1 FMT 02 GB...


