background image

014

Setting Clock Time

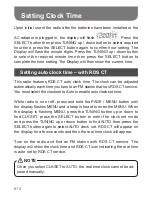
Upon initial use of the radio after the batteries have been installed or the 

AC adaptor is plugged in, the display will flash 

 . Press the 

SELECT button then press TUNING up / down button to select required 

hour time, press the SELECT button again to confirm hour setting. The 

Display will flash the minute digits. Press the TUNING up / down button 

to select the required minute time then press the SELECT button to 

complete the time setting. The Display will then show the current time.

Setting auto clock time – with RDS CT

This radio features RDS CT auto clock time. The clock can be adjusted 

automatically each time you tune to an FM station that has RDS CT service. 

You must select the clock set to Auto to enable auto clock set time.

While radio is on or off, press and hold the PAGE / MENU button until 

the display flashes MENU and a beep is heard to enter the MENU. When 

the display is flashing MENU, press the TUNING button up or down to 

find CLKSET, press the SELECT button to enter the clock set mode 

and press the TUNING up or down button to find AUTO then press the 

SELECT button again to select AUTO clock set. RDS CT will appear on 

the display for a few seconds and then the real time clock will appear.

Turn on the radio and find an FM station with RDS CT service. The 

display will show the clock time and RDS CT icon indicating the real time 

is auto set by RDS CT service.

Once you select CLKSET to AUTO, the real time clock cannot be ad-
justed manually.


NOTE

Summary of Contents for DT-800

Page 1: ...Version 1 GB DT 800...

Page 2: ...f the radio Do not place the radio on an unstable cart stand bracket or table The radio may fall causing serious personal injury and damage to the radio Ventilation This radio should be situated so th...

Page 3: ...e radio The objects may touch dangerous voltage points or short out parts This could cause a fire or electrical shock If the radio is left unattended or unused for long periods of time unplug it from...

Page 4: ...nce The radio has been dropped or the enclosure damaged 16 17 Recharge the batteries at least every 2 months to help extend battery life Make sure the Battery Select switch inside the battery compartm...

Page 5: ...ill result in a mix of fully charged and partly empty batteries This can seriously damage the batteries and radio when recharged It is advised to only charge batteries at room temperature between 5 de...

Page 6: ...ing charging In cold conditions the capacity of batteries will be much lower than when used at normal room temperature Batteries if supplied with the radio as being consumables do not fall under the w...

Page 7: ...uto timer button When the Power is switched on the auto off symbol will appear on the display the radio will turn off at selected auto off time period see MENU TIME 90 for auto off settings When the r...

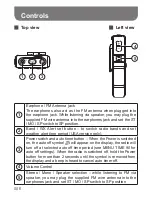
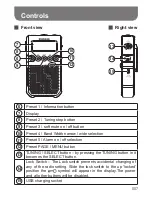
Page 8: ...reset PAGE MENU button 13 TUNING SELECT button by pressing the TUNING button in it becomes the SELECT button 14 Lock Switch The Lock switch prevents accidental changing of any of the radio setting Sli...

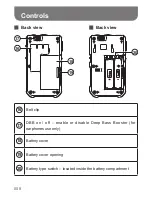
Page 9: ...DBB on off enable or disable Deep Bass Booster for earphones use only 18 Battery cover 19 Battery cover opening 20 Battery type switch located inside the battery compartment Controls 19 18 16 17 20 B...

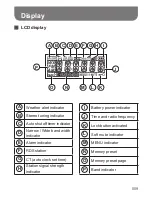
Page 10: ...off timer indicator D Narrow Wide band width indicator E Alarm indicator F RDS station G CT auto clock set time H Station signal strength indicator I Battery power indicator J Time and radio frequenc...

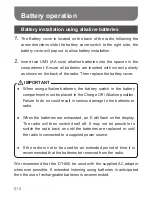
Page 11: ...he battery compartment must be placed in the Charge Off Alkaline position Failure to do so could result in serious damage to the batteries or radio When the batteries are exhausted an E will flash on...

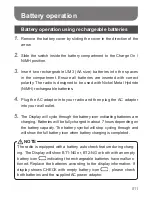
Page 12: ...AC adaptor into your wall outlet The Display will cycle through the battery icon indicating batteries are charging Batteries will be fully charged in about 7 hours depending on the battery capacity Th...

Page 13: ...cineration IMPORTANT Use only supplied AC power adaptor to power the radio or charge the rechargeable batteries to avoid possible interference while listening to the radio IMPORTANT When the batteries...

Page 14: ...ly The AC socket used for the radio must remain accessible during normal use In order to disconnect the radio from your main power supply completely the AC adaptor should be removed from the wall outl...

Page 15: ...to an FM station that has RDS CT service You must select the clock set to Auto to enable auto clock set time While radio is on or off press and hold the PAGE MENU button until the display flashes MEN...

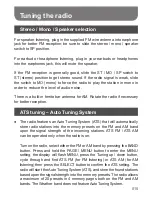
Page 16: ...eption ATS tuning Auto Tuning System The radio features an Auto Tuning System ATS that will automatically store radio stations into the memory presets on the FM and AM band upon the signal strength of...

Page 17: ...n up or down then press the SELECT button to confirm seek tuning radio will seek and stop at the next active signal station Repeat as many times as desired Manual Tuning Turn your radio on by pressing...

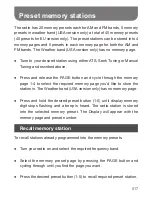
Page 18: ...hrough the memory page 1 4 to select the required memory page you d like to store the station in The Weather band USA version only has no memory page Press and hold the desired preset button 1 5 until...

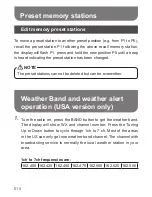
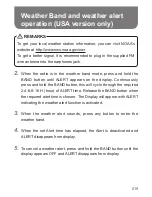
Page 19: ...be deleted but can be overwritten NOTE Turn the radio on press the BAND button to get the weather band The display will show WX and channel number Press the Tuning Up or Down button to cycle through 1...

Page 20: ...th ALERT indicating the weather alert function is activated When the weather alert sounds press any button to enter the weather band When the set Alert time has elapsed the Alert is deactivated and AL...

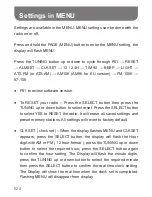
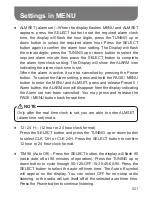
Page 21: ...ES to RESET the radio It will erase all saved settings and preset memory stations All settings will revert to factory default CLK SET clock set When the display flashes MENU and CLKSET appears press t...

Page 22: ...SET press and release Preset 5 Alarm button the ALARM icon will disappear from the display indicating the Alarm set has been cancelled You may press and release the PAGE MENU button back for real time...

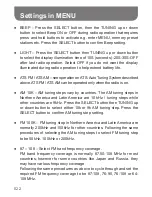
Page 23: ...by countries The AM tuning steps in Northern America and Latin America are 10 kHz tuning steps while other countries are 9kHz Press the SELECT button then TUNING up or down button to select either 10k...

Page 24: ...50k to 10k tuning step depending on the area the was radio sold in Press and release the PAGE MENU button again to confirm the tuning step change S MUTE preset button 3 Soft Mute enable and disable If...

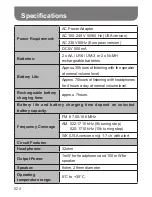
Page 25: ...s of listening with headphones for 4 hours a day at normal volume level Rechargeable battery charging time approx 7hours Battery life and battery charging time depend on selected battery capacity Freq...

Page 26: ...usehold waste Please recycle where facili ties exist Check with your Local Authority or retailer for recycling advice Waste Electrical and Electronic Equipment Directive Sangean reserves the right to...

Reviews: