


Reviews:
No comments
Related manuals for AMS-210EN/IP-420

SX Series
Brand: KANSAI SPECIAL Pages: 21

APW-895N/IP-420
Brand: SanDisk Pages: 125

1118 Series
Brand: U.S. BLIND STITCH Pages: 32

107-1
Brand: Singer Pages: 8

Phonefax 35DS
Brand: Sagem Pages: 48

KM 70/30 C Bp
Brand: Kärcher Pages: 28

LS2-H6000-D
Brand: Unicorn Pages: 18

BLMY
Brand: Baby Lock Pages: 226

PowerBoss Armadillo 6X
Brand: HAKO Pages: 84

FX 700
Brand: JB Systems Pages: 14

Fax-Lab S120
Brand: Olivetti Pages: 64

MONTANA
Brand: Kettler Pages: 36

TH-9701
Brand: DS Produkte Pages: 52

LBH-781
Brand: JUKI Pages: 92
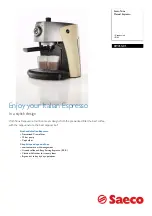
RI9355/01
Brand: Philips Pages: 2
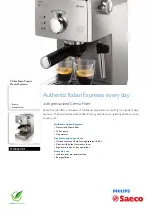
HD8427/01
Brand: Philips Pages: 3
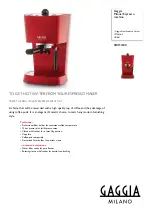
Gaggia RI8154/80
Brand: Philips Pages: 3
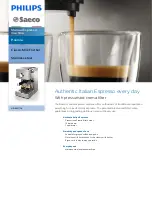
HD8327/09
Brand: Philips Pages: 3


