4/8-channel H.264 DVR User Manual
11
also controllable.
2.4.6
2.4.6
2.4.6
2.4.6 MUTE
MUTE
MUTE
MUTE
2.4.
2.4.
2.4.
2.4.7
7
7
7 Manual
Manual
Manual
Manual recording/stop
recording/stop
recording/stop
recording/stop recording
recording
recording
recording
If “timing record” is on (please see Chapter 3), and recording is not set in this period,
"manual recording" and "timing record" is effective. When boot-record mode is on, this
function is not available.
Chapter
Chapter
Chapter
Chapter 3
3
3
3 Advanced
Advanced
Advanced
Advanced settings
settings
settings
settings
3.1
3.1
3.1
3.1 Main
Main
Main
Main menu
menu
menu
menu
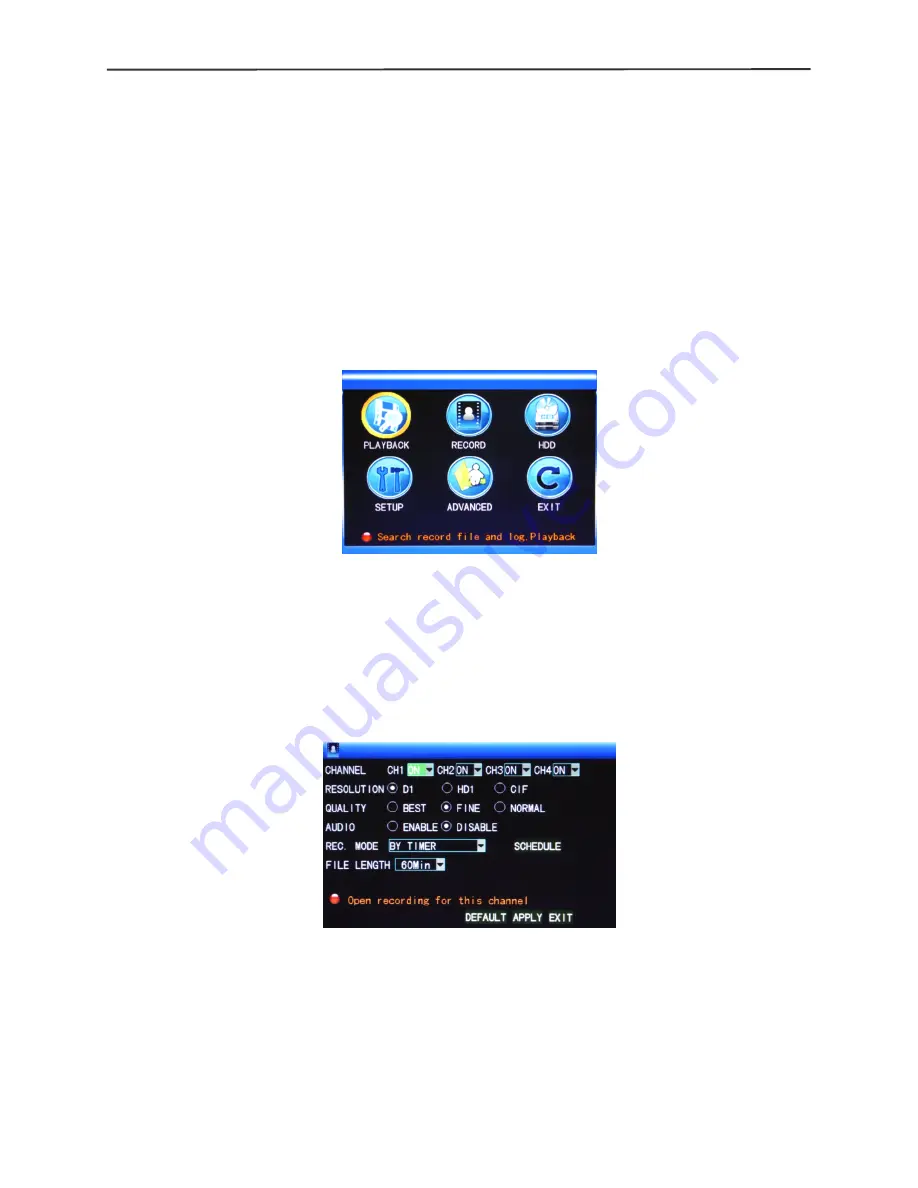
The main menu has the “PLAYBACK”, “RECORD”, “HDD”, “BASIC”, “ADVANCED” and
“Exit” options, as shown below:
Note:
Note:
Note:
Note:
The setup of all the submenus below will not be effective until “Enter” is pressed.
The setup of this menu will be invalid if you exit directly. A significant characteristic of
this product is when you move the cursor to any option, the prompting message of this
option will be displayed automatically in the lower part of the screen.
3.2
3.2
3.2
3.2 Recording
Recording
Recording
Recording mode
mode
mode
mode
Enter the Recording Mode screen from “Main Menu”—“Recor”, as shown below:
Channel:
Channel:
Channel:
Channel:
used to select if the video recording function is enabled for the corresponding
recording channel.
R
R
R
RESOLUTION:
ESOLUTION:
ESOLUTION:
ESOLUTION:
available in the 3 levels of D1
(
704*576
)
, HD1
(
704*288
)
and CIF
(
352*288
)
(
Note:
Note:
Note:
Note:
This option is available for 4-channel DVRs only, and the resolution
of 8-channel DVRs is CIF by default .)
QUALITY
QUALITY
QUALITY
QUALITY::::
available in the 3 levels of highest, high and normal, corresponding to the 3
data stream standards of highest, high and medium bit rates.
A
A
A
AUDIO
UDIO
UDIO
UDIO::::
switching on or off audio recording.


