background image

27

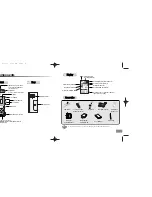
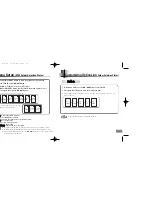
Turning Voice yepp On 

26

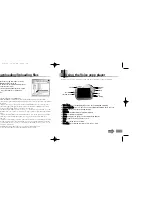
Press the Help button. 

See Help for more details on how to use.

H

He

ellp

p: check help related to computer use. 

A

Ab

bo

ou

utt  T

TT

TS

S  P

PA

AD

D  

II

: check the version of TTS PAD.

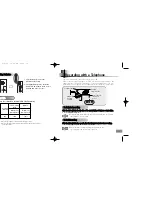
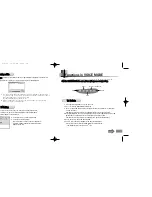
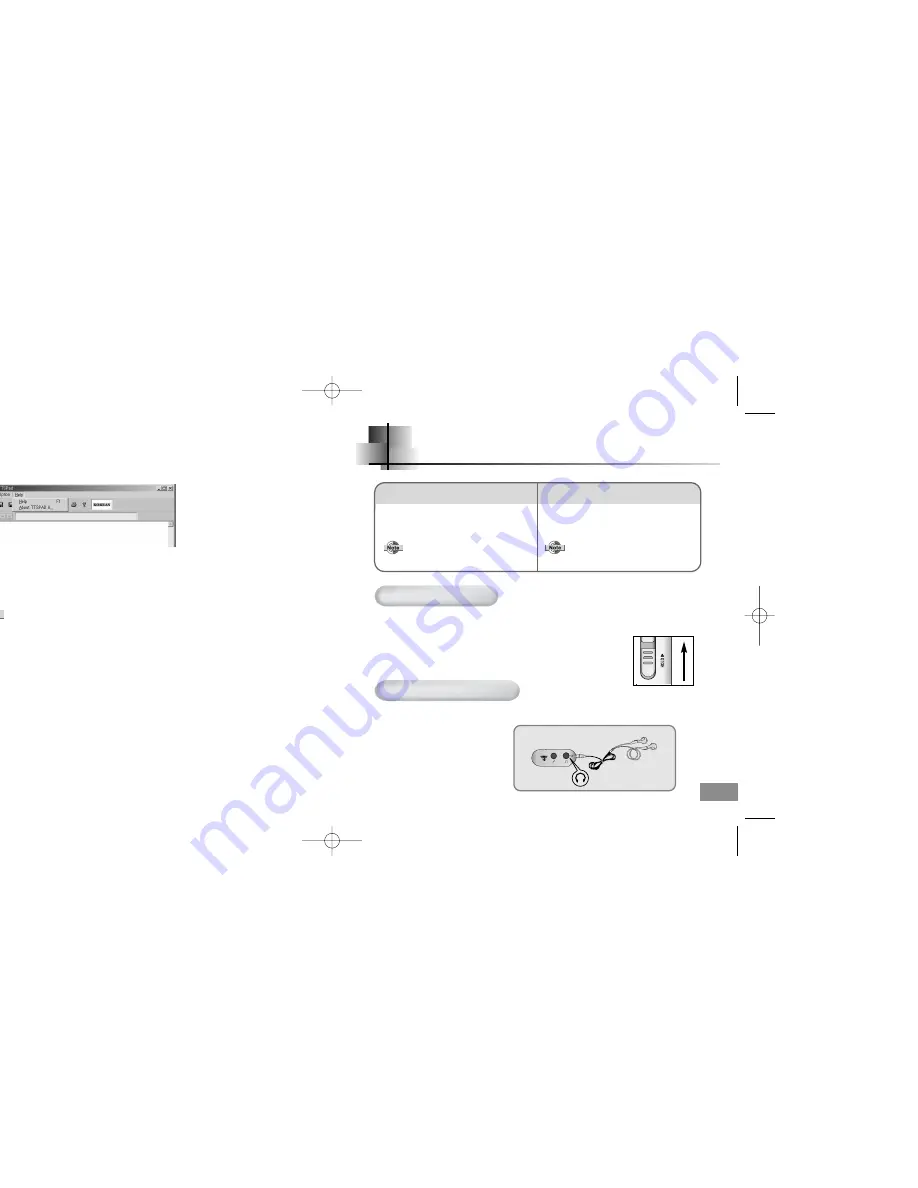
Recording can commence while the
power is off by sliding the 

REC

switch in the direction of the arrow.

The power will be automatically
turned off when the Voice yepp is
left idle for longer than 3 minutes.

T

Too  T

Tu

urrn

n  tth

hee  P

Poow

weerr  O

On

n  

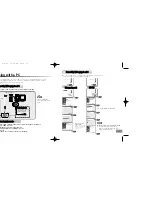
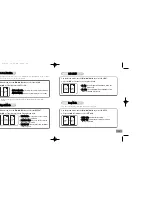
Press and hold the Play/Pause ( 

√» 

) button. 

● 

The power will be turned on. 

Press and hold the Stop ( 

) button.  

● 

The power will be turned off.  

T

Too  T

Tu

urrn

n  tth

hee  P

Poow

weerr  O

Offff

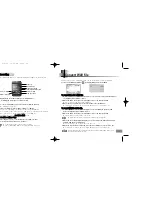
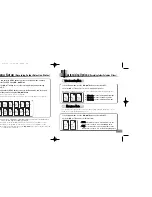
This function will disable all buttons while maintaining the current operation. 
However, the recording function will operate when the Hold function is in use.

S

Slliid

de

e  tth

he

e  H

HO

OL

LD

D s

sw

wiittc

ch

h  iin

n  tth

he

e  d

diirre

ec

cttiio

on

n  o

off  tth

he

e  a

arrrro

ow

w..

●  

The product is in Lock Mode. 

H

Ho

olld

d  F

Fu

un

nccttiio

on

n  

L

Liisstte

en

niin

ng

g  w

wiitth

h  E

Ea

arrp

ph

ho

on

ne

ess

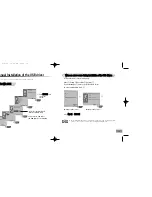
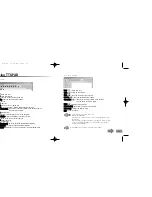
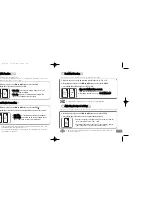
You can listen by using earphones. 

C

Co

on

nn

ne

ec

ctt  tth

he

e  e

ea

arrp

ph

ho

on

ne

es

s  

tto

o  tth

he

e  o

ou

uttp

pu

utt  p

po

orrtt..

Adjust the sound volume with 
the V

Vo

ollu

um

me

e buttons. 

Eng-newfont  5/6/04  12:30 PM  Page 26

Summary of Contents for VY-S100H

Page 1: ...S Function MP3 file playback Function to control play speed 60 Long time recording function VOR Voice Operating Record function Function to select MIC Recording mode Removable Storage Device eng 5 6 04 12 29 PM Page 2 ...

Page 2: ...er Selection Status 32 Customizing Options MP3 Folder Selection Status 33 EQ Mode 33 Intro Scan Function 34 Repeat Mode 34 LCD LIGHT 35 Beep Mode 35 Menu Setup Recording Folder Selection Status 36 Customizing Options Recording Folder Selection Status 37 Voice Recording Mode 37 Microphone Mode 37 VOR Function 38 External Device Connection 38 Book Mark Function 39 Adjusting the Speed of Play 39 Loop...

Page 3: ...ly dangerous but also against the law To avoid injury do not listen at high volumes when walking down the street especially when crossing intersections P Pr ro ot te ec ct t y yo ou ur r e ea ar rs s Do not turn up the volume too high Doctors warn against prolonged exposure to high volume Stop using the device or turn the volume down if you have ringing in your ears A Am mb bi ie en nt t o op pe e...

Page 4: ...nitor function A Au ut to o P Po ow we er r O Of ff f F Fu un nc ct ti io on n The power is automatically turned off when the product is not in use for longer than 3 minutes M Ma an na ag ge em me en nt t o of f R Re ec co or rd di in ng g F Fo ol ld de er rs s You can record in five separate voice folders A B C D and E MP3 files can only be played when saved in the MP3 folder I In nt tr ro o S Sc...

Page 5: ...D A B C E LP 01 00 00 25 B MP3 VOR REC RPT1 Recording Folder indicator VOR Recording indicator Book Mark indicator Recording Time or Play Time indicator hour minute second Recording Number indicator Remaining Battery Power indicator Repeated Play indicator Loop Repeat indicator Recording indicator Display Recording mode USB Cable External Microphone TTS Program Installation CD AAA LR03 Battery x 2...

Page 6: ... supported Use of an additional ear microphone is recommended Telephone Cable Adapter for Telephone Recording Telephone Connection Cable Connection Cable for External Devices T To o A Ac ct ti iv va at te e R Re ec co or rd di in ng g S Sl li id de e t th he e R RE EC C s sw wi it tc ch h i in n t th he e d di ir re ec ct ti io on n o of f t th he e a ar rr ro ow w d du ur ri in ng g a a t te el l...

Page 7: ...onnection Port S So ou un nd d C Ca ar rd d I In np pu ut t P Po or rt t Connect it when recording using the Voice yepp program on your PC B Cable pp n ne ec ct ti in ng g V Vo oi ic ce e y ye ep pp p t to o a a P PC C C Co on nn ne ec ct ti in ng g V Vo oi ic ce e y ye ep pp p t to o a a P PC C When the installation CD is inserted in the CD ROM drive the CD will run automatically and the followin...

Page 8: ... o oc cc cu ur rs s d du ur ri in ng g i in ns st ta al ll la at ti io on n o of f t th he e U US SB B d dr ri iv ve er r Reinstall the driver in the following ways Start Setup Controller System Device Manager Select the Driver or Device in error and double click Click N Ne ex xt t F Fi in ni is sh h Windows 98SE version Windows 98SE version The installation method may vary depending on the type o...

Page 9: ...ng VY files e g files named Voice02 Voice03 Voice10 will be automatically saved as Voice01 Voice02 nd Voice03 respectively The maximum number of MP3 files to be recognized for downloading is 250 Any more than this number can be downloaded but cannot be played on the Voice yepp and connect it to a PC Windows Explorer on the PC t a file to save then drag and drop the file e folder of your choice e i...

Page 10: ...r PC please re format Voice yepp in itself Please refer to page 42 for formatting Double click the Voice yepp player 2004 icon on the desktop to open the program C Cl li ic ck k t th he e V VO OI IC CE E M MO OD DE E b bu ut tt to on n a an nd d a a p pi ic ct tu ur re e w wi il ll l a ap pp pe ea ar r a as s s sh ho ow wn n b be el lo ow w 1 Press the Open button to select a voice file 2 The sele...

Page 11: ... display WAV Converter window T To o C Co on nv ve er rt t V Vo oi ic ce e F Fi il le e t to o W WA AV V F Fi il le e 1 When the WAV Converter window appears select the Voice file you want and press the Open button or double click it 2 When the name of file you selected appears press the Convert button Selected file will be converted to WAV file 3 When conversion is finished press the Save button ...

Page 12: ...ntences and words currently being read ˇ ˆ Ø Ô ı Press the File button N Ne ew w make new text O Op pe en n open an existing file S Sa av ve e save the text entered as a txt file S Sa av ve e A As s save the file with another name G Ge en ne er ra at ti io on n convert the text entered into a TS3 file that you can listen to in Voice yepp P Pr ri in nt t print the file you want P Pr ri in nt t P Pr...

Page 13: ...s 2 S Sp pe ee ec ch h C Co on nt tr ro ol l Volume adjust the volume Pitch adjust the pitch of the voice Rate adjust the speed of the voice 3 D Di ic ct ti io on na ar ry y You can Define Reading for the words in the Dictionary For example if you want the system to read the word IT as Information Technology define the word IT as Information Technology in the relevant language dictionary Source Te...

Page 14: ...r will be turned off T To o T Tu ur rn n t th he e P Po ow we er r O Of ff f This function will disable all buttons while maintaining the current operation However the recording function will operate when the Hold function is in use S Sl li id de e t th he e H HO OL LD D s sw wi it tc ch h i in n t th he e d di ir re ec ct ti io on n o of f t th he e a ar rr ro ow w The product is in Lock Mode H H...

Page 15: ...ec co or rd di in ng g R RE EC C s sw wi it tc ch h i in n t th he e o op pp po os si it te e d di ir re ec ct ti io on n f fo or r r re ec co or rd di in ng g ding will stop and be saved automatically t th he e r re em ma ai in ni in ng g r re ec co or rd di in ng g t ti im me e h ho ol ld d t th he e M ME EN NU U b bu ut tt to on n t to o m mo ov ve e t to o t th he e M Me en nu u m mo od de e a...

Page 16: ... folder and hold the button s in the selected folder will be deleted D DELETE FOLDER T To o D De el le et te e A Al ll l F Fi il le es s S Sa av ve ed d i in n V Vo oi ic ce e y ye ep pp p 1 Move to DELETE MODE in the Menu mode and then press the button to select the DELETE ALLDIR 2 Press and hold the button All files will be deleted If CODE 1 WARNING is displayed on the Voice yepp delete all file...

Page 17: ...ROCK mode each time you press the button EQ NORMAL MP3 EQ CLASS MP3 EQ LIVE MP3 EQ POP MP3 EQ ROCK MP3 EQ NORMAL MP3 I SCAN OFF MP3 REPEAT ALL MP3 Q Repeat and Intro Scan functions abled while in Play Mode In Stop Mode the Menu Mode will close if no buttons are pressed within 15 seconds In the Play mode the Menu Mode will close if no buttons are pressed within 5 seconds After setting the menu you ...

Page 18: ... T A AL LL L Plays all music files saved in the MP3 folder repeatedly R RE EP PE EA AT T 1 1 F FI IL LE E Plays one file saved in the MP3 folder repeatedly R RE EP PE EA AT T O OF FF F Play all music files in the MP3 folder only once 1 In the Menu mode use the œœ button to select the LIGHT 2 Press the or button to select EL ON or EL OFF LIGHT EL ON MP3 LIGHT EL OFF MP3 L LC CD D L LI IG GH HT T E ...

Page 19: ...within 5 seconds Set the Menu you want and then press the œœ button to move to the other menu and to continuously set other menu 1 In the Menu mode use the œœ button to select the REC 2 Press the or button to select the recording mode you want Available recording time for the selected recording mode will be displayed together REC SP D REC HQ D REC LP D V Vo oi ic ce e R Re ec co or rd di in ng g M...

Page 20: ... or sound device ALL DIR delete will delete files even if they have been Bookmarked 1 Move to the voice file to be marked within folder A B C D or E 2 In the Menu mode use the œœ button to select the B MARK 3 Press the or button to select OFF or ON B MARK OFF D B MARK ON D B B Bo oo ok k M Ma ar rk k F Fu un nc ct ti io on n You can mark a voice file that contains an important message W Wh he en n...

Page 21: ...e the battery poles positioned correctly Insert the battery with its poles in the correct position Recording is disabled Check point 1 Are the recording numbers all used up or is recording memory full Delete unnecessary files Check point 2 Is the battery dead Replace the battery No sound is heard from the speaker Check point 1 Is the volume set to 0 Adjust the volume Check point 2 Are the earphone...

Page 22: ...ternal impact Turn the power off of Voice yepp Press and hold the Play Pause button while holding the MENU button Your Voice yepp is now initialized Check point 1 Have you connected the USB cable in the correct way Disconnect the USB cable and re connect If the problem persists re boot the PC Model Name Product Dimensions Weight Power Recording Media Maximum Number of Recordings Maximum Operation ...

Reviews: