


3-22
GB
3-21
DIGITAL VIDEO RECORDER
GB
7
Reservation Record Setup
The following illustrates the intial setting of the
TIMER RECORD SETUP
menu.
●
Timer recording enables the system to automatically record when you are not present so that
the recording is performed on the desired day at the desired time with the desired field rate.
First position the cursor at the line where
TIMER
row is set to
OFF
to set it to
ON
, select
the desired day from the
DAY
row, and enter the recording start and end time into
START
and
END
row respectively. Also, set the field rate to be applied during recording in the
FIELD RATE
row. If you set the
DAY
from
SUN
to
SAT
, the timer recording setting is
applied only to the corresponding days, but if you set it to
DAILY
, the timer recording
setting is applied to all days of the week.
FIELD RATE
can be set from 0.50 FPS to 60 FPS
if the input video signal is NTSC and from 0.50 FPS to 50 FPS if it is PAL. Once the timer
recording is set, the recording will be made on the corresponding day for the duration of
entered time. Other recording settings, except the field rate, follow the basic recording
settings. To force stop the recording, press and hold the STOP(
■
) button for 3 seconds.
Then, the recording will pause for 5 seconds. If no action is performed by the user for 5
seconds, the system determines whether the timer recording setup time is elapsed and
resumes the recording it not. To completely stop the recording, go into the menu within 5
seconds to set the
TIMER
item of the corresponding line to
OFF
.
Timer recording can be set for up to 11 different times.
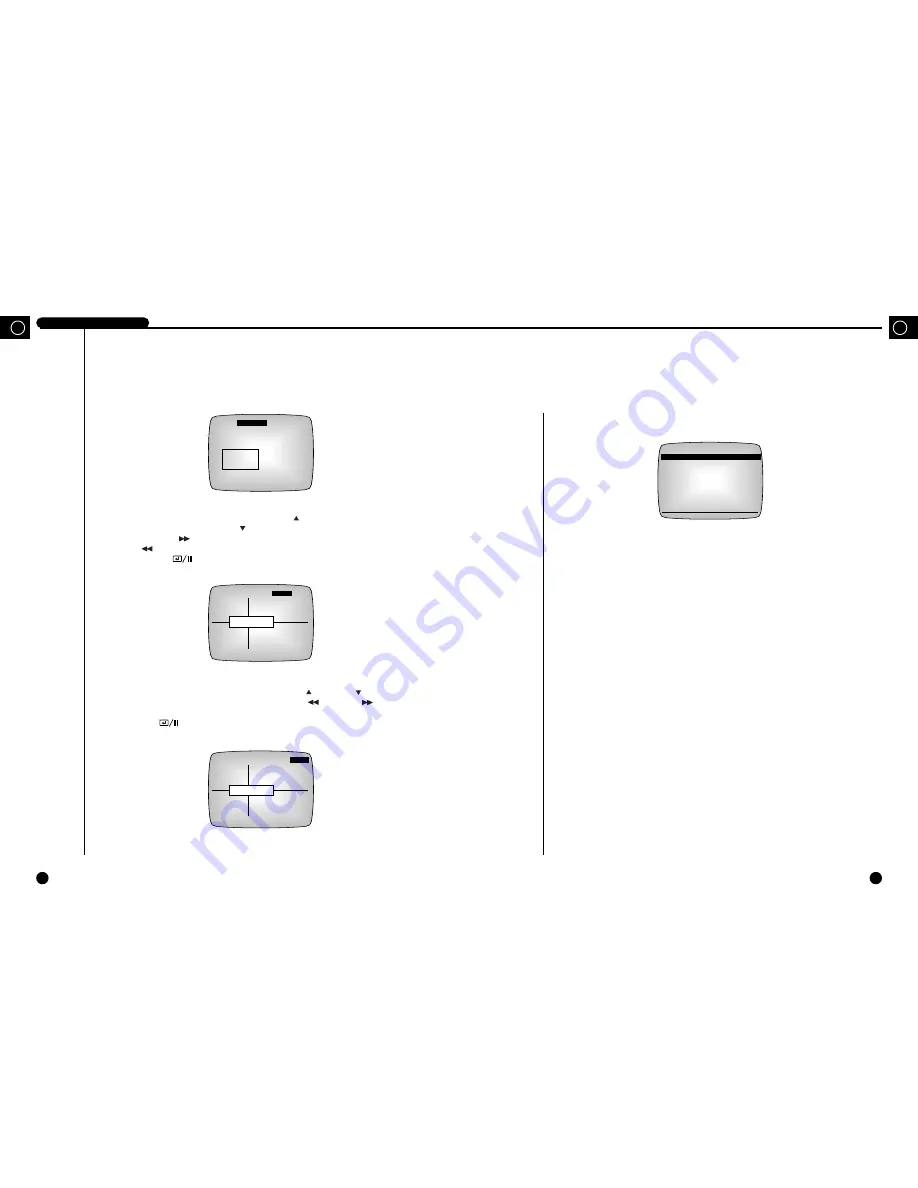
3) SIZE
Set the size of the area currently selected. Press the UP( ) button to increase the size of
the area vertically, or press the DOWN( ) button to decrease the size of the area vertically.
Press the RIGHT( ) button to increase the size of the area horizontally, or press the
LEFT( ) button to decrease the size of the area horizontally. After setting the size, press
the SET/STILL( ) button to move the curstor so that you can set the
MOVE
item.
4) MOVE
Set the position of the area currently selected. Press the UP( ) or DOWN( ) button to
change the position of the area vertically, or press the LEFT( ) or RIGHT( ) button
to change the position of the area horizontally. After setting them all up, press the
SET/STILL( ) button to move the cursor to the
AREA
item so that you can set each
item for other areas.
AREA=2
LEVEL=OFF
[SIZE][MOVE]
AREA 2
AREA=2 LEVEL=MIDDLE
[SIZE]
[MOVE]
AREA=2 LEVEL=MIDDLE [SIZE]
[MOVE]
TIMER RECORD SETUP
TIMER DAY START END FIELD RATE
OFF
---
--:-- --:--
--.--
OFF
--- --:-- --:--
--.--
OFF
--- --:-- --:--
--.--
OFF
--- --:-- --:--
--.--
OFF
--- --:-- --:--
--.--
OFF
--- --:-- --:--
--.--
OFF
--- --:-- --:--
--.--
OFF
---
--:-- --:--
--.--
OFF
--- --:-- --:--
--.--
Summary of Contents for SHR-3010
Page 4: ...1 I Summary GB ...
Page 10: ...II Connection with Other Devices 2 GB ...
Page 14: ...III Basic Method to use 3 GB ...
Page 31: ...IV Record 4 GB ...
Page 40: ...VI Others 6 GB ...
Page 42: ...VII Appendices 7 ...
Page 45: ...www securitysamsung com AB68 00377A Printed in Korea ...


