background image

21

Adjusting Your Monitor

Adjusting Your Monitor

20

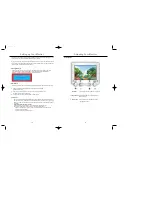
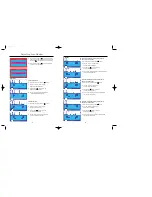
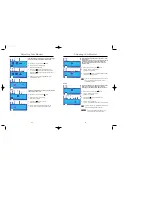
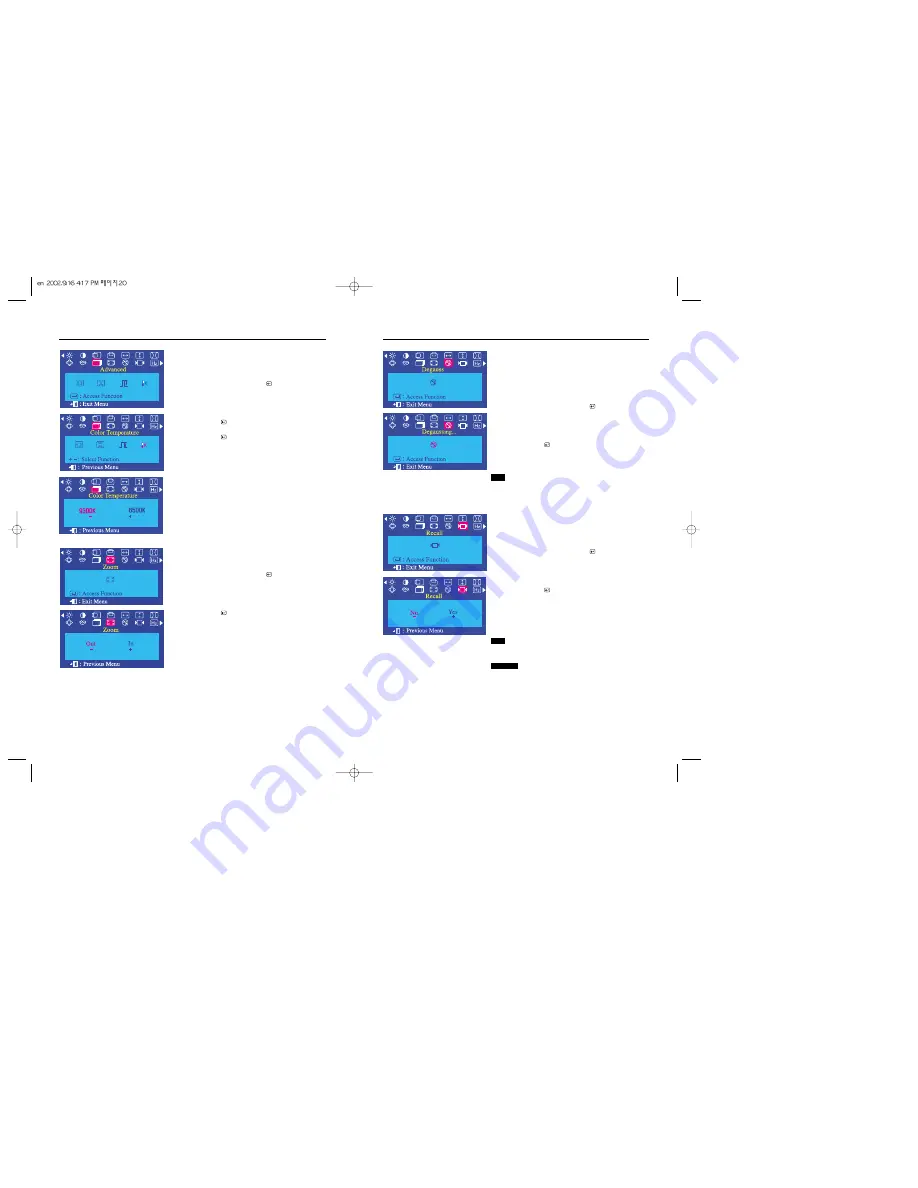
Color Temperature

Color temperature is a measure of the “warmth” of the image
colors. The available range is between 6500 to 9300K.

1

With the menu off, push the menu (      ) button.

2

Push the - button or + button until the 
Advanced screen is displayed.

3

Push the menu (      ) button again and then press the 
- or + button until the Color Temperature screen appears.
Push the menu (      ) button to open the Color Temperature 
adjustment screen.

4

Press the - or + button to select 9300K(Bluish colors)
or 6500K(Reddish colors).

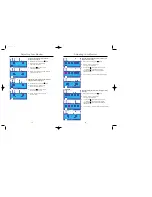
Zoom

Follow these instructions to get a close-up or a longshot view
of the monitor’s viewing area.

1

With the menu off, push the menu (      ) button.

2

Push the - button or + button until the 
Zoom screen is displayed.

3

Push the menu (      ) button to open the

Zoom adjustment screen.

4

Use the - button to decrease the screen viewing area.
Use the + button to enlarge the screen viewing area.

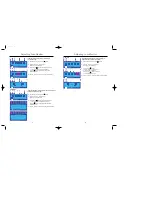
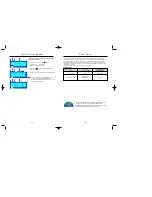
Degauss

The Degauss feature will remove color impurities caused by
magnetic fields.
You can use this function to turn on the power of the monitor
or change the power saving mode to the normal mode.
Do not use the Degauss feature more than once within a
30-minute period.

1

With the menu off, push the menu (      ) button.

2

Push the - button or + button until the 
Degauss screen is displayed.

3

Push the menu (      ) button to execute the degauss function.
The degaussing screen will appear.

Note 

The monitor may buzz momentarily, the image colors may
change and the image will jiggle for a few seconds.
These effects are normal.

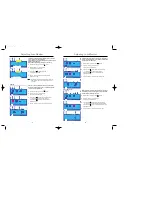
Recall

Use the recall feature to reset these monitor settings to their
original levels: Position, Size, Pincushion, Trapezoid,
Parallelogram, Pinbalance, Rotation, H-Moire and V-Moire.

1

With the menu off, push the menu (      ) button.

2

Push the - button or + button until the 
Recall screen is displayed.

3

Push the menu (      ) button to open the Recall 
adjustment screen.

4

Push the + button to select Yes.
If you don’t want to reset the monitor, use the - button to select No.

Note 

If you have selected “Yes”, all settings listed above will be
reset. All other settings will remain the same.

CAUTION

This operation resets all of the data in the user 
memory area for the current timing signal.

Summary of Contents for SAMTRON 76DF

Page 1: ...SAMTRON 76DF http www samsung monitor com http www samsungusa com monitor BH68 00434Q 00 ...

Page 2: ...trols Menu Features OSD Lock Unlock Brightness Contrast H Position V Position H Size V Size Pincushion Geometry Trapezoid Parallelogram Rotation Pinbalance V Linearity Language Advanced H Moire V Moire Video Input Level Color Temperature Zoom Degauss Recall Display Timing Power Saver Troubleshooting Specifications Display Modes 2 3 4 4 5 6 9 10 10 10 11 11 12 12 12 13 13 13 14 14 15 15 16 16 17 18...

Page 3: ...not set a glass of water chemicals or any small metal objects on the monitor 18 Do not remove cover or back No user serviceable parts inside 19 If your monitor does not operate normally in particular if there are any unusual sounds or smells coming from it unplug it immediately and contact an authorized dealer or service center 20 Do not place any heavy objects on the monitor 21 For each hour of l...

Page 4: ...he operating system you have Prepare a blank disk and download the driver program file at the Internet web site shown here Internet web site http www samsung monitor com WorldWide http www samsungusa com monitor USA http www sec co kr monitor Korea http www samsungmonitor com cn China 1 Insert CD into the CD ROM driver 2 Click Windows ME Driver 3 Choose your monitor model in the model list then cl...

Page 5: ...ank disk and download the driver program file at the Internet web site shown here Internet web site http www samsung monitor com WorldWide http www samsungusa com monitor USA http www sec co kr monitor Korea http www samsungmonitor com cn China 10 Microsoft Windows 2000 Operating System When you can see Digital Signature Not Found on your monitor follow these steps 1 Choose OK button on the Insert...

Page 6: ...ating System 1 Click Start Setting Control Panel 2 Double click Display icon 3 Select the Settings tab and click Advanced Properties button 4 Select the Monitor tab 5 Click the Change button in the Monitor Type area 6 Choose Specify the location of the driver 7 Choose Display a list of all the driver in a specific location then click Next button 8 Click the Have Disk button 9 Specify A D driver th...

Page 7: ...ntroller and computer system your monitor is functioning properly Environment The location and the position of the monitor may influence the quality and other features of the monitor 1 If there are any woofer speakers near the monitor unplug and relocate the woofer to another room 2 Remove all electronic devices such as radios fans clocks and telephones that are within 3 feet one meter of the moni...

Page 8: ...n until the H Position screen is displayed 3 Push the menu button to open the H Position adjustment screen 4 Use the and buttons to change the Horizontal position of the monitor s viewing area H Size 12 Adjusting Your Monitor OSD lock unlock 1 With the menu off push the menu button 2 Push the button or button until the Brightness screen is displayed 3 Push the menu button to open the Brightness ad...

Page 9: ...n again and then press the or button until the Trapezoid screen appears Push the menu button to open the Trapezoid adjustment screen 4 Use the button or button to adjust the trapezoid setting 14 Adjusting Your Monitor V Size Pincushion Adjust the pincushion setting when the sides of the display are bowed in or bowed out Follow these instructions to change the Size of the monitor s entire display 1...

Page 10: ...ed at the left right or top bottom 1 With the menu off push the menu button 2 Push the button or button until the Geometry screen is displayed 3 Push the menu button Push the button or button until the V Linearity screen is displayed Push the menu button to open the V Linearity adjustment screen 4 Use the button or button to adjust the V Linearity setting Rotation Adjust the rotation setting when ...

Page 11: ... then press the or button until the H Moire screen appears Push the menu button to open the H Moire adjustment screen 4 Use the button or button to adjust horizontal moiré V Moire A Moiré pattern can appear on your screen looking like a series of concentric circles or arcs To eliminate this pattern use the clear moiré adjustments 1 With the menu off push the menu button 2 Push the button or button...

Page 12: ... fields You can use this function to turn on the power of the monitor or change the power saving mode to the normal mode Do not use the Degauss feature more than once within a 30 minute period 1 With the menu off push the menu button 2 Push the button or button until the Degauss screen is displayed 3 Push the menu button to execute the degauss function The degaussing screen will appear Note The mo...

Page 13: ...ith a computer equipped with VESA DPMS functionality As an ENERGY STAR Partner SAMSUNG has determined that this product meets the ENERGY STAR guidelines for energy efficiency State Normal Operation Power off mode EPA ENERGY 2000 Power Indicator Power Consumption 80W Nominal 90W Maximum Less than 2W Green Green Blinking Adjusting Your Monitor 22 Display Timing SAMTRON 76DF The information on this s...

Page 14: ...rs or just black and white The image on the screen is shaking The screen suddenly has become unbalanced Is the screen displaying only one color as if looking at the screen through a cellophane paper Check the monitor configuration to see if it is in Interlace Mode Interlace Mode Vertical frequency 43Hz 87Hz i etc The signal from the video card exceeds the maximum resolution and frequency of the mo...

Page 15: ...he Windows colors been set properly For Windows ME XP 2000 Set the colors properly at the Control Panel Display Settings There is a message that reads Unrecognized monitor Plug Play VESA DDC monitor found Check the following items if there is trouble with the monitor 1 Check if the power cord and the cable are properly connected to the computer 2 Check if the computer beeps more than 3 times when ...

Page 16: ...00 VESA 800 x 600 53 674 85 061 56 250 VESA 1024 x 768 68 677 84 997 94 500 Horizontal Frequency The time to scan one line connecting the right edge to the left edge of the screen horizontally is called Horizontal Cycle and the inverse number of the Horizontal Cycle is called Horizontal Frequency Unit kHz Vertical Frequency Like a fluorescent lamp the screen has to repeat the same image many times...

Reviews: